18
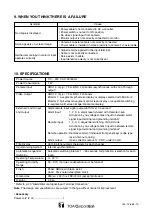
4-2. Alarm Contact Input Detection Polarity Setting [Input Contact]
Step 1.
Using the [
] and [
] keys at the Alarm/Remote
setting screen, move the cursor to Item [2. INPUT
CONTACT].
The selected item will then flash.
Step 2.
Press the Setting key, and the value entry area will
flash as shown in the figure on the right.
Step 3.
Using the [
] and [
] keys, enter either MAKE*
1
or
BREAK*
2
.
*
1
MAKE:
An alarm operates when the alarm contact
closes.
*
2
BREAK: An alarm operates when the alarm contact
opens.
Step 4.
Press the Setting key to register the set contents.
The display then returns to the mode in which the
setting item is flashing.
Note
The contact input polarity can only be changed for the Alarm
Inputs 1-4. The Remote Inputs are always activated when
made.
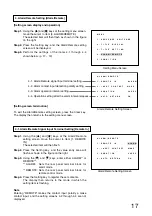
A L A R M / R E M O T E
1
R E M O T E
I N
A L A R M
2
I N P U T
C O N T A C T
M A K E
3
D U R A T I O N
2 0 S E C
4
A U T O
R E T U R N
O N
.
.
.
.
Alarm/Remote Setting Screen
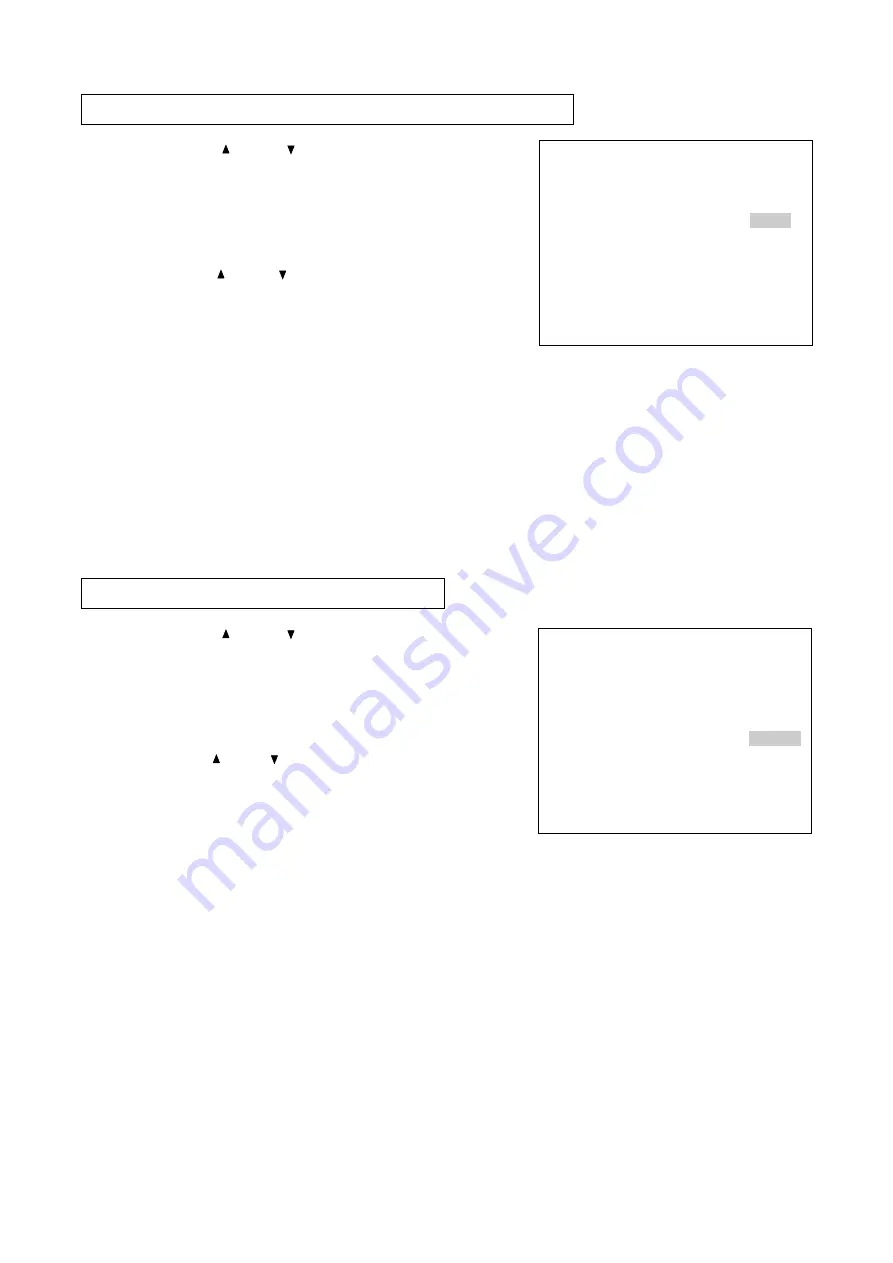
4-3. Alarm Operation Interval Setting [Duration]
Step 1.
Using the [
] and [
] keys at the Alarm/Remote
setting screen, move the cursor to Item [3.
DURATION].
The selected item will then flash.
Step 2.
Press the Setting key, and the value entry area will
flash as shown in the figure on the right.
Step 3.
Using the [ ] and [ ] keys, enter the alarm interval of
1 – 60 seconds (in 1 second units).
Step 4.
Press the Setting key to register the set contents.
The display then returns to the mode in which the
setting item is flashing.
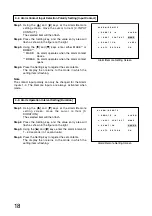
A L A R M / R E M O T E
1
R E M O T E
I N
A L A R M
2
I N P U T
C O N T A C T
M A K E
3
D U R A T I O N
2 0 S E C
4
A U T O
R E T U R N
O N
.
.
.
.
Alarm/Remote Setting Screen


