21
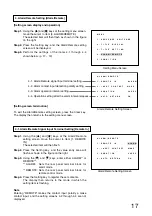
5-3. Background Color Setting [Back Color]
Step 1.
Using the [
] and [
] keys at the Others setting
screen, move the cursor to Item [3. BACK COLOR].
The selected item will then flash.
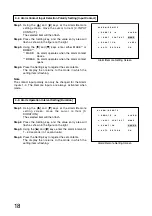
Step 2.
Press the Setting key, and the value entry area will
flash as shown in the figure on the right.
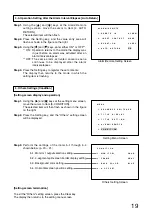
Step 3.
Using the [
] and [
] keys, enter either BLUE*
1
or
BLACK*
2
.
*
1
BLUE:
The blue background is displayed when
video loss (no signal transmission from the
connected camera) occurs.
*
2
BLACK: The black background is displayed when
video loss occurs.
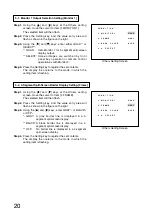
Step 4.
Press the Setting key to register the set contents.
The display then returns to the mode in which the
setting item is flashing.
Notes
• No back ground color is displayed on the screen connected to
Monitor 2 when all of the following conditions simultaneously
take place (the screen becomes dark):
• Monitor 1 is set for "QUAD."
• The screen is set for a full-screen display.
• There are one or more channels without "Video loss."
• The background of the setting menu screen is always blue
regardless of the background color setting.
C O N D I T I O N
1
M O N I T O R 1
Q U A D
2
F R A M E G R A Y
3
B A C K
C O L O R
B L U E
4
H
O F F S E T
.
.
.
.
Others Setting Screen
5-4. Horizontal Screen Position Setting [H Offset]
Step 1.
Using the [
] and [
] keys at the Others setting
screen, move the cursor to Item [4. H OFFSET].
The selected item will then flash.
Step 2.
Press the Setting key, and the horizontal position
adjustment screen will be displayed.
Step 3.
A vertical line moves as the [
] and [
] keys are
pressed. Adjust the horizontal screen position to the
appropriate position.
Step 4.
Press the Setting key to register the set position.
The display then returns to the mode in which the
setting item is flashing.
C O N D I T I O N
1
M O N I T O R 1
Q U A D
2
F R A M E G R A Y
3
B A C K
C O L O R
B L U E
4
H
O F F S E T
.
.
.
.
Others Setting Screen
Horizontal Position Adjustment Screen


