7
5.3. Using the Alarm & Remote Functions
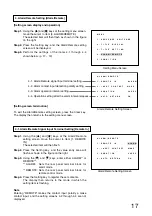
• Select either "ALARM" or "REMOTE" in the Alarm/Remote settings shown on p. 17 (Item 4-1.).
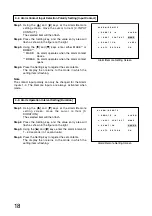
• For Alarm operations, select either "Make" or "Break" to activate an alarm depending on the type of sensor
being connected (Item 4-2. on p. 18).
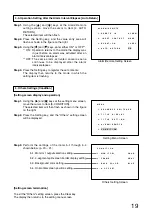
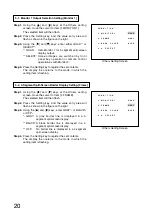
• Alarm duration can be selected from the variable interval of 1 – 60 seconds. Whether or not operation
automatically returns to the previous mode after the alarm interval elapses should also be set here.
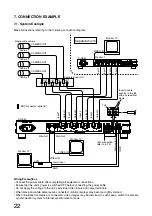
• Connect the Alarm/Remote Signal Input terminals (p. 23).
• When the alarm is activated, the monitor display connected to the Monitor 2 output terminal is switched to
the alarm-activated camera scene accompanied by a flashing "ALARM" indication. The title of the alarm-
activated camera channel also flashes on the monitor display connected to the Monitor 1 output terminal.
When an alarm is activated, the Alarm Signal output terminal is grounded via a transistor. (Use the
Alarm/Remote output terminals on 12 V DC and under 30 mA.)
• When the alarm is simultaneously activated in several camera channels, the alarm-activated channel
outputs are automatically sequenced to the monitor at one second intervals.
• The alarm can be reset by pressing the Channel Selector key, Sequence key, or Quad Display key (any key
other than the Menu key). It can also be reset by entering a reset signal from the Alarm/Remote input
terminals.
• Remotely-controlled operations perform the same function as when the front panel keys are operated.
Notes
• The alarm is disabled while the setting screen is displayed.
• The alarm signal output terminal cannot be used while the Remote input terminals are in use.
• The unit's rear panel QUAD terminal is only for remote control operation.
• All Alarm/Remote Signal Input Terminals are of edge type. Once the terminal is activated, it no longer is
activated again if not reset (i.e. in break when set for "make" detection, and in make when set for "break"
detection).


