4-8
Chapter 4: SYSTEM SETTINGS (SETTING USING BROWSER)
(4) Network Relations
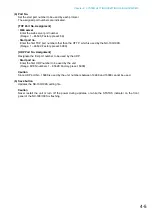
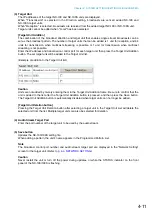
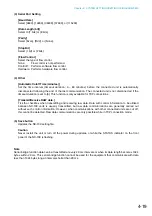
[Packet Size]
Select the size of audio packet.
The packet size cannot be changed when [Resend] is selected in Packet Loss Recovery item. Smaller
packet sizes result in a wider bandwidth, however delay times become shorter.
[Packet Loss Recovery]
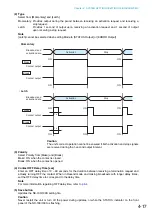
Select one of three recovery methods used when an audio packet is lost: [Standard], [Error Correction],
and [Resend]. Refer to
for details of each recovery method.
In case [Error correction] is selected, the correction level can be changed, allowing selection from [1
(Low)], [2], [3], and [4 (High)]. Higher settings increase correction capability, however delay times are also
made longer.
In case [Resend] is selected, delay times can be entered for 5 – 30 seconds. Longer delay times increase
correction capability. Note that [Resend] cannot be selected if [Compression] is set to "No."
[Multicast]
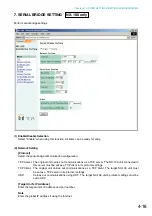
The multicast address must be set when sending multicast streaming. Selecting "Yes" for Multicast allows
the multicast address to be entered. The effective address range is from (225.0.0.0) to (238.255.255.255).
Perform this setting while taking care that the same number is not duplicated among the units connected
to the same network.
Note
Be sure to consult with network management personnel before performing this setting.
(5) Sampling Frequency Correction
Refer to
for sampling frequency correction.
[Transfer Setting between Networks]
Perform the setting to transfer sampling frequency correction data between different networks. (Correction
data within the LAN* are automatically transmitted and received.)
* Broadcast effective range
No:
Corrects correction data only in the LAN, without transferring data to other networks.
Reception:
Receives correction data from other networks. Enter the receiving source IP address in the
corresponding box that is ready for entry. When receiving correction data via Multicast, tick
the checkbox of "Receives via Multicast." and enter the Multicast IP address to be used.
Transmission: Transmits correction data to other networks. Since the data input boxes for the target
transmission unit become ready for entry, enter both the IP address and port number of the
target unit.
(6) Save button
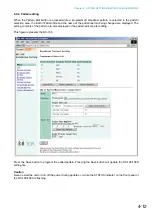
Updates the NX-100/100S setting file.
Caution
Never restart the unit or turn off the power during updates, or while the STATUS indicator on the front
panel of the NX-100/100S is flashing.
Summary of Contents for NX-100
Page 6: ...Chapter 1 BEFORE INSTALLATIONS AND SETTINGS ...
Page 12: ...Chapter 2 UNIT AND SOFTWARE INSTALLATIONS ...
Page 27: ...Chapter 3 SYSTEM SETTINGS NX 100 SETUP PROGRAM ...
Page 58: ...Chapter 4 SYSTEM SETTINGS SETTING USING BROWSER ...
Page 89: ...Chapter 5 OPERATION SETTINGS NX 100 OPERATION PROGRAM ...
Page 104: ...Chapter 6 APPENDIX ...
Page 114: ...200708 URL http www toa jp ...

