2-2
Chapter 2: UNIT AND SOFTWARE INSTALLATIONS
1. CONNECTIONS
1.1. Power Source Connections
1.1.1. When using a 24V DC power source
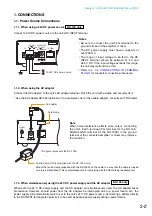
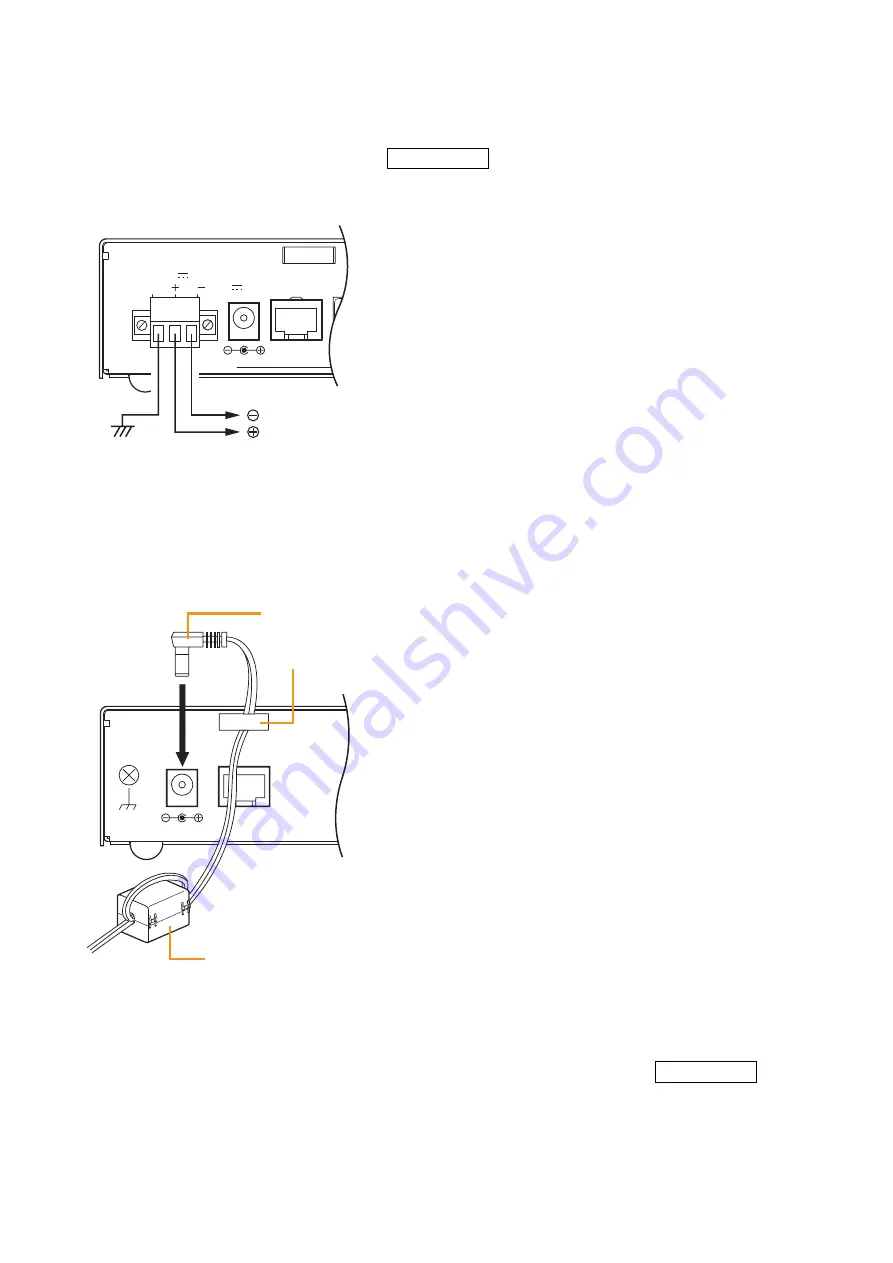
Connect a 24V DC power source to the unit's DC INPUT terminal.
NX-100 only
To 24V DC power source
24V
DC INPUT
FG
200mA
10/100M
AC ADAPTER
24V 200mA
DC INPUT
Notes
• Be sure to connect the unit's FG terminal to the
ground terminal of the amplifier or mixer.
• The DC power supply must have a capacity of
over 200 mA.
• The range of input voltage to be fed to the DC
INPUT terminal should be between 21.6 V and
26.4 V DC. If the input voltage exceeds this range,
the unit may malfunction or fail.
• Refer to
p. 2-5, CONNECTIONS TO TERMINAL
, for connector connection procedures.
1.1.2. When using the AC adapter
Connect the AC adapter* to the unit's AC adapter terminal. Pinch the cord with a clamp and securely fix it.
* Use the AC adapter AD-246 (optional) or the equivalent. As for the usable adapter, consult your TOA dealer.
Cord clamp
AC adapter
SIGNAL
GND
10/100M
DC
24V
200mA
INPUT
Ferrite clamp SFC-8 (supplied with the NX-100S only)
This figure represents the NX-100S.
Note
When noise interference affects voice output, connecting
the unit's Earth terminal (FG terminal for the NX-100,
SIGNAL GND terminal for the NX-100S) to the ground
terminal of the connected amplifier or mixer may improve
the condition.
1.1.3. When simultaneously using the 24V DC power supply and the AC adapter
When both the 24 V DC power supply and the AC adapter are simultaneously used, the AC adapter takes
precedence. However, should power from the AC adapter be interrupted due to a power failure, etc., the
power supply will automatically switch over to the unit's 24 V DC power source. Connecting a battery directly
to the DC INPUT terminal also permits it to be used as backup power supply during a power failure.
NX-100 only
Mount the ferrite clamp (supplied with the NX-100S) on the cable in a way that the cable is looped
one turn as illustrated. (This countermeasure is for complying with the CE marking requirements.)
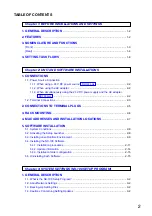
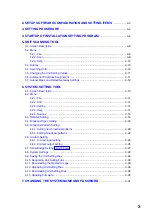
Summary of Contents for NX-100
Page 6: ...Chapter 1 BEFORE INSTALLATIONS AND SETTINGS ...
Page 12: ...Chapter 2 UNIT AND SOFTWARE INSTALLATIONS ...
Page 27: ...Chapter 3 SYSTEM SETTINGS NX 100 SETUP PROGRAM ...
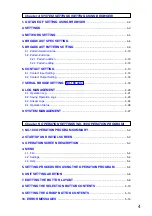
Page 58: ...Chapter 4 SYSTEM SETTINGS SETTING USING BROWSER ...
Page 89: ...Chapter 5 OPERATION SETTINGS NX 100 OPERATION PROGRAM ...
Page 104: ...Chapter 6 APPENDIX ...
Page 114: ...200708 URL http www toa jp ...

