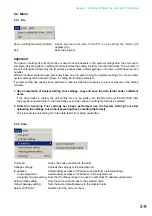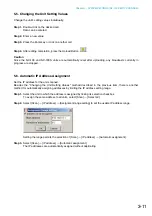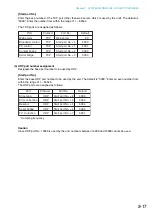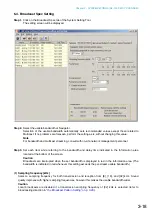
3-6
Chapter 3: SYSTEM SETTINGS (NX-100 SETUP PROGRAM)
4. STARTUP OF INSTALLATION SETTING PROGRAM
Step 1.
Either double-click on the Installation Setting Program icon that was created on the desktop during
installation or directly double-click on the application [nx100_util.jar] installed in the Software folder.
The User Authentication dialog will be displayed.
Step 2.
Enter the system name and password, then press the OK button.
Note:
Both the system name and password are case-sensitive.
The default system name is factory-preset to "NX-100" and the password to "guest."
To change them, refer to
When the system name and password are entered correctly, the initial Installation Setting Program
screen is displayed.
Tip
At startup, the Setup program automatically loads data related to unit setting from the data folder.
Step 3.
When scanning the unit, click on [Unit Scan (Network Setting)].
Tip
When the settings are saved, a unit setting file is automatically created for each individual IP address
and saved in the data folder. If a unit setting file of the same name already exists in the data folder, it
is overwritten.
Summary of Contents for NX-100
Page 6: ...Chapter 1 BEFORE INSTALLATIONS AND SETTINGS ...
Page 12: ...Chapter 2 UNIT AND SOFTWARE INSTALLATIONS ...
Page 27: ...Chapter 3 SYSTEM SETTINGS NX 100 SETUP PROGRAM ...
Page 58: ...Chapter 4 SYSTEM SETTINGS SETTING USING BROWSER ...
Page 89: ...Chapter 5 OPERATION SETTINGS NX 100 OPERATION PROGRAM ...
Page 104: ...Chapter 6 APPENDIX ...
Page 114: ...200708 URL http www toa jp ...


