


Diese Leuchte enthält eingebaute LEDs. Die LEDs in dieser Leuchte können nur vom Hersteller
ausgetauscht werden. A-A++
A-A++
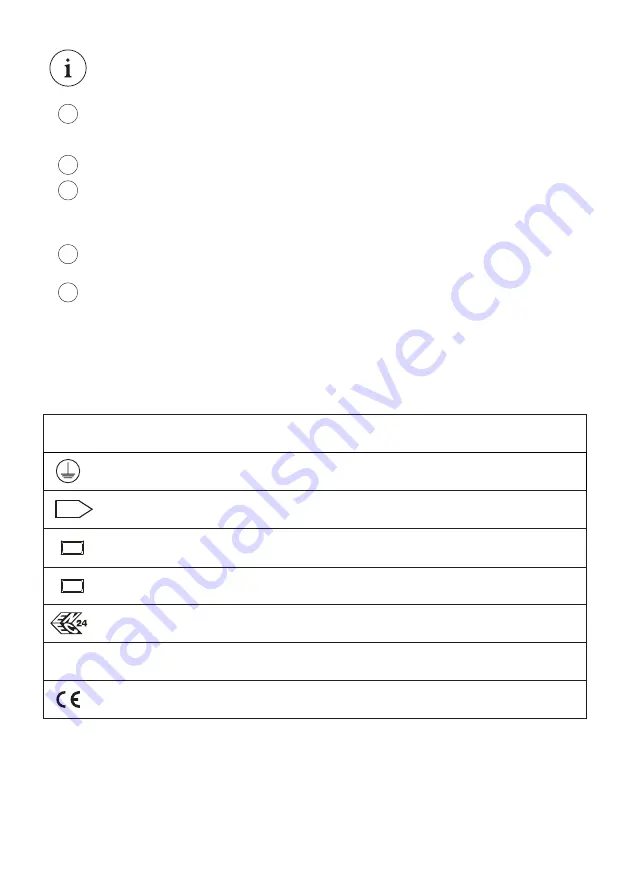
Inspected and certified to european lighting norm EN60598
GUARANTEE:
You have purchased a high-quality product that was produced and packaged with the utmost care. Should you
nevertheless have grounds for complaint, please contact your retailer quoting the final inspection number as
stated on the last page of this document. We will deal with your complaint immediately. This warranty applies
only to products that have been fitted appropriately – we therefore recommend fitting by qualified personnel.
ENGLISH
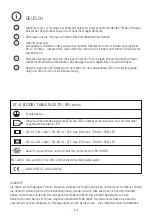
EN 12464 Based on EN 12464 the lamp is suitable for workstations.
PRI: AC 220-240V / 50-60 Hz / SEC: max. 60V max. 730mA / 50W LED
PRI: AC 220-240V / 50-60 Hz / SEC: max. 60V max. 730mA / 95W LED
This luminaire contains built-in LEDs. The LEDs can be replaced by the producer only. A-A++
A-A++
15
2006/95/EG | 2004/108/EG
XT-A FLOOR / TABLE PLUS 70 / 90
LED OSA
Protection class 1
The products must be checked for visual defects, and/or scratches, prior to assembly. Once the
product has been assembled, the right for a customer to make a complaint due to visual defects
expires.
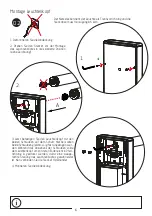
Please have a qualified electrical specialist carry out the installation.
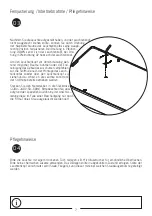
Surface protection:
All polished, lacquered or galvanised surfaces have to be protected against all types of stresses
- especially all copper parts, as they are only provided with an invisible protection against
tarnishing.
Differences in brightness and white tone of the LED’s are conditional of manufacturing and are no
reason for a complaint.
Please clean the lamp with a dry cloth. We recommend microfibre cloths for sensitive surfaces.
Only clean the lamp after it has cooled down.
4
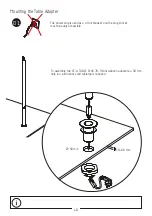
1
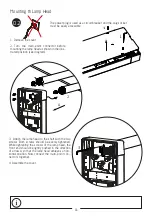
2
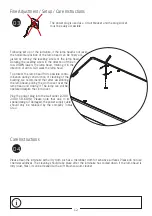
3
5