80
11. CLEANING AND FLUSHING
After each use in salt water or dirty
water, thoroughly clean and flush the
outboard motor with fresh water.
Do not apply water or corrosion
inhibitor directly to the electrical
components under the engine
cover, such as the AC generator,
LAF sensor, or the AC generator
belt. If water or corrosion inhibitor
penetrates these components, they
may be damaged. Before applying a
corrosion inhibitor, cover the AC
generator, belt and LAF sensor
with a protective material to
prevent damage.
Shut off the engine before performing
the cleaning and flushing.
1. Disconnect the fuel line from the
outboard motor.
2. Tilt down the outboard motor.
3. Clean and wash the outside of the
outboard motor with fresh water.
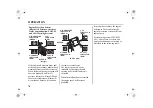
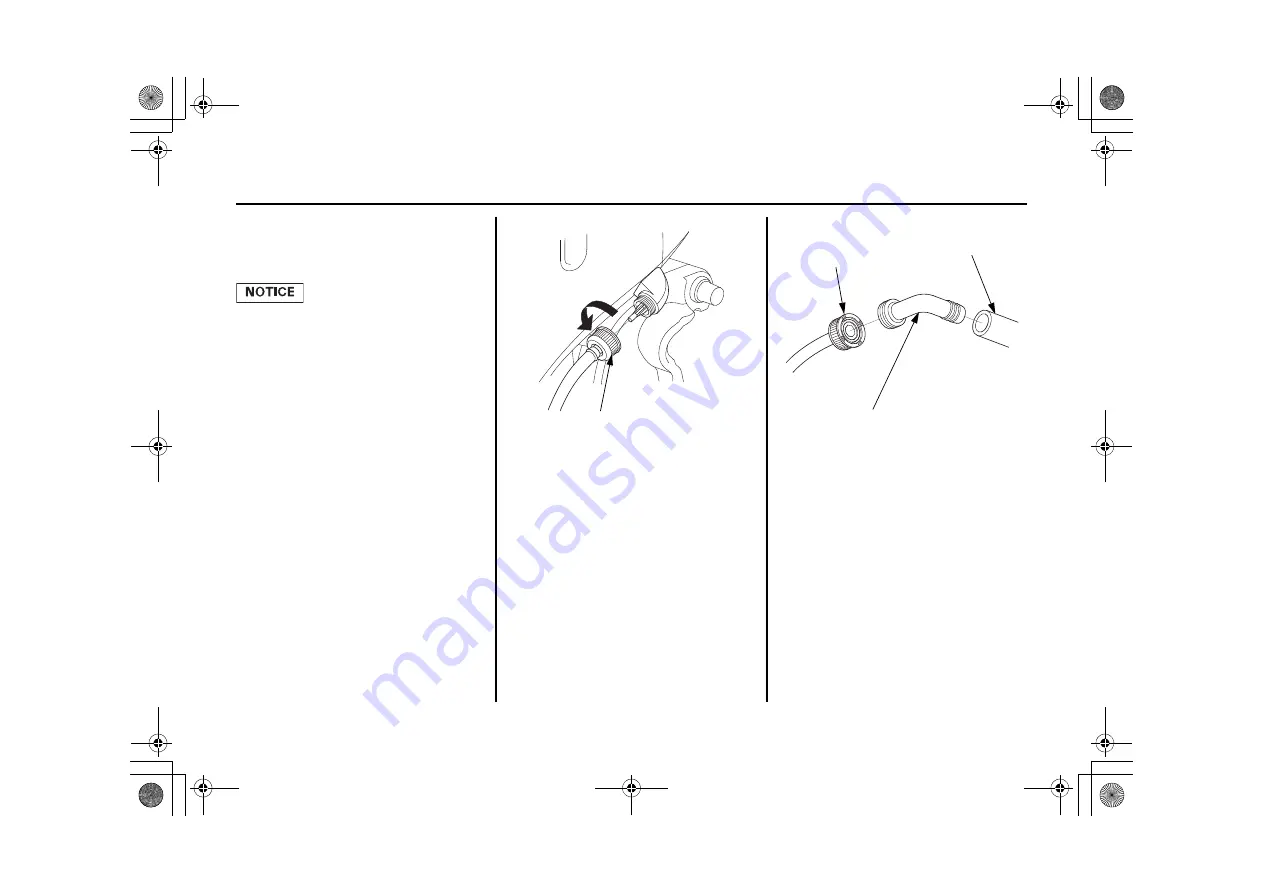
4. Remove the flush plug connector
from the outboard motor.
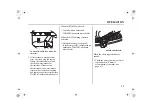
5. Install the water hose joint
(commercially available).
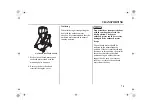
6. Connect a fresh water hose to the
water hose joint.
7. Turn on the fresh water supply and
flush the outboard motor for at
least 10 minutes.
8. After flushing, remove the water
hose and water hose joint and
reinstall the flush plug connector.
9. Tilt up the outboard motor and
move the tilt lock lever to the
LOCK position.
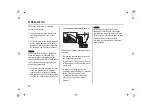
FLUSH PLUG
CONNECTOR
WATER HOSE JOINT
(commercially available)
FLUSH PLUG
CONNECTOR
WATER HOSE
Summary of Contents for BFT 115A
Page 2: ...OWNER S MANUAL Original instructions BFT115A 150A ...
Page 120: ...117 17 EC DECLARATION OF CONFORMITY CONTENT OUTLINE ...
Page 121: ...118 EC DECLARATION OF CONFORMITY CONTENT OUTLINE ...
Page 122: ...119 EC DECLARATION OF CONFORMITY CONTENT OUTLINE ...
Page 123: ...120 EC DECLARATION OF CONFORMITY CONTENT OUTLINE ...
Page 124: ...121 EC DECLARATION OF CONFORMITY CONTENT OUTLINE ...
Page 128: ...125 MEMO ...
Page 129: ...OWNER S MANUAL BFT115A 150A ...

