7.2 RS-232C setting
7-3
Note
7.2 RS-232C setting
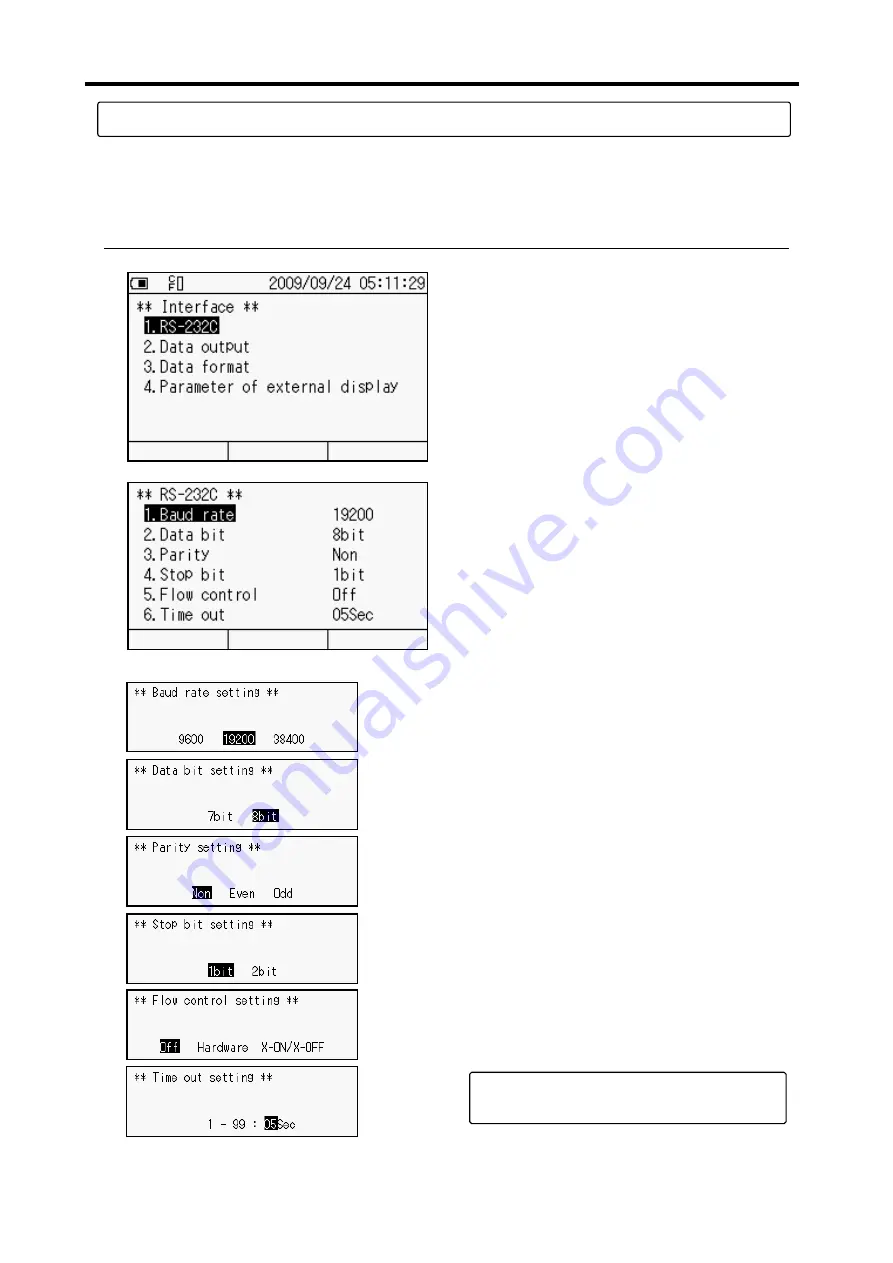
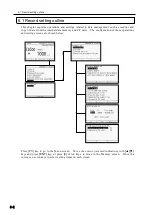
Connect the TC-32K to a PC or an external printer with a dedicated cable (optional), and you can
control the TC-32K with the PC, capture data, or print measurement data. This section explains
how to set RS-232C interface conditions.
■
Communication conditions
1. Move the cursor (reversed indication) with
[▲][▼]
keys on the Interface screen and
press [
ENT]
key, or press [
1]
of ten keys, to
go to “ RS-232C”.
3. Move the cursor (reversed indication) to
the setting item you want to change with
[▲][▼]
keys, or specify the item number
with ten keys, and press
[ENT]
key.
4. Setting values for each item are shown in
the left.
Select the setting value with
[
◄][►]
keys,
and press
[ENT]
key.
The settable range of timeout is
0-second to 99-second.
2. Communication conditions are displayed.
Summary of Contents for TC-32K
Page 1: ...O p e r a t i o n M a n u a l TC 32K HANDHELD DATA LOGGER...
Page 8: ...Chapter 12 Error Message 12 1 Explanations and countermeasures for error messages 12 2...
Page 9: ...Chapter 1 Overview 1 1 Overview 1 2 1 2 Features 1 2 1 3 Details about each part 1 3...
Page 22: ...2 5 Operation outline 2 10 memo...
Page 23: ...Chapter 3 Sensor Connection 3 1 Sensor connection 3 2...
Page 65: ...5 10 Measurement auxiliary setting 5 28 memo...
Page 78: ...6 5 Recording in data memory and CF card 6 13 memo...
Page 86: ...7 7 Remote measurement 7 8 memo...
Page 98: ...8 7 Factory setting 8 12 memo...
Page 127: ...11 4 Outside drawing 11 8 11 4 Outside drawing Unit mm...
Page 128: ...Chapter 12 Error Message 12 1 Explanations and countermeasures for error messages 12 2...


