10
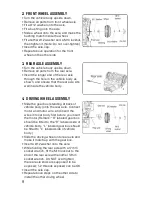
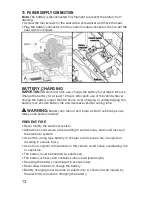
IMPORTANT! CHECK GAP AFTER ASSEMBLING WHEELS
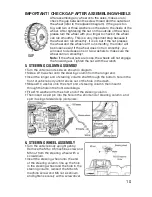
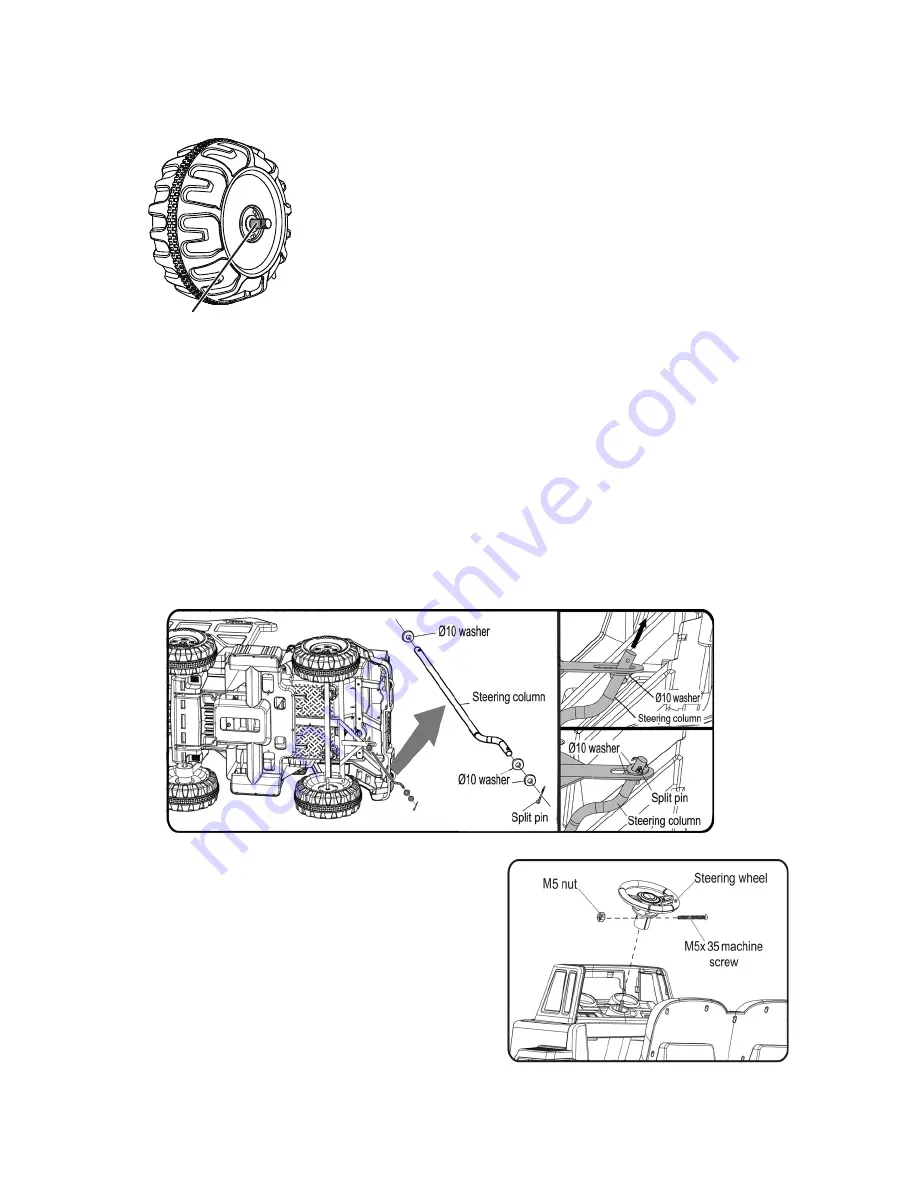
5. STEERING COLUMN ASSEMBLY
• Turn the vehicle on its side as shown in diagram.
• Slide a Ø10 washer onto the steering column from the longer end.
• Insert the longer end of steering column shaft through the bottom hole in the
front of vehicle body until it sticks out of the hole in the dash.
• Slide a Ø10 washer onto the short end of steering column, then insert it
through the hole in the front axle linkage.
• Fit a Ø10 washer onto the short end of the steering column.
• Then insert a split pin into the hole in the short end of steering column, and
split it using standard slip joint pliers.
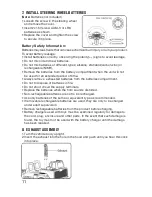
6. STEERING WHEEL ASSEMBLY
• Turn the vehicle body upright gently.
Remove the M5 x 35 machine screw and
M5 nut from the steering wheel with a
screwdriver.
• Insert the steering wheel onto the end
of the steering column, line up the hole
in the steering wheel and the hole in the
steering column, reinsert the M5 x 35
machine screw and M5 nut as shown
and tighten securely with a screwdriver.
After assembling any wheel onto the axles, make sure to
check the gap between the screw thread and the outside of
the wheel (refer to the adjacent diagram). If the gap is too
big, add two or three washers on the axle to the inside of the
wheel. After tightening the nut on the outside of the wheel,
please turn the wheel with your finger to check if the wheel
can run smoothly. This is a very important step because if
the wheel can run smoothly, it is ok; but if the nut presses
the wheel and the wheel can't run smoothly, the motor will
be broken easily! If the wheel does not run smoothly, you
will need to decrease one or two washers to make sure the
wheel can run smoothly!
Note:
If the wheel nuts are loose, the wheels will not engage
the forward gear. Tighten the nut with the wrench.
GAP


