■
The desired correction value can be set with the button „PRESET 1“ for a negative
of up to max. - 20°C or with the button „PRESET 3“ for the positive value of up to
max. +30°C.
■
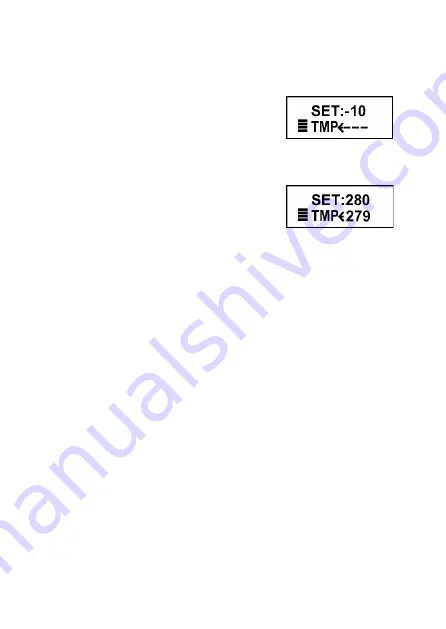
The display might show
■
Briefly press „PRESET 2“ for saving this value.
■
The value was saved. The display might show ->
The arrow behind „TMP“ shows an active value cor-
rection (< negative / > positive)
☞
A negative value means that the soldering tip draws more heat from
the heating element. The set temperature requires more heating out-
put. Vice versa with a positive value.
The setting is preserved after the soldering station is turned off.
Calibration
In order to achieve the highest possible accuracy of the temperature display, the
soldering station was calibrated to the enclosed soldering iron in the factory.
If you need to replace or exchange the soldering iron, you have to re-calibrate. The
procedure takes approx. 8 minutes and consist of three stages:
For calibration, proceed as follows.
■
Turn the soldering station off and let the soldering iron cool down.
■
Replace the old soldering iron with another one of the same type and output.
■
Place the new soldering iron in the support stand.
■
Press the buttons „PRESET 1“ and „PRESET 3“ and keep these depressed.
25


