background image

Page 4

3. ASSEMBLY

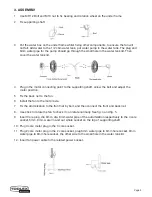
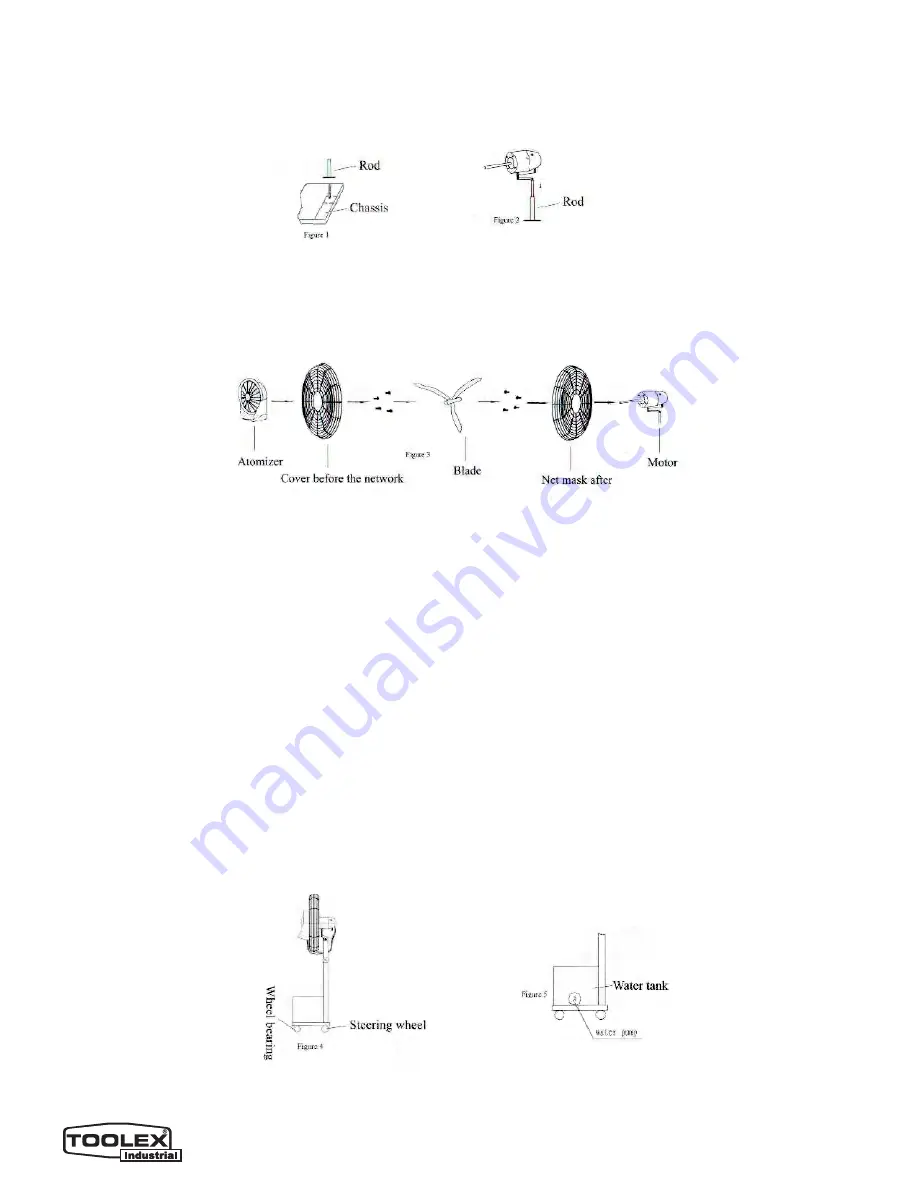
1.  Use M6*12 Bolt and M10 nut to fix bearing and rotation wheel on the under frame
2.  Fix supporting shaft.

3.  Put the water box on the under frame whilst fixing other components, to ensure the fan will 

not fall. Add water to the 1/2 cbm water tank, put water pump in the water tank. The plug and 

6mm water pipe for the pump should go through the small hole in the water tank lid. Then 

cover the water tank lid.

4.  Plug in the motor connecting point to the supporting shaft, screw the bolt and adjust the 

motor position.

5.  Fix the back net to the fan.
6.  Install the fan to the motor axle.
7.  Fix the atomoization to the front net by bolt, and then connect the front and back net.
8.  Use stick to rotate the fan to check it can rotate normally. See fig. 4 and fig. 5.
9.  Insert Core plug, dia 6mm, dia. 8mm water pipe of the automization respectively to the 4 core 

socket, 6mm, 8mm water in and out whole socket on the top of supporting shaft.

10.  Plug 3 core motor plug in the 3 core socket.
11.  Plug 2 core motor plug in the 2 core socket, plug 6mm water pipe to 6mm hole socket, 8mm 

water pipe to 8mm hole socket, the other side to the small hole in the water tank lid.

12.  Insert fan power cable to the related power socket.

Summary of Contents for 596345

Page 1: ...INSTRUCTION MANUAL 596345 PEDESTAL MIST FAN 660MM 26 ...

Page 2: ...greatly increased When water is evaporating it can absorb heat decrease temperature improve air relative humid reduce dust and purify air This product is of novelty design reasonable structure and attractive appearance The fan is using a three step variable speed motor Atomization and vapour blowing use an independent motor to work so they can be adjusted by users This product is of stable quality...

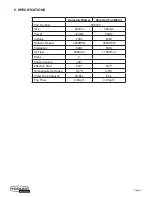
Page 3: ...6345 Size 650mm 500mm Power 230W 550W Voltage 240V 240V Rotation Speed 2800RPM 2800RPM Frequency 50Hz 50Hz Air Flow 8280m2 h 11000m2 h Steps 3 Shaking Angle 90 Effective Area 20m3 50m3 Temperature Decrease 3 5ºC 4 6ºC Water Tank Capacity 36 60L 60L Fog Flow 0 6Kg h 0 12kg h ...

Page 4: ...just the motor position 5 Fix the back net to the fan 6 Install the fan to the motor axle 7 Fix the atomoization to the front net by bolt and then connect the front and back net 8 Use stick to rotate the fan to check it can rotate normally See fig 4 and fig 5 9 Insert Core plug dia 6mm dia 8mm water pipe of the automization respectively to the 4 core socket 6mm 8mm water in and out whole socket on...

Page 5: ...you must use a fixed distribution wire to fix the switch 3 The rotation switch is of 3 steps adjustment 4 When adjusting the fan shaking the middle connecting pole should be static the other two sides can rotate 5 Until water tank is filled with water spraying cannot start 6 When fan is working correctly switch the fan off then turn on the spraying switch 7 Adjust the spraying capacity by adjustin...

Page 6: ... Keep children and bystanders away while operating a power tool Distractions can cause you to lose control Electrical Safety Power tool plugs must match the outlet Never modify the plug in any way Do not use any adapter plugs with earthed grounded power tools Unmodified plugs and matching outlets will reduce risk of electric shock Avoid body contact with earthed or grounded surfaces such as pipes ...

Page 7: ... Power Tool Use Care Do not force the power tool Use the correct power tool for your application The correct power tool will do the job better and safer at the rate for which it was designed Do not use the power tool if the switch does not turn it on and off Any power tool that cannot be controlled with the switch is dangerous and must be repaired Disconnect the plug from the power source and or t...

Page 8: ...CONSUMER SERVICE CENTRE PO BOX 1012 HAMILTON NSW 2303 AUSTRALIA Made in P R C ...

Reviews: