Page 10
1
0
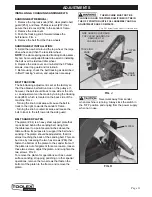
CHANGING THE SANDING DISC
NOTE:
Sanding discs with pressure ensitive adhesive
The sandpaper disc can be removed with the table
installed or with the table removed to give more work
(PSA) backing cannot be used with this sander! Only
Hook & Loop sanding discs can be used
.
-
ing access to the disc, if needed.
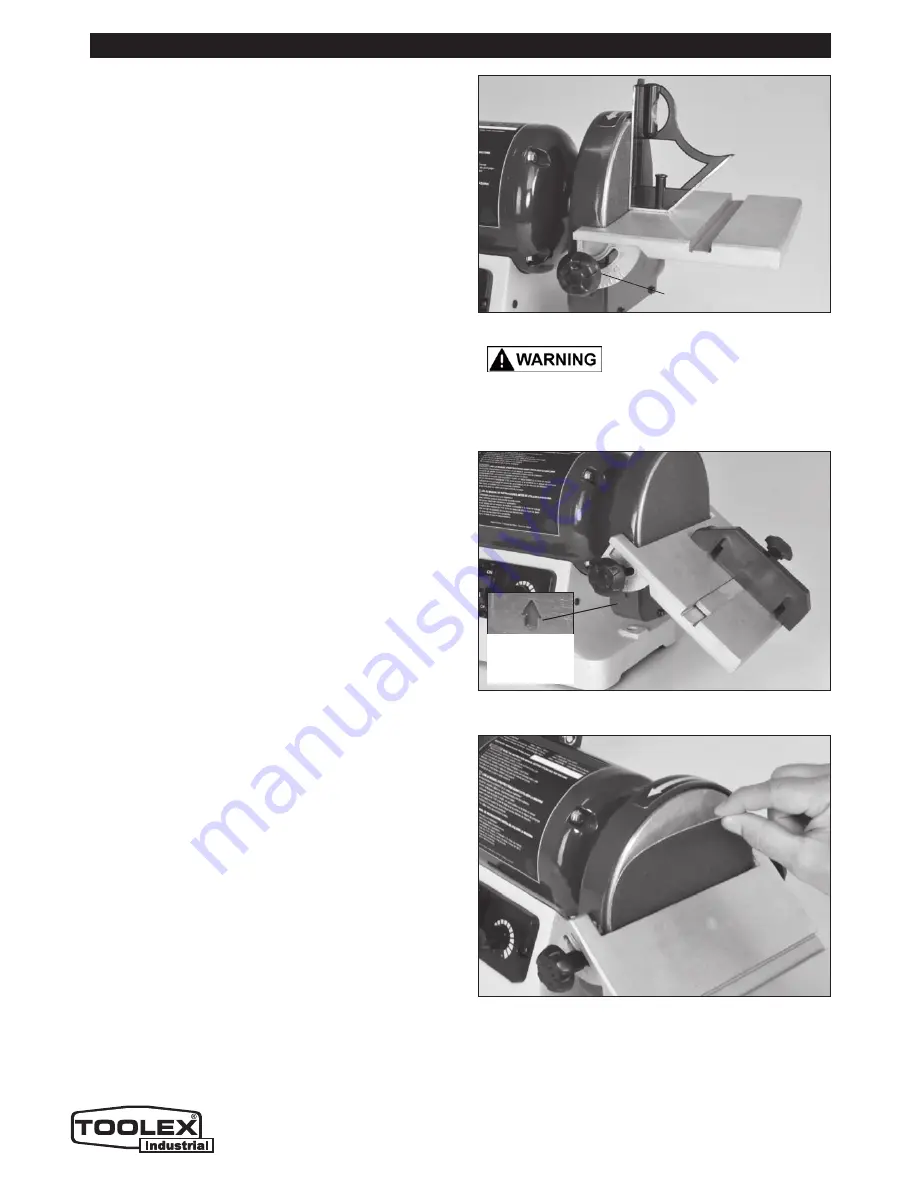
DISC CHANGING WITH THE TABLE REMOVED:
1. Remove and set aside the miter gauge.
2. Completely remove the 2 disc-table adjustment
handles and washers (#39, 95, 94).
3. Tip the table up and remove it from the guard frame
by slipping the table back out of the slots in the guard.
4. Remove the old disc paper
,
peel the protective
backing from new sanding disc. Align perimeter of
disc with sanding plate and press disc firmly into
position all the way around.
FIG. I.
FIG. G
FIG. H
FIG. I
ADJUSTMENTS
THE MACHINE MUST NOT BE
PLUGGED IN AND THE POWER SWITCH MUST BE
IN THE OFF POSITION UNTIL FULL ASSEMBLY AND
ALL ADJUSTMENTS ARE COMPLETE.
ADJUSTMENT HANDLE
& TABLE ANGLE GAUGE
DISC TABLE ADJUSTMENTS - continued
2. Loosen the 2 disc-table adjustment handles (#39),
and adjust table angle to 90º.
3. Re-tighten the 2 disc-table adjustment handles.
4. To adjust the disc-table to another angle, loosen
the 2 disc-table adjustment handles.
5. Set the table at the desired angle. FIG. H.
6. Re-tighten the 2 disc-table adjustment handles.
TABLE
ANGLE
INDICATOR
Note: Not Actual Toolex Product Pictured below
Summary of Contents for 598557
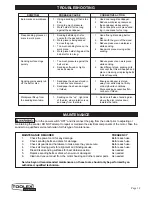
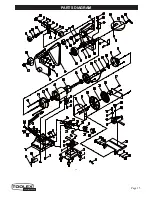
Page 15: ...Page 15 PARTS DIAGRAM 15 ...


