.
d
e
g
a
m
a
d
e
b
y
a
m
e
c
e
i
p
k
r
o
w
d
n
a
l
o
o
t
e
h
t
e
s
i
w
r
e
h
t
o
,
p
m
a
l
c
n
w
o
d
-
d
l
o
h
h
ti
w
no part of the tool contacts the hold-down clamp.
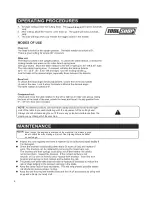
After unpacking, reading the instructions, attaching the machine to the workbench,
and checking that all attachments are correctly installed, you can use your saw.
Be sure to wear the appropriate protective equipment.
1. Check to ensure everything is correctly attached, screws are fastened, and all
adjusting keys and wrenches are removed.
2. Put on the dust bag(#6 on page 4) and install the table extension(#13 on page 4)
with the screw provided.
3. Connect the saw to power.
4. Unlock the saw from its various storage and shipping positions.
5. Push forward the safety switch.(#12 on page 4). Pressing the trigger(#1 on page 4)
switclh will start the saw.
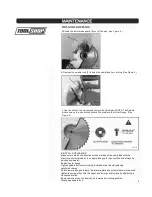
Be sure the saw is disconnected from its power source before making
any repairs or performing maintenance!
button is not depressed, do not pull the trigger with force as this may cause severe
damage to the switch.
the vise at any position.
-
operation.
5


