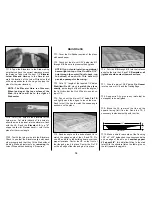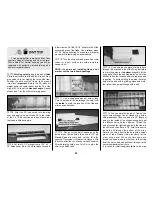
block (the one that will contact the elevator’s LE)
to match the angle of the LE. Glue the Torque
Rod block in position when you are satisfied with
the fit.
❏ ❏
8. Carefully sand the top of the Torque Rod
block flush with the taper of the ribs.
❏ ❏
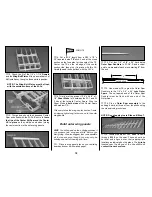
9. Mark and sand the
inside TE of an
elevator skin as you did in step 4. Apply a bead
of thick CA to LE, TE, and all ribs, then glue the
top skin into position. Hold the assembly flat until
the CA cures.
❏ ❏
10. True up all edges with a T-bar or
sanding block.
❏ ❏
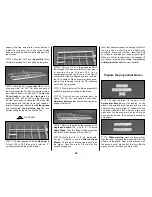
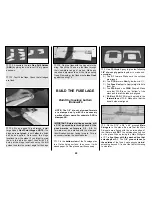
11. Test fit the Stab, Elevator, 5/8” x 1” x 6-
1/2” shaped balsa
Stab Tip
, and the 5/8” x
27/32” x 1-9/16” balsa
Elevator Balance Tab
together. Make any adjustments with light
sanding. Mark the
“break” between the Stab and
the Elevator on the Stab Tip. Cut the Stab Tip
apart along this line.
❏ ❏
12. Glue the forward balsa
Stab Tips
in position.
❏ ❏
13. Glue the Elevator Balance Tab flush
with the Elevator Tip.
Center
the Stab Tip on the
outboard end of the Elevator, before using thick
CA to glue in place. Make sure that both the
Elevator LE and TE are centered before the
CA cures.
❏ ❏
14. Tape the elevator assembly to the Stab.
Make sure that the Stab Tip and Elevator
Balance Tab are flush along the outside edge.
There should be a 1/32”-1/16” gap between the
Elevator Balance Tab and the Stab. If not, use
your T-bar sander to correct the problem by
alternately sanding the inside edges of the
Elevator Balance Tab and the Stab.
❏ ❏
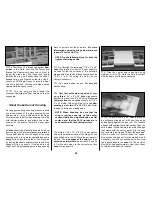
15. When satisfied with the fit, use a razor
plane and sanding block to shape the Stab Tip
to blend with the Elevator and Stab.
❏ ❏
16. Sand a radius around the Balance Tab
as shown in the photo.
❏ ❏
17. Sand a radius around the outboard
edges of the Stab and Elevator Tip.
13
Summary of Contents for CESSNA 182 SKYLANE
Page 8: ...8 DIE CUT PATTERNS ...


