❏ ❏
6.
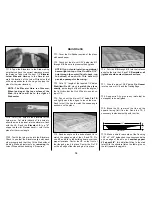
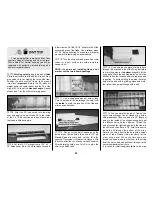
NOTE: Complete this step only if
you’re adding operational flaps.
Slide two
layers of waxed paper between ribs W-6 and W-
7 from the TE to just forward of the Aft Inner
Spar notch. The waxed paper will help prevent
the ribs from sticking together when you cut the
Flaps free later on.
❏ ❏
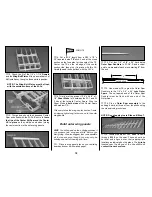
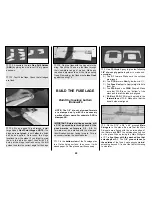
7. Fit the die-cut 1/8” balsa
Aft Inner Spar
and
Aft Outer Spar
into the aft notches of ribs W-
4 through W-6 and W-7 through W-14
respectively. The upward facing edge of the Aft
Inner Spar protrudes above the ribs. Make a
mental note of the protruding angle, then, after
removing the Aft Inner Spar from the frame, sand
a bevel on this edge so that it will be flush with the
ribs.
Although you could sand it in place, you
would run the risk of deforming the wing ribs.
❏ ❏
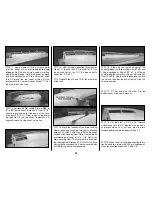
8. Sight down the TE of the wing from the
root end making sure all ribs are aligned. Use
paper to shim under the jig tabs of any ribs that
are low.
❏ ❏
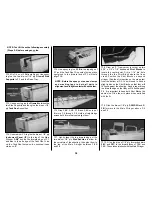
9. Check that the upward-facing edges of
the ribs and the top surface of the Aft Spars are
even and that all of the jig tabs are touching the
work surface or shims. When everything is
aligned, wick thin CA into all joints. Wick thin CA
into
all
seams around the mating surfaces of
W-6 and W-7.
❏ ❏
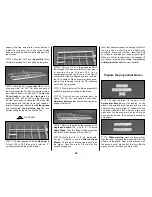
10. Place part
A
and
B
of the 1/8” die-cut
ply
Outer Dihedral Braces
over the pattern on
the plan and mark the indicated reference line
on both
long edges
of each piece.
NOTE: Both parts are slightly narrower at
one end. Use 6-Minute Epoxy to glue the
parts together as shown in the photo. Be
sure to make one left and one right set.
❏ ❏
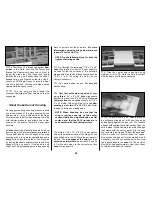
11. Use a razor saw to cut a 1/4” wide slot
from the upper forward Spar notch down to the
lower Spar through ribs W-6 and W-7. Insert the
Outer Dihedral Brace into the slot you just cut
with the narrow end toward the wing tip and the
short portion of the assembly facing the leading
edge. The angled edge should be facing upward
between ribs W-7 and W-8.
Don’t glue it in
place yet
, but leave it in position.
❏ ❏
12. Hold the upper Outer Spar in position
on the ribs, with the inboard end flush with W-4.
Mark the Spar at the seam between ribs W-6
and W-7. Score the inside of the spar two thirds
of the way through with a razor saw.
The inside
is the side with the tapered 1/8” Outer
Spar Doubler.
❏ ❏
13. Press the upper Outer Spar into the
wing notches and check for a flush fit at each rib.
When satisfied, remove the Outer Spar, then use
30-Minute Epoxy to
glue the Outer Dihedral
Brace
in position. Apply a bead of epoxy to the
upper edge of the Outer Dihedral Brace, and,
before the epoxy cures, install the Outer Spar
Assembly and glue it to all the ribs with thin CA.
NOTE: Work some epoxy into the the saw-
cut before laying the Spar in place.
❏ ❏
14. Cut four 3-1/8” long
Servo Hatch Rails
from 1/4” x 3/8” x 30” balsa. Glue two of these
pieces into the notches in ribs W-4 and W-5 and
two between ribs W-7 and W-8. These will
19
Summary of Contents for CESSNA 182 SKYLANE
Page 8: ...8 DIE CUT PATTERNS ...


