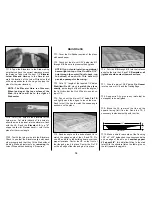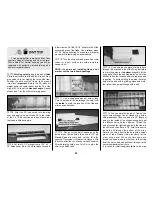
support the flap and aileron servo hatches.
Install the rails even if you don’t plan to add
flaps, as they add a little extra strength and fill in
the notches.
❏ ❏
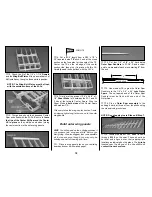
15. Glue the 1/8” die-cut
Gusset G-3
to the
Aft Outer Spar and W-7, as shown on the plans.
❏ ❏
16. Hold the 36” shaped balsa
LE
up to the
wing and mark it at W-7. Cut three quarters of
the way through the LE (from the flat side) with a
razor saw to allow it to flex at W-7.
Center the
LE vertically
on the ribs, then
tack glue
it in
position at W-4, W-7 and W-14. Sight down the
LE from both ends to check that all of the ribs
are centered and that the frame isn’t curved or
twisted. Once again, be sure that
all the jig tabs
are firmly on the building board
, then
permanently glue the LE to all of the ribs.
❏ ❏
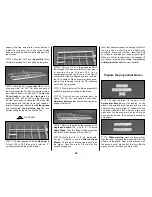
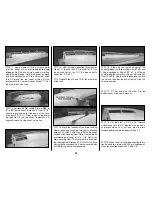
17. Cut the tapered 30” balsa
Flap Spar
to
fit from W-4 to W-7 then glue it into the “V”
notches just behind the aft Inner Spar.
❏ ❏
18. Center a 1/2” x 15” tapered balsa
TE
on
the aft edge of W-4 and the last W-6, then glue it
in position to only W-4 and W-6. Lay a
straightedge across the aft end of the ribs to
check that all ribs are aligned and level and that
the TE is straight. When everything looks good,
glue all the remaining ribs to the TE, centering
each rib as you proceed.
❏ ❏
19. Glue the die-cut 1/8” balsa gussets
G1
and
G2
in position, as shown on the plans.
❏ ❏
20. Trim the excess material from the
Spars, LE, TE, etc., and sand all ends flush.
Reinforce all joints
that still need extra glue by
adding medium CA.
❏ ❏
21. Refer to the plan for the location of the
single and double
1/16” x 2-3/4” x 1-1/2” balsa
Shear Webs
. Glue the Shear Webs in position
with thick CA (Not between W-4 and W-5).
❏ ❏
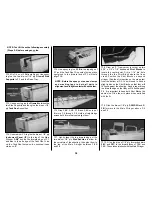
22. Locate the 1/2” x 1/2” x 6” balsa stick.
Cut six 1” lengths to use as
Aileron Hinge
Blocks
. Fit and glue 3 blocks where shown on
the plans. Save the other 3 for use on the
second wing panel.
Well, that about wraps up the framing for half of
the wing. Take a short break to admire your
handiwork, have a cup of coffee, clean the CA off
your fingers, and kiss your spouse good night.
When you’re fully revived, clean the sawdust off
your bench, swap the plan sheets, and get busy
building the other half. You can rest later.
❏ ❏
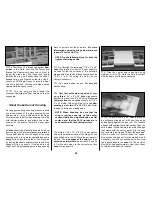
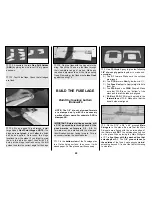
1. Position the three 1/8” ply parts of the
Polyhedral Braces
over the sketch on the
plans. Look carefully at each piece and you will
notice that they form a slight “V” shape, with one
end longer than the other. After you align each
piece over the drawing, mark an index line on
each part as shown, then extend it around to
both edges.
❏ ❏
2.
Without gluing
, stack the three pieces
together and compare the assembly with the
photo and the plans. Repeat this process with
the second set of braces,
but this time flip the
pieces end-for-end when you stack them.
Prepare the polyhedral braces
FLAP SPAR
20
Summary of Contents for CESSNA 182 SKYLANE
Page 8: ...8 DIE CUT PATTERNS ...


