❏ ❏
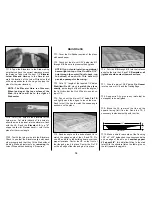
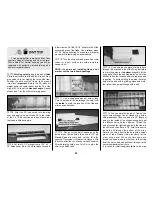
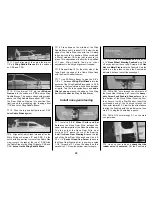
2. Slide the die-cut 1/8” ply
LE Jigs
over
the dowels, with the flat edge towards the
sheeted (bottom) side of the wing.
❏ ❏
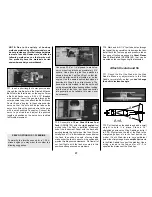
3. Tack glue the die-cut 1/8” ply
TE Jigs
to
the sheeting at the TE of W-3.
❏ ❏
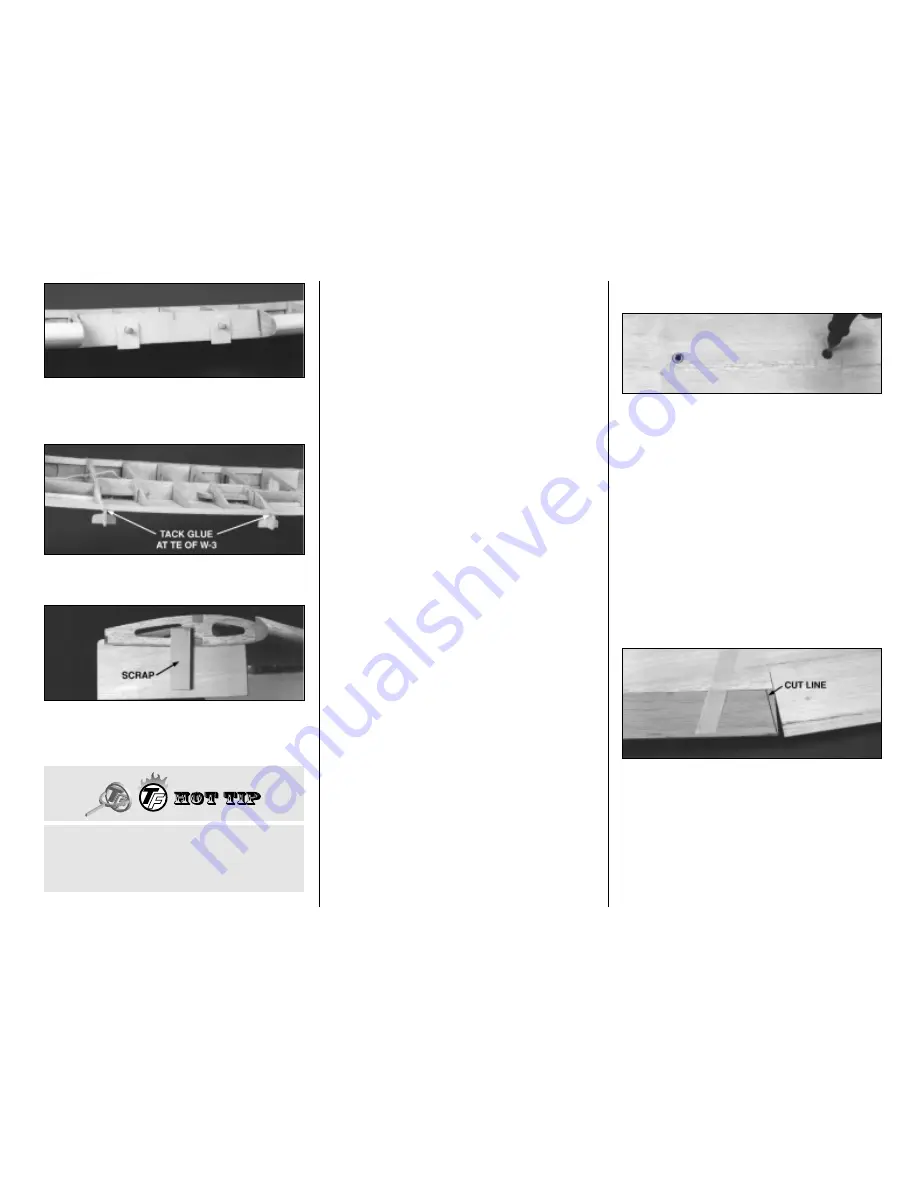
4. Place a die-cut 1/8” plywood
Tip Jig
under each W-14 rib with the raised tip of the jig
butting up to the TE spar. Tack glue it in place.
NOTE: Use the same procedure to sheet the
top of the wing as you used for the bottom.
❏ ❏
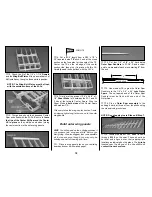
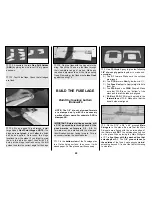
5. Cut the top
Center Panel Skin
from the
skin you made earlier. Remember that it should
line up with the dividing line between ribs W-3
and W-4. When satisfied with the fit, glue it in
place with thick CA.
❏ ❏
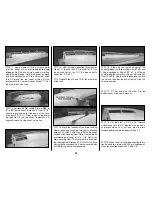
6. Check the fit of an outboard skin to the
wing structure. Make adjustments if required to
fit flush with the LE and Center Panel. Sand a
slight bevel to the edge of the skin that will
contact the LE to allow for a better gluing
surface. Use thick CA to glue the skin in
position. Hold the skin firmly in place while the
CA cures.
Magazines make good weights. Wick
thin CA along the LE seam, wiping off any
excess CA before it hardens.
❏ ❏
7. Repeat step 6 for the other outer panel.
❏ ❏
8. Measure, cut and glue a 1/16” x 3” x 36”
balsa sheet to fit over the Flaps and the
openings at the aft edge of the wing skins, as
you did for the bottom of the wing.
At this point you should have the main wing
structure fully sheeted. You may now remove all
Jig par ts from the wing and sand off any
glue marks.
❏ ❏
1. Trim the sheeting where it protrudes past
the edge of the structure.
❏ ❏
2. Sand the wing
Leading Edge
until it
blends well with the sheeting to for m a
smooth airfoil.
❏ ❏
3. Square off the wing tips with a T-bar.
❏ ❏
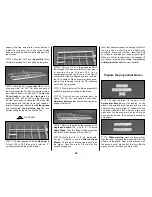
4. Use a pointed piece of wire to mark the
holes for the wing bolts from the bottom,
through
the top wing skin. Use a hobby knife to
carefully cut a 1/4” hole in the sheeting around
the points you marked. Insert one of the 1/4”
nylon wing bolts through the wing from the top,
and trace around the head with a pen. Enlarge
the holes to the circles you just drew to allow the
wing mounting bolts to seat against the wing
mounting plates. Use a round file or Moto-Tool
and grinding drum to avoid tearing the sheeting.
IMPORTANT: The Ailerons must be fitted to
the wing and the hinge bevels sanded
before installing the wing tips or cutting the
flaps loose.
❏ ❏
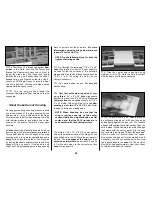
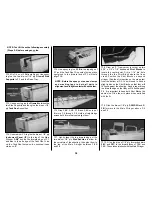
5. Tape a tapered 2-3/32” x 21” balsa
Aileron
to the
Outer Aft Spar
with one end
against W-7.
Don’t be alarmed if the Aileron TE
is higher than the TE at W-7; this will be taken
care of when the aileron LE is tapered. Draw a
line on the Aileron, parallel to the edge of W-7.
Remove the Aileron, then cut and sand it to this
line. Check the fit and make any minor
corrections as needed.
WING COMPLETION
Glue a piece of scrap ply to the side of the jig
and also to the W-14 ribs (as shown here) to
prevent the jig from moving or having to glue it
to the sheeting.
25
Summary of Contents for CESSNA 182 SKYLANE
Page 8: ...8 DIE CUT PATTERNS ...


