❏ ❏
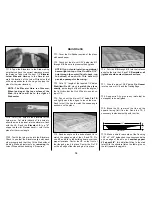
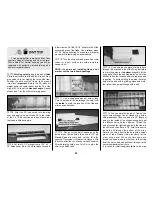
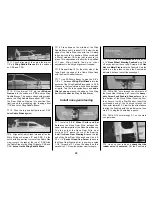
6. Tape the Aileron back into position. Mark
the tip end with a straightedge placed along W-
14.
Draw a line 1/16” inboard of the first line.
Cut off the Aileron tip on the second (inboard)
line. By so doing the Aileron will have 1/32”
clearance on both ends when it’s installed.
❏ ❏
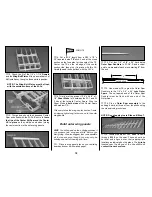
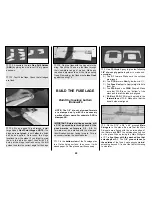
7. Draw a centerline on the LE of the
Aileron. Sand a
“V”
shaped bevel along this
edge. Refer to the wing cross section on the
plans for the required angle.
❏ ❏
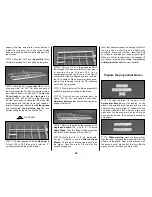
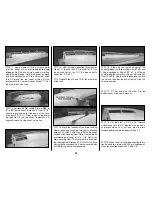
8. Tape the Aileron
securely
in position
with its
TE aligned with the TE at W-7
.
❏ ❏
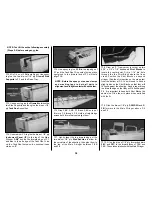
9. Tape a shaped balsa Wing Tip in position.
It should be centered on W-14 and the aft end
should be centered on the TE of the Aileron. Trace
the airfoil onto the inside edge of the wing tip.
NOTE: Horner Tips are an option on
full-scale Cessnas. If you prefer, you may
simply carve a standard tip without the
undercamber. Draw an arc the width of the
Aileron’s TE (as shown on the plans) if you
want to carve Horner Tips. Remove the tip.
❏ ❏
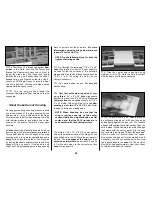
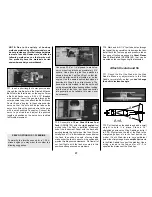
10. Use a long carving blade to carve away
most of the excess wood and rough in the shape
of the tip. To carve a Horner Tip, cut away a
wedge of balsa as shown in the photo, then use
a round sanding tool (e.g., 80-grit sandpaper
wrapped around a short piece of broom handle)
to curve the underside.
❏ ❏
11. When the Wing Tip has been shaped
close to finished size, glue it to W-14 with
medium CA.
Don’t glue it to the Aileron. Finish
sanding the Wing Tip with 220 grit sandpaper,
blending it with the wing sheeting and LE. Fine
tune the curved undercamber portion of the
Wing Tip with a round sanding tool and 220 grit.
The thickness of the Tip’s TE should match the
thickness of the Aileron TE.
❏ ❏
12. Refer to the plans for the aileron horn
location. Position a die-cut 1/8” x 5/8” x 5/8” ply
Horn Reinforcement
on the bottom of the
aileron at this location and score around its
perimeter with a hobby knife. Remove balsa
from within the score marks to recess the horn
reinforcement. Use thick CA to glue the horn
reinforcement in place.
❏ ❏
13. Repeat steps 5-12 for the other
wing panel.
If you are building your wing without operational
flaps, there’s nothing left to do except fit the wing
to the cabin during final assembly. Invite your
buddies back to the shop for a progress update.
Also, your floor needs sweeping.
NOTE: If you are NOT building operational
Flaps, skip the following section and
proceed to BUILD THE FUSELAGE.
26
Summary of Contents for CESSNA 182 SKYLANE
Page 8: ...8 DIE CUT PATTERNS ...


