❏ ❏
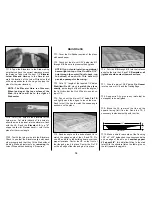
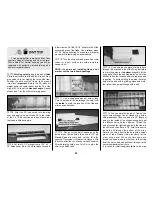
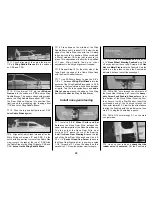
9. Trim off the excess balsa from the
Inner Aft Spar, then use a 3/4” dowel wrapped
with 220-grit sandpaper to sand a radius on
the protruding portions of the ribs. Cut a 1/4” x
1/2” slot in the Inner Aft Spar to allow the Flap
Horn and Clevis to clear.
❏ ❏
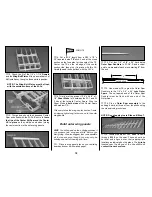
10. Reinforce the underside of the wing
sheeting (where it overhangs the aft inner spar
at the Flaps) by gluing leftover 1/16” x 1/4”
balsa strips between the ribs on the underside
of the top sheeting. Sand a bevel along this
edge to allow the flap to clear when it’s in the
up position.
Fit the flaps
❏ ❏
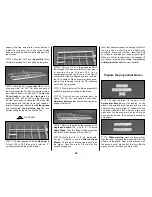
1. Use a T-bar to true-up the aft edge of
the wing sheeting in the flap section.
❏ ❏
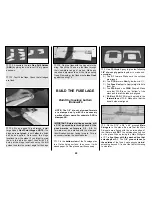
7. Shape the Flap LE to match the cross
section on the plans. A razor plane, whittling
knife, and coarse sandpaper help the job go
quickly. The die-cut 1/8” ply
Flap Hinge Drill
Guide
may be used to test the curvature of the
LE (
See step # 2 of “Fit The Flaps”).
❏
8. Repeat steps 1 - 7 for the other Flap.
❏ ❏
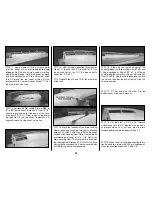
6. Cut a 1/2” x 1-1/4” x 14-1/2” balsa
Flap
LE
to fit on both sides of the Flap Horn. Cut a
1/16” deep notch in
one
of the Flap LE
sections to allow passage of the Flap Horn.
Glue the Flap LE in position
exactly
as shown
in the photo, with the bottom of the Flap flush
with the bottom of the Flap LE.
❏ ❏
4. Sand the LE of the Flap Ribs flush
(and at the same angle) with the Flap Spar.
Use a long T-bar or sanding block to maintain
a straight LE.
❏ ❏
5. Refer to the plans for the location of
the 1/16” die-cut birch ply
Flap Horn
.
NOTE
:
There is a different Flap Horn location for each
flap, so double check your work over the plans.
Glue the Flap Hor n in position with
thick CA.
together, cut the inboard and outboard ends of
the Flaps free with a hobby knife or razor saw.
❏ ❏
3. Use a
new #11 blade
to carefully cut
through each rib at the
aft die-cut
line. In the
event that some CA has glued the wax paper
❏ ❏
2. Tur n the wing over, then use a
straightedge and hobby knife to cut through
the top sheeting, across the two reference
marks, along the length of the flap.
❏ ❏
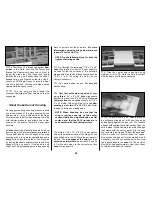
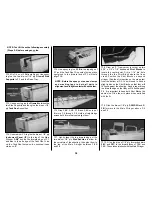
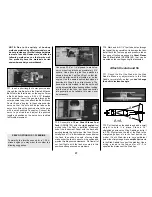
1. When you look inside the slot that you
cut in the sheeting along the Flap LE, you will
see two partially die-cut lines on each rib.
Insert a pointed piece of wire between the
lines, through the top wing sheeting at each
end of the flap.
We are using a wing section
mockup for the purpose of explanation.
BUILD THE FLAPS
27
Summary of Contents for CESSNA 182 SKYLANE
Page 8: ...8 DIE CUT PATTERNS ...


