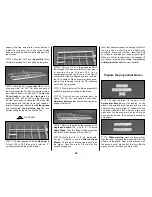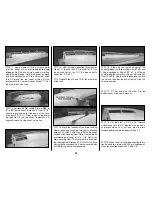
NOTE: Test fit the entire following assembly
(Steps 2-5) before using any glue.
❏
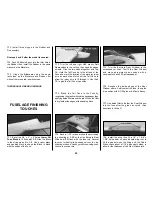
2. Mix 1/4 oz. of 30-Minute Epoxy. Use epoxy
to glue the two die-cut 1/8” ply
Firewall Side
Supports
to F-1 and the Servo Tray.
❏
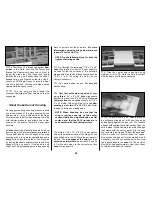
3. Use epoxy to glue the
Firewall
between the
two Side Supports and then glue the die-cut 1/8”
ply
Tank Roof
in position.
❏
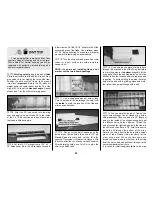
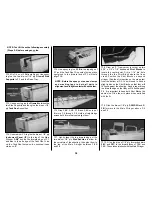
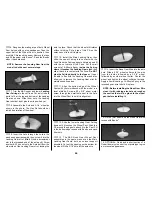
4. Use medium CA to glue the die-cut 1/8” ply
Instrument Panel (IP)
to the top of the Main
Stringer
3-5/8”
behind the forward edge of F-1
and also to the aft edge of the Tank Roof.
Line
up the Tank Roof between the punched index
marks on IP.
❏
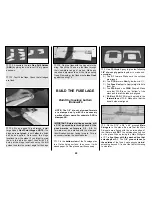
5. Use epoxy to glue
F-1B
to the top edge of
F-1 and the Tank Roof. A couple of scrap sticks
spot glued to the forward face of F-1 will help
align F-1B.
NOTE: Before the epoxy cures, use clamps
and masking tape to hold all parts in
alignment and in tight contact with each other.
❏
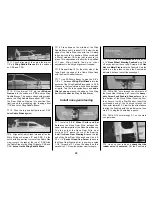
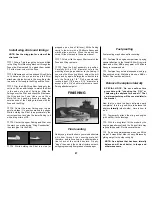
6. Glue F-5B, F-6B, F-7B and F-8B on top of
formers F-5 through F-8. Hold a straightedge
across both former halves to align them.
❏
7. Lightly taper the top forward edge of the
two die-cut 1/8” ply
Stab Saddles
to allow for
the curvature of the sheeting, then glue them to
the top of the Main Stringer between F-8B
and F-9.
❏
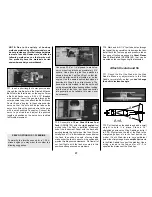
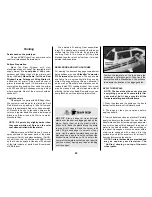
8. Draw an “X” from corner to corner on two
5/16” x 3/4” x 7/8” basswood
Strut Blocks
to
locate the center point. Drill a 1/16” dia. hole
through the the Strut Block where the lines
cross. Position the Strut Blocks on second
stringer (See the strut section on the wing plan)
from the bottom at F-2. You will need to sand a
slight radius on the Strut Blocks so that they will
fit flush against the sheeting. Sand a taper along
the forward edge so that they will fit flush against
F-2. It is important to keep both Strut Blocks the
same size. Glue them in place when satisfied
with the fit.
❏
9. Glue the die-cut 1/8” ply
F-2B/F-2D
and
F-
3B
formers to the Main Stringer above F-2
and F-3.
❏
10. Glue the die-cut 1/8” ply former doublers
F-2C
and
F-3C
to the forward faces of F-2B and
F-3B. The notches interlock with the Main Stringer.
34
Summary of Contents for CESSNA 182 SKYLANE
Page 8: ...8 DIE CUT PATTERNS ...

