❏
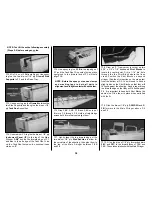
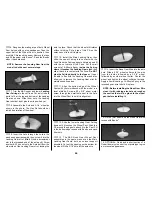
11. Check alignment, then glue the die-cut
1/8” ply
Wing Saddle Braces
into the notches
on F-2B and F-3B.
❏
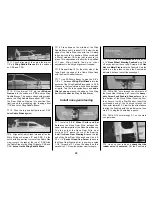
12. Fit the die-cut 1/8” ply rear
Window
Frames
into the notches in F-5B and the Wing
Saddle Braces. The upper ends should protrude
above the Wing Saddle Brace about 3/32”. Glue
the Rear Window Frames into position then
lightly sand the protruding tips, leaving about
1/16” above the Wing Saddle Brace.
❏
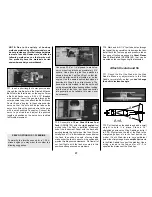
13. Glue the top and bottom die-cut 3/32”
balsa
Cabin Sides
together.
❏
14. Align both Cabin Sides fore and aft on the
Main Stringer between IP and F-5B. Fit the
notch at the upper front corner of the Cabin Side
wing roots to the tabs at the top of F-2B. Glue
the Cabin Sides to the Main Stringers, F-2B and
F-3B,
but not to the Wing Saddle Brace
.
❏
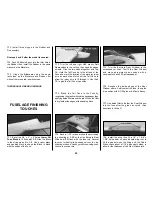
15. Press down on the middle of the Wing
Saddle Brace until it is about 1/16” below the top
edge of the Cabin Side, then wick thin CA along
the seam to hold it in position. When cured, add
a fillet of medium CA to the joint to secure it in
place.
This depression will allow for the addition
of Foam Wing Saddle Tape and minor
adjustment to the wing’s alignment if needed.
❏
16. Repeat Step 15 for the other side of the
fuse. Sand the edge of the Cabin Sides flush
with the Rear Window Frames.
❏
17. Use 30-Minute Epoxy to glue the 3/8” x
7/8” x 1” hardwood
Wing Bolt Blocks
into the
pockets of the Wing Saddle Braces and to F-3B.
Make sure that you obtain a solid bond between
all parts. Turn the fuse upside down and
add a
fillet of epoxy
around the edges of the Wing
Bolt Blocks
under
the Wing Saddle Braces.
❏
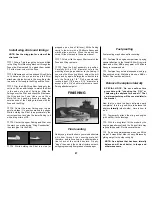
1. Install a
3/16” Wheel Collar and Set
Screw
on the Nose Gear Wire, between the
upper and lower parts of the Nose Gear Bearing.
The top end of the Nose Gear Wire must
protrude 3/16” above the top of the Bearing.
Install the
Nose Gear Steering Arm
on the top
end of the Nose Gear Wire as shown. Use a 6-
32 x 1/4”
Socket Head Cap Screw
to secure
the Nose Gear Steering Arm in position, angled
1-1/8” forward of F-1 when the wheel’s axle is
parallel to F-1.
See plan bottom view for angle.
❏
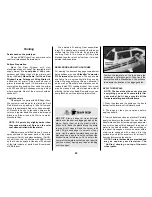
2. Cut 1/2” from the
threaded end
of the 4-40
x 12”
Nose Wheel Steering Pushrod
wire. File
off any burrs from the cut end. Screw a 4-40
Hex
Nut
and
Metal Clevis
onto the Pushrod. Use the
pattern on the plans to bend the Pushrod as
indicated, but don’t cut off the excess yet.
❏
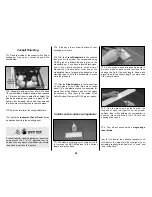
3. Drill a 3/32” hole through the outer hole of
the Nose Gear Steering Arm. Insert the
heavy-
duty Screw Lock Pushrod Connector
up from
the bottom of the Nose Wheel Steering Arm,
then secure it with a Star Washer. Insert the
unthreaded end of the Pushrod through the
Connector toward F-1. View the fuse from above
to align the Pushrod with the rudder servo, then
mark F-1 using the Pushrod as a punch.
❏
4. Drill a 3/16 hole through F-1 on the mark
you just made.
❏
5. Hook up your radio and
check that the
rudder servo is centered
. Cut the Pushrod to
Install nose gear steering
35
Summary of Contents for CESSNA 182 SKYLANE
Page 8: ...8 DIE CUT PATTERNS ...


