❏
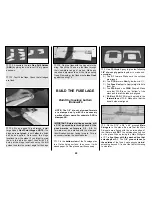
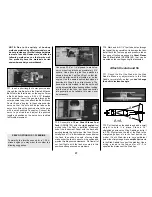
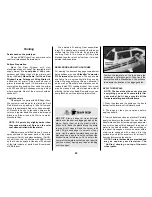
11. Sand the shaped 1/4” balsa
Dorsal Fillet
to blend with the top of the Dorsal Fin and the
Fin’s LE. Glue it in place, then sand it to blend
with the two Fins. The result should be a
smooth, constant radius, without any “bumps” on
the ends.
❏
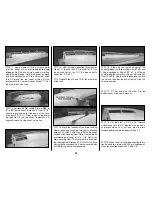
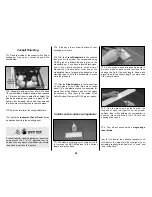
12. Blend the Dorsal Fin to the Vertical Fin
with
several thin coats
of balsa filler. The object
is to have the whole Fin assembly appear as
one flowing piece.
NOTE: Do not make a fillet where the Fin
assembly meets the fuse.
❏
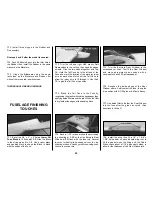
13. While you have the balsa filler handy, take
care of any dings and open seams between
the sheeting.
❏
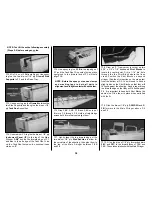
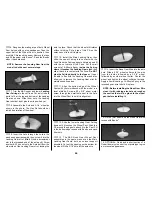
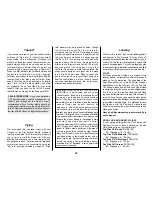
14. Test fit the four segments of the die-cut
1/8” balsa
Cowl Ring
on F-1.
NOTE: There are top and bottom pairs of
parts to the Cowl Ring. Glue the Cowl Ring to
F-1 with thick CA, so that you will have a few
seconds to make last-minute adjustments.
The Cowl Ring should be inset from the fuse
sheeting by about 1/16” all around.
❏
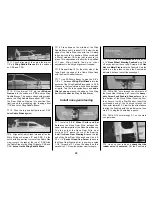
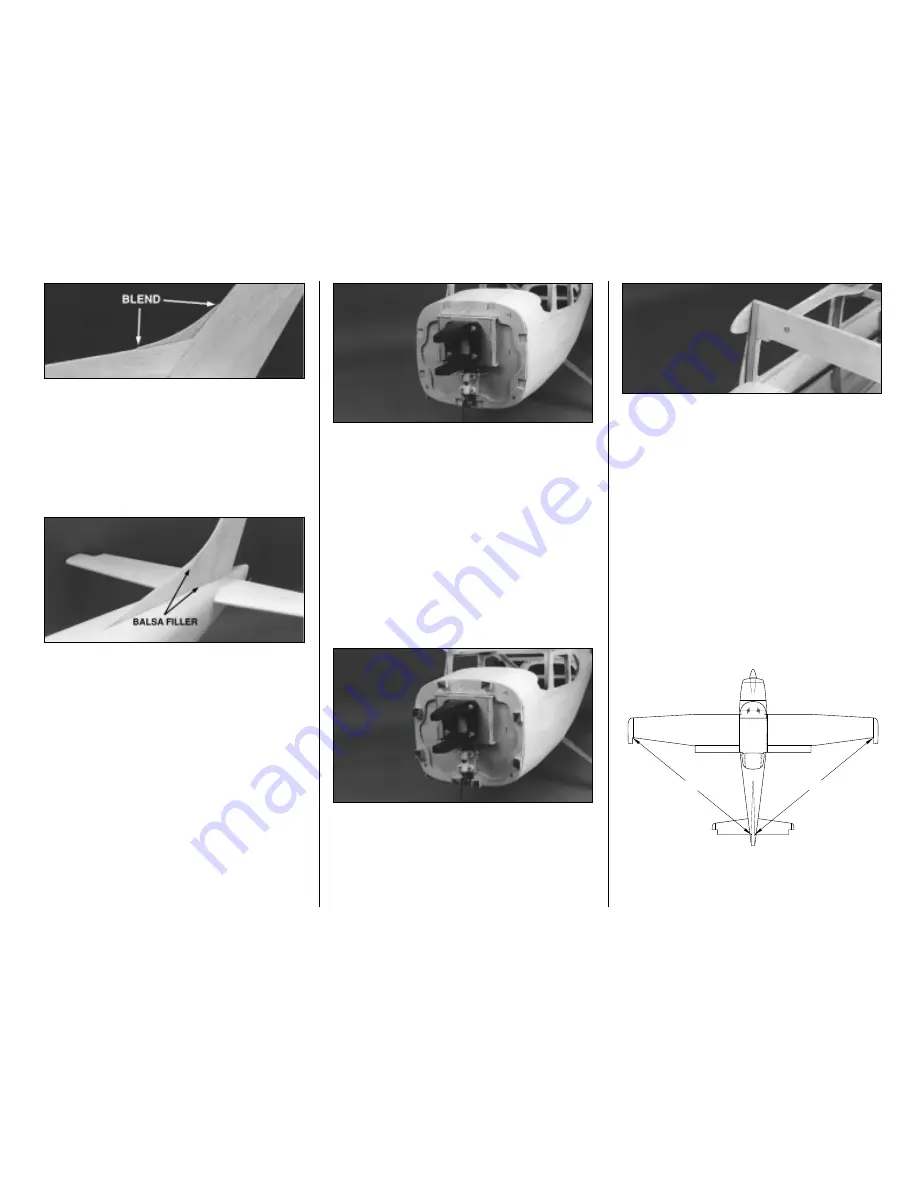
15. Use 30-Minute Epoxy to glue each of the
1/2” x 1/2” x 5/8” Maple
Cowl Mount Blocks
into the notches around the Cowl Ring. As
Cowlings are usually subjected to a fair amount
of vibration, be sure to get a good bond between
the Blocks, the Cowl Ring and F-1.
❏
16. Glue the two 1/32” x 3/8” x 4-5/8” birch ply
strips to the forward sides of F-2B. They extend
from the Main Stringer to the top of F-2D and
provide a little extra support for F-2B.
By now you should be looking at a Cessna. If
not, you’ve been working on the wrong kit.
❏
1. Clean out wing dowel holes with a 1/4” drill
bit, to assure easy wing dowel fits.
❏
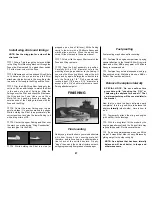
2. Install the wing and check the fit. Make
adjustments as necessary. Hold a string (with
A
A
A=A
Mount the wing to the fuselage
41
Summary of Contents for CESSNA 182 SKYLANE
Page 8: ...8 DIE CUT PATTERNS ...


