❏
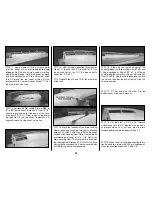
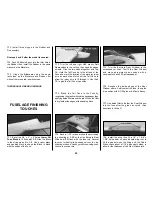
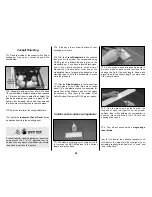
3. Install three hinges in the Rudder and
Fin assembly.
Do steps 4 and 5 after the model is covered.
❏
4. Pack 30-Minute Epoxy into the tiller hole in
the Rudder, then install the Rudder in the same
manner as the Elevators.
❏
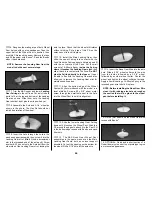
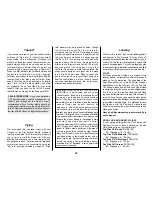
5. Hinge the
Ailerons
using the same
technique as the Elevators and Rudder, but
without the torque rod insertion steps.
THERE SHOULD BE NO HINGE GAP
❏
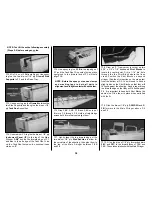
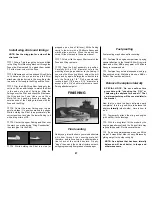
1. Bevel the 3/4” x 3” x 6” balsa
Lower Aft
Fuse Block
to fit flush with F-8. Glue the Block
to the stringers and to F-8. Use a razor plane
and sanding block to shape the Block to blend
with the shape of the Fuse.
❏
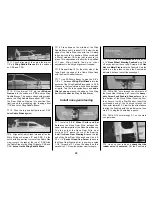
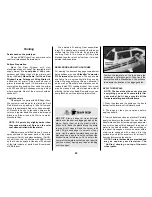
2. Trim the left and right ABS plastic
Tail
Cone
halves to the cut line, then sand the edges
smooth. Glue the two halves together with thin
CA. Hold the Tail Cone up to the aft end of the
Fuse and mark the location of the elevator joiner
wire on each side. Notch out the Tail Cone to
allow the joiner wire to fit through it. Use thick
CA to glue the Tail Cone in position.
❏
3. Blend the Tail Cone to the Fuse by
roughening the plastic with coarse sandpaper, then
applying balsa filler around the joint. When the filler
is dry, feather the edges with a sanding block.
❏
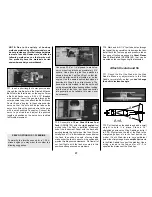
4. Sand a 1/32” recess around the protruding
top sheeting at F-5B so that the Butyrate Rear
Window will fit flush with the fuse top.
Several
layers of masking tape wrapped over the top
sheeting makes a handy guide for sanding even
channels such as this.
❏
5. Trim the Butyrate Rear Window to the
embossed cut lines. Test fit the Rear Window
and make adjustments as needed with a
sanding block and 220-grit sandpaper.
❏
6. Roughen the inside edges of the Rear
Window where it will contact the fuse, then glue
it in position with RC-56 glue or 6-Minute Epoxy.
❏
7. Use balsa filler to feather the Rear Window
into the fuse after the glue has cured. (See
directions for Step 3.)
❏
8. Install the wing then fit a 1/4" x 1-5/8" x
1-5/8" balsa shim on each inboard wing root to
fill the gap between the Wing and the Cabin
Sides. Leave about a 1/16” gap on both sides, to
allow for the thickness of the Front Windshield.
FUSELAGE FINISHING
TOUCHES
43
Summary of Contents for CESSNA 182 SKYLANE
Page 8: ...8 DIE CUT PATTERNS ...


