Page 4
sembled. Test fit this assembly to the bottom
of the fuselage. When satisfied with the fit,
apply a liberal bead of aliphatic resin glue to
the entire bottom of the fuselage from FW to
the tail. Use strips of masking tape about ev-
ery 2” to hold the sheeting firmly against the
fuselage until the glue has cured.
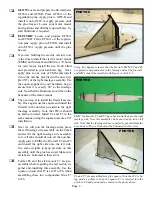
PHOTO I
After applying aliphatic resin to the bottom fuselage sides and
formers, the bottom sheeting assembly is installed and held
firmly in place with strips of masking tape until the adhesive
has cured.
£
13
Sand the fuselage assembly smooth, radius
the corners slightly for a pleasant look. The
bottom skid and tailskid can be installed
now or after covering. It is easier to cover
the model without the skids, dowels and em-
pennage installed. If you want to paint your
model you can install the 3/16” dowels and
the skids now.
£
14
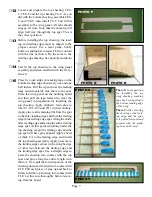
Locate the stabilizer (ST) and the vertical fin
(FN) and prepare them. Use the square and
glue the vertical fin to the stabilizer. Sand the
leading edges to a slight radius. This assem-
bly can be installed now or after covering if
desired.
£
15
Locate the rudder (RU) and one of the con
-
trol horns (CH). The control horn must be
installed on the right side of the rudder. Glue
the control horn to the rudder.
£
16
Locate the elevator (EV) and the remaining
control horn. The elevator control horn must
be installed on the top left side of the elevator.
Glue the control horn to the elevator.
This completes the fuselage and empennage
assembly.
Assembly of the stabilizer and vertical fin could not be simpler.
Use the square to insure that the fin is 90° to the stabilizer.
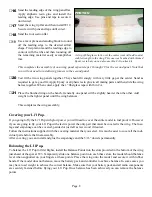
PHOTO J
Elevator and rudder control horns have been installed. Note
that the rudder control horn must be positioned on the right
side and the elevator horn must be on the top left side.
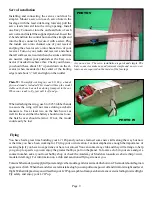
PHOTO K

