c
24
c
23
c
22
c
21
c
20
c
19
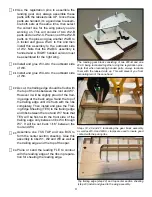
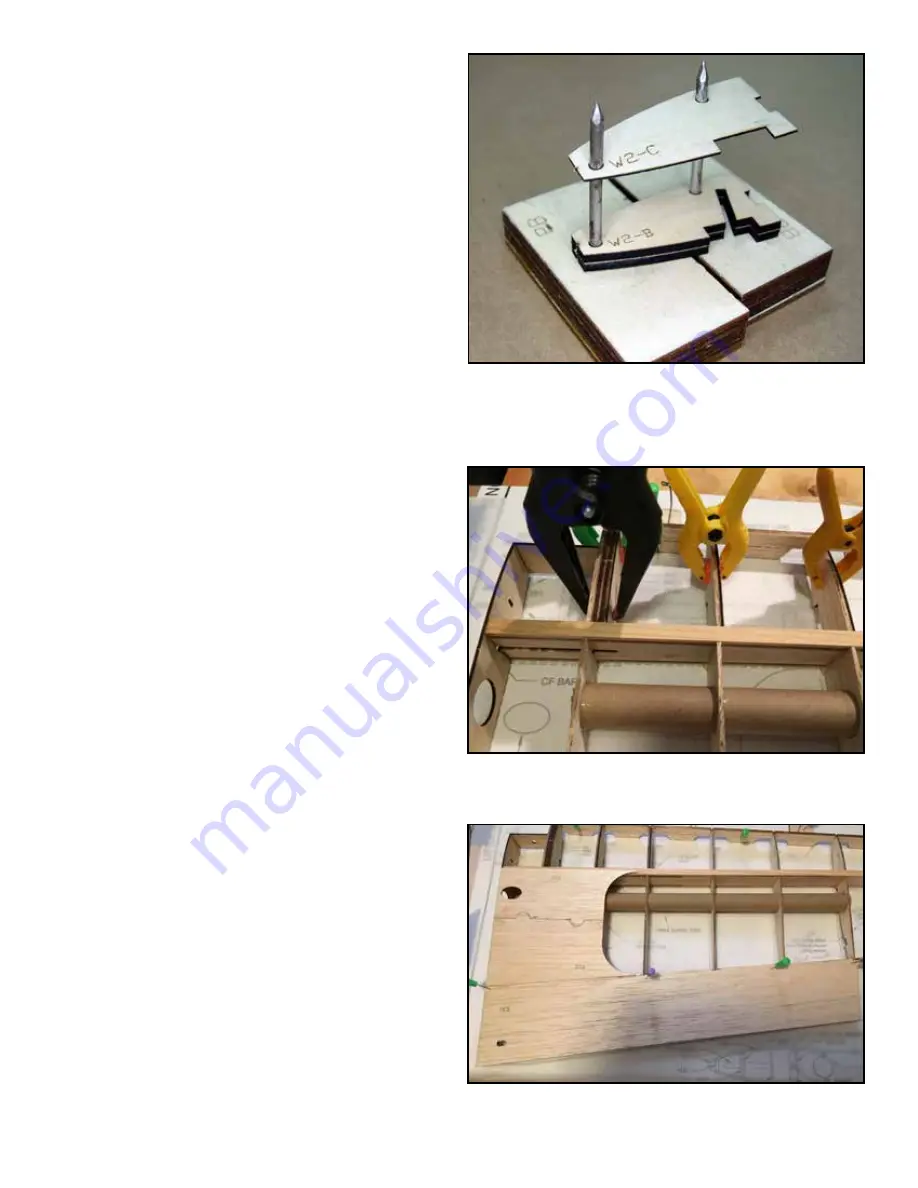
Use the registration pins to assemble the
landing gear slot, always assemble these
parts with the labeled side UP. Since these
parts are handed, it’s a good idea to assem-
ble both sets at the same time, then select
the correct one for the wing panel you are
working on. This will consist of two W2-B
parts and one W2-C. Place one of the W2-B
parts on the pins and glue another W2-B to
it. Install and glue a W2-C to this and then
install this assembly to the outboard side
of W2. Note that the W2-B/C assembly is
handed and a RIGHT handed version must
be assembled for the right wing.
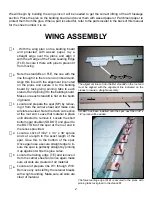
The landing gear block consisting of two W2-B and one
W2-C being laminated together using the registration pins.
Note that when laminating handed parts, always laminate
them with the labeled side up. This will prevent you from
laminating two of the sane hand.
Install and glue W3-A to the outboard side
of W3.
Install and glue W4-A to the outboard side
of W4.
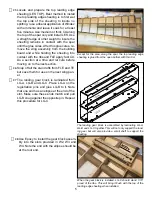
As cut, the trailing edge should be flush with
the top of the ribs between the root and W7.
However it will be slightly proud of the trail-
ing edge at the back edge. Sand the top of
the trailing edge until it is flush with the ribs
completely. Then install and glue the Trail-
ing Edge Sheeting (TES) to the trailing edge
and ribs between the root and W7. Note that
TES will be flush with the front side of the
trailing edge only between ribs W4 through
W7. It will be set back 1/16” between the
root and W4.
Steps 19, 20 and 21, laminating the gear block assembly
as well as W3-A and W4-A, clamps are used to insure good
contact with the paring ribs.
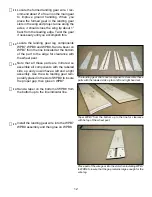
Assemble one TCS TOP and one BCS to
form the center section sheeting. Glue this
assembly to ribs W1, W2 and W3 as well as
the trailing edge and the top of the spar.
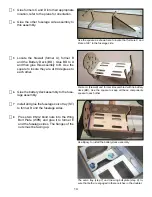
Plane or sand the leading FLE to contour
with the leading edge of the ribs in prepara-
tion for sheeting the leading edge.
4
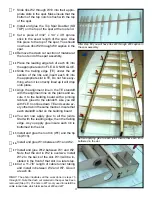
Top trailing edge (step 22) and top center section sheeting
(step 23) install and glued to the wing assembly.

