


10
EN
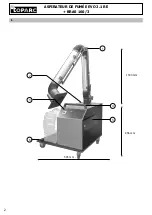
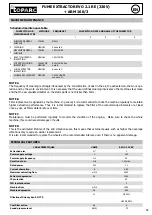
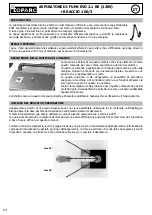
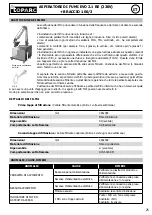
FUME EXTRACTOR EVO 2.1 RE (230V)
+ ARM 160/3
FILTER REPLACEMENT
Filter replacement varies according to the use and frequency of use of the machine.
The clogging/build up of dirt on the filters may vary according to :
• Welding material (every material generates different fumes/powder)
• Welding type (each process such as MIG, TIG, electrode, etc....)
• Elements in contact (for example oil, grease, paint, etc. which generate more «agressive» fumes).A
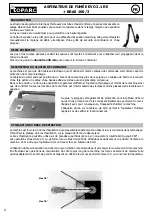
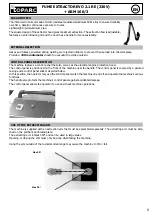
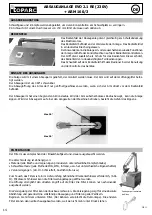
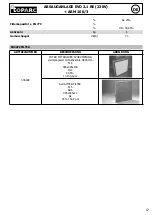
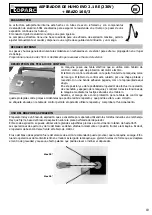
To replace the filters, a triangle key (FIG II) is necessary. This key is supplied with the machine, which opens the filters’
inspection panels.
Opening that panel allows direct access to the filter section. Removing the filters is done by pulling them one by one
towards the outside.
Note that the filtering section may be difficult to remove due to the seals which are set up around the filters. These
hermetic seals (which are pressurised) guarantee the optimal filtering of the extracted particules.
Removing the filters must be done in the following order, starting with the lowest filter; which has a frame that can
be used as a bearing point in order to remove the filter. The other filters can then be removed easily as they are not
pressurised anymore.
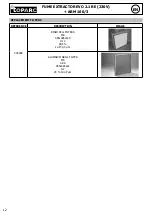
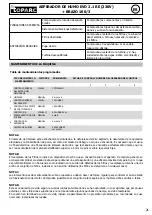
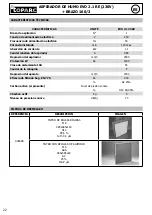
FILTER DETAILS
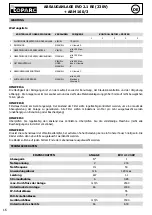
First filtration step :
Metal filter (Clean once a week))
Dimensions
mm
485x485
Filtration material
Aluminium fiber
Can regenerate
Yes (washable)
Behaviour under flame
Non-flammable
Second filtration step :
Ondulated filter cell (Clean once every 2 weeks)
Dimensions
mm
490x592
Filtration material
Polyester fiber
Can regenerate
Yes (shaking)
Behaviour under flame
DIN 53438 F1
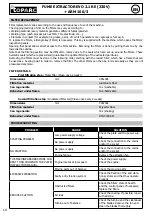
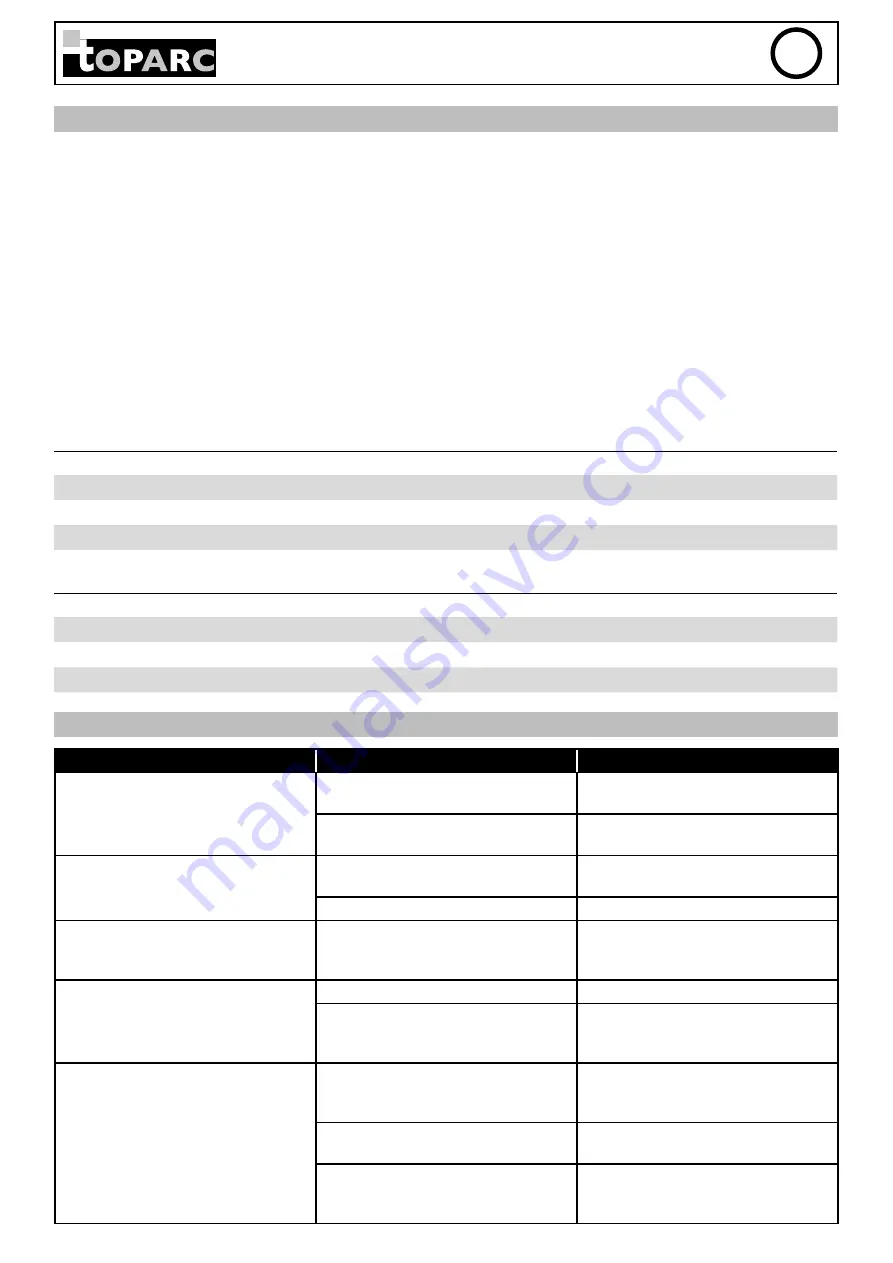
TROUBLESHOOTING
PROBLEM
CAUSE
SOLUTION
STARTING PROBLEM
Low power supply voltage
Check the plate and the power sup
-
ply.
No power supply
Check the connection to the mains
and/or the socket
NO STARTING
No power supply
Check the connection to the mains
and/or the socket
Engine fatigue
Replace the extraction fan
THE MACHINE ABSORBS MORE CUR
-
RENT THAN SHOWN ON THE PLATE/
INSTRUCTION MANUAL
Engine rotates at low speed
Check the power supply.
Check the engine.
EXCESSIVE VIBRATION
Moving parts out of balance
Check the moving parts
Faulty anti vibration system
Check the fixation of the anti vibra
-
tion systems and that they operate
properly
REDUCED SUCTION
Obstructed filters
Check the filters' state of health
and the control panel. If necessary,
replace the filters.
Air leak
Check the coating. If possible, repair
with silicone.
Turbine out of balance
Check the turbine and the cleanliness
of the blades. Remove the fan and
clean the blades thoroughly.


