18-3
18 CHECKS AND ADJUSTMENTS
18.3 Adjustment of Compensation Systematic Error of Instrument
1 Vertical axis error
2 Collimation axis error
3 Vertical angle 0 datum error
Correction constants for the above errors are calculated and stored in the instrument by the following
procedure, and then measurement values are corrected using the stored constants. This adjustment
has a direct effect on determining the coordinate origin. Carry out the adjustment very carefully.
Operating procedure
Operation
Display
1
Level the instrument properly with the
plate level.
2
While pressing the
{F1}
key, turn power switch
ON.
{F1}
+
Power ON
3
Press the
{F2}
key.
{F2}
4
Press the
{F1}
key.
{F1}
5
Collimate target A. (FACE (1)).
Collimate
A
(Normal)
6
Press the
{F4}
(SET) key. *1)
The sample display shows that the measurement
is made 5 times in FACE 1.
{F4}
7
Turn the telescope in reverse telescope setting
(FACE (2)).
8
Collimate target A.
Turn
telescope
Collimate
A
(Reverse)
9
Press the
{F4}
(SET) key.
Repeat the procedures in step
8
and
9
so that the
count of measured times matches to the one in
FACE (1). *2)
{F4}
10
Press the
{F4}
(SET) key. Repeat the procedures
in step
13
and
14
so that the count of measured
times matches to the one in FACE(2).
Then the display returns to main menu.
{F4}
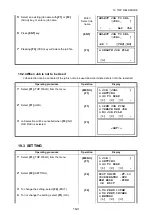
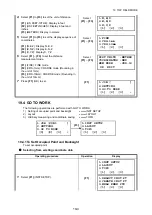
ADJUSTMENT MODE
F1:V ANGLE 0 POINT
F2:V0 AXIS
P
↓
AV0 AXIS
F1:MEASUREMENT
F2:CONSTANT LIST
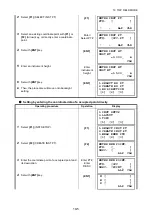
V0/AXIS ADJUSTMENTS
(A)COLLIMATION
FRONT FACE1 /0
V: 89°55'50"
LEVEL ±0
SET
REVERSE FACE2 /5
V: 270°04'20"
LEVEL ±0
SET
COMPLETE


