18-4
18 CHECKS AND ADJUSTMENTS
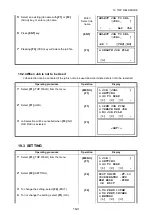
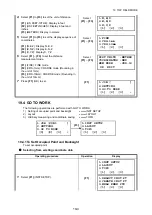
To show the constant list of systematic error of
instrument
1
Press the
{F3}
key from Adjustment Mode menu
1/2.
{F3}
2
Press the
{F2}
key.
Correction values are displayed.
{F2}
3
Press the
{F1}
key.
The display returns to previous menu.
{F1}
*1) It is able to get the average value from 1 to 10 measurements. To get the average, repeat the
procedures in steps
5
,
6
or
10
,
11
. The measured times is counted in the second line of display.
*2) The compensation values of 1) Error of vertical axis (X,Y tilt sensor offset), 2) Collimation error, and 3)
Error of vertical angle 0datum will be set and memorized internally.
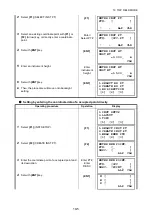
ADJUSTMENT MODE
F1:V ANGLE 0 POINT
F2:V0 AXIS
P
↓
V0 AXIS
F1:MEASUREMENT
F2:CONSTANT LIST
VCo:
1°57'12"
HCo: -0°00'20"
HAx: -0°00'20"
EXIT


