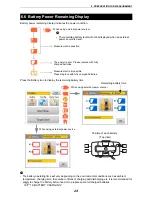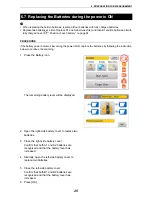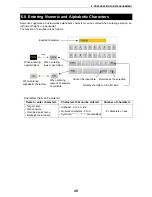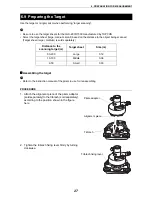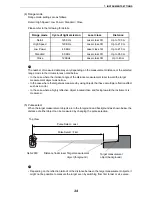
19
6. PREPARATION FOR MEASUREMENT
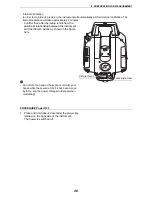
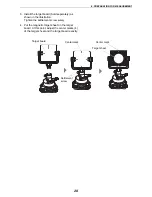
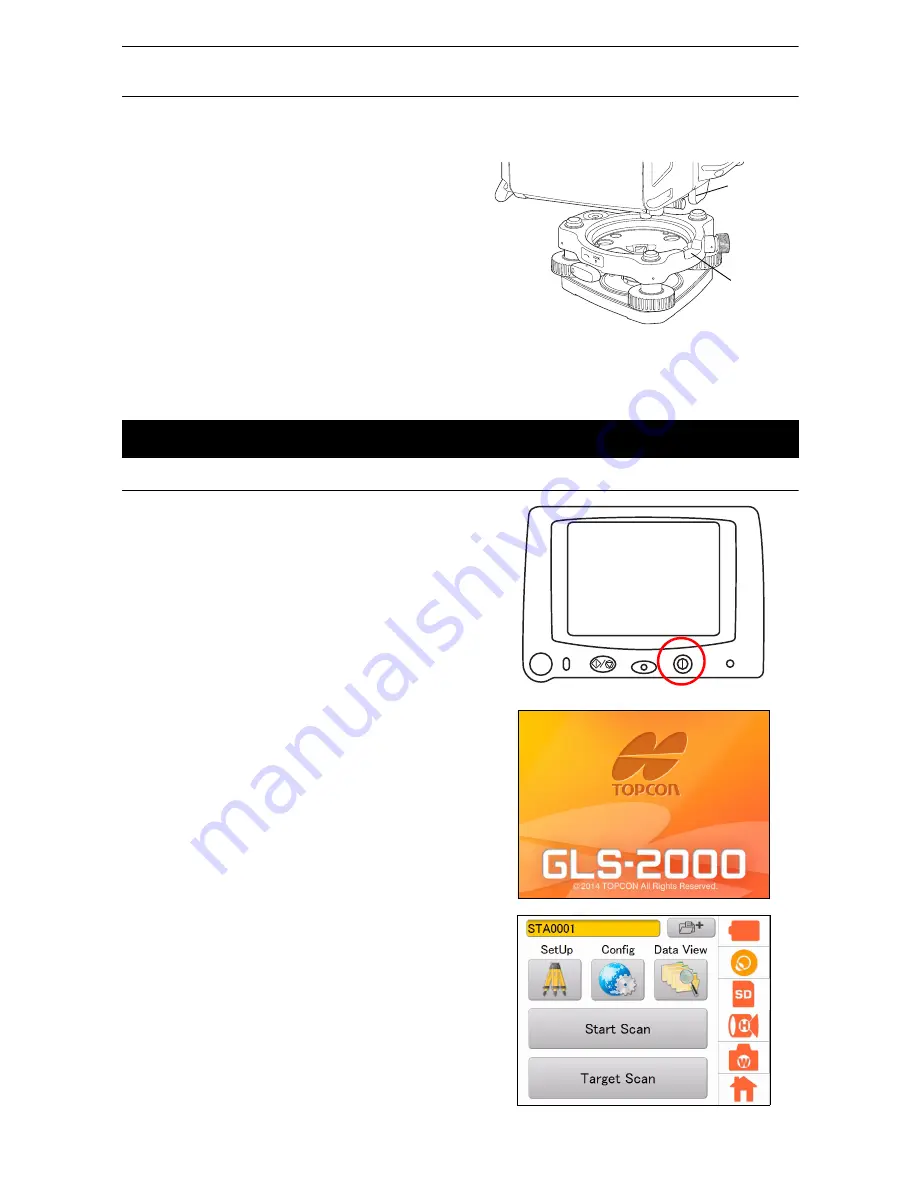
PROCEDURE Attaching the instrument to the levelling base
1. Check that the tribrach fixing screw has been
loosened.
2. Align the alignment piece and the tribrach
alignment groove and lower the instrument onto
the levelling base.
3. Turn the tribrach fixing lever clockwise to tighten.
4. Turn the tribrach fixing screw clockwise to
tighten.
• Locking the tribrach fixing lever
The tribrach fixing lever can be locked from being moved accidentally. This is useful if the upper
instrument section is not being detached very often. Simply tighten the securing screw on the fixing
lever with the accessory screw driver.
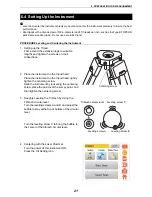
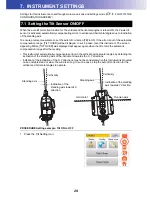
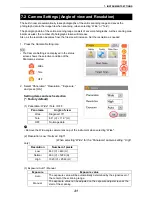
PROCEDURE Power ON
1. Press the power key located on the right side of
the instrument.
After the power Indicator turned on, a startup
screen will be displayed.
• It takes approximately 3 minutes after the power
has been switched ON to initialize the instrument
and warm up the laser.
Do not turn the instrument with your hands or
operate any keys while the instrument is turning.
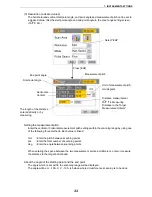
The main menu will appear.
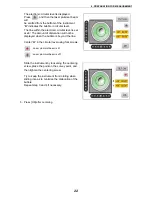
• If [TILT OVER] is displayed, this instrument is
inclining beyond the tilt angle compensation
range. Level this instrument using the tilt sensor.
“6.4 Setting Up the Instrument”
6.3 Power ON/OFF
Alignment
piece
Tribrach
alignment
groove
Main menu


