24
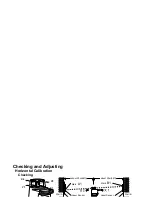
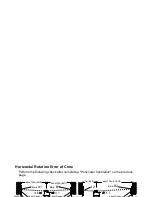
Horizontal Rotation Error of Cone
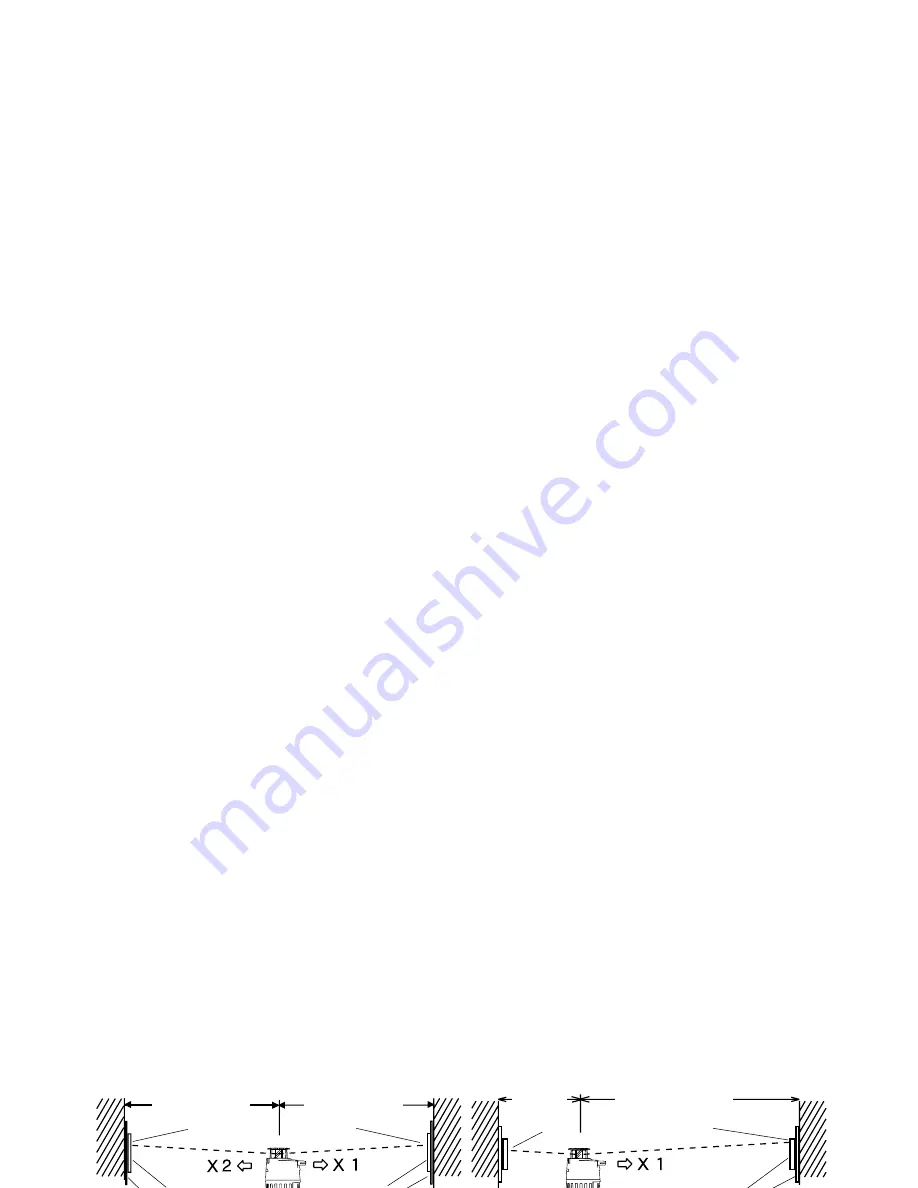
Perform the following check after completing "Horizontal Calibration" on the previous
page.
1
Set up instrument on tripod between two walls as was done to check calibration (see
page 19). Repeat steps 1 to 4 of Horizontal Calibration Checking procedure to make
two marks A1 and B1 on the paper on each wall. (The instrument can be set up in
either X or Y direction.)
2
Turn off the instrument and move it so it is no more than 2m (6.5 ft) from wall A. Do not
change orientation of the instrument and try to maintain same elevation. Turn power
on again and allow to auto-level.
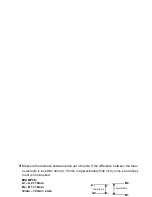
3
Make two new marks, A2 and B2, on the paper on each wall.
Wall A
Wall B Wall A
Wall B
about 38m(125.5ft)
2m(6.6ft)
about 20m(66ft)
about 20m(66ft)
Mark
A1
Laser Sensor
Laser Sensor
Paper
Paper
Mark
B1
Mark
B2
Laser Sensor
Paper
A2
Summary of Contents for RL-H3A
Page 1: ......
Page 2: ......
Page 9: ...Beam aperture RL H3B Class 1 Laser Product Visible Laser Beam Laser output Approx 0 9mw...
Page 17: ...Operational Example...
Page 34: ......

