EN
10
11
3. Reset Services
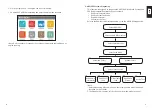
TOPDON ArtiLink600 features 3 most-commonly used reset services for
effective daily vehicle maintenance.
This function enables you to reset the oil service lamp for the engine oil
life system, which calculates an optimal oil life change interval depending
on the vehicle driving conditions and weather events.
It needs to be performed in the following cases:
•
If the service lamp is on, run car diagnostics first for troubleshooting.
After that, reset the driving mileage or driving time, to turn off the
service lamp, and enable a new driving cycle.
•
If the service lamp is not on, but you have changed the engine oil or
electric appliances that monitor oil life, you need to reset the service
lamp.
This function enables you to reset the steering angle.
It needs to be performed in the following cases:
•
After replacing the steering angle position sensor.
•
After replacing steering mechanical parts (such as steering gearbox,
steering column, end tie rod, steering knuckle)
•
After performing four-wheel alignment, or recovering the car body.
This function enables you to perform a resetting operation on the
monitoring unit of the vehicle battery, in which the original low battery
fault information will be cleared and the battery matching will be done.
It needs to be performed in the following cases:
•
The main battery is replaced.
•
The battery monitoring sensor is replaced.
There are two methods to run the reset services:
Follow the automatic command from the scanner to complete the reset
procedures to the vehicle’s ECU.
The system will guide you to complete the reset procedures by following
on-screen prompts to select appropriate execution options, enter correct
data / values, and perform necessary actions.
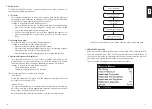
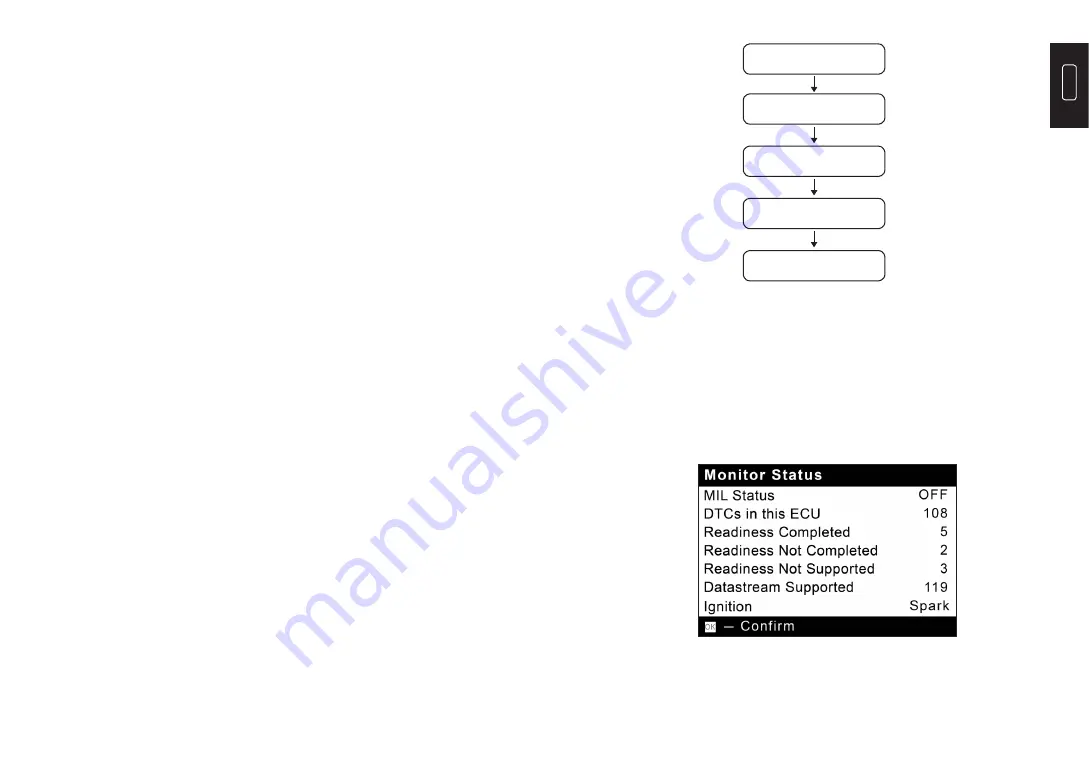
Refer to the flowchart illustrated as below to run the reset procedures.
3.1 Oil Reset
3.2 Steering Angle Reset
3.3 Battery Maintenance System Reset
•
Auto Reset
•
Manual Reset
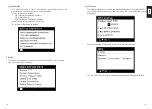
Select “SERVICE”
Choose the Desired
Reset Function
Select the Desired
Car Brand
Select the Reset Method
Follow the On-Screen
Instructions to Proceed
*Note: The reset mode may vary by the vehicle’s make, model and year.
4. OBDII/EOBD Diagnosing
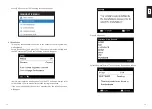
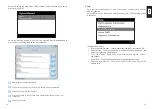
After the scanner is properly connected to the vehicle’s DLC, select [OBDII] in
the main menu and press [OK]. The scanner will start an automatic check of
the vehicle’s computer to determine which type of communication protocol
the vehicle is using, and then establish a communication link.
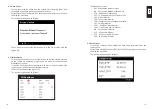
Then the screen will display the Monitor Status as follows:

