13
12.
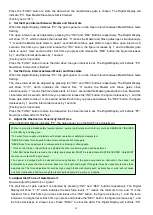
Open the release hole plug on the top of the gate opener, insert the release key, and turn the key 90°
counterclockwise. This restores normal operation.
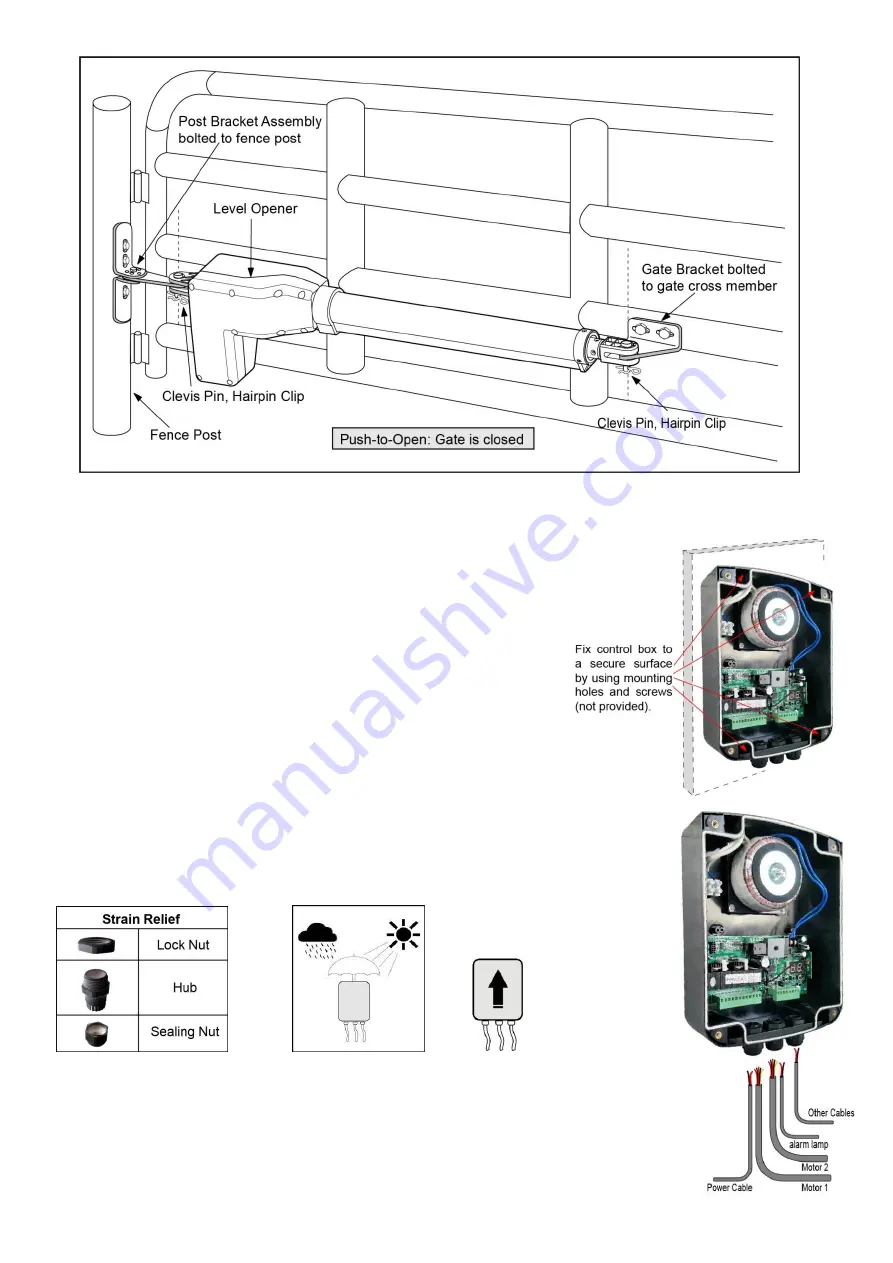
Mounting the Control Box
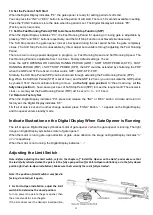
Step 1
To install the control box use the deck screws (not provided).
Even
though the control box is waterproof designed, for safety reason and a
longer service life, it is recommended to install the control box inside a
secure surface and at least 100 cm (40 inches) above the ground to
avoid being flooded or buried under snow.
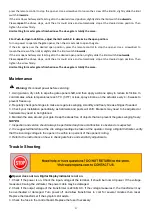
Step 2
Insert the power cable and cable of the first gate opener through the front strain relief
and into the control box by loosening the strain relief screw located in the leftmost of
outside bottom of the control box and feeding the cables into the control box. Check
the length of cables is long enough to their respective terminal block in control box.
CAUTION:
Install the Control Box in a well ventilated place protected against rain and
sunlight.
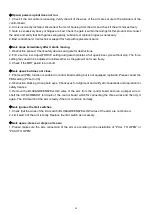
CAUTION:
Make sure the cable outlet hole in the Control Box is always down during
installation so as to drain off the water.
Summary of Contents for KD902
Page 6: ...3 KD902 Parts List Accessories Parts Included in some models refers to the actual package...
Page 18: ...15 Connecting of the Control Board...
Page 28: ...25 Quick Setting Guide...
Page 29: ...26...
Page 30: ...27...
Page 31: ...28...


