multiSwitch – user manual
© TOPEX 2008 110
8.8 The "Billing" menu
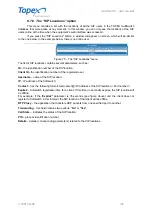
The "Billing" section in the administration web interface contains information about the
parameters of the calls placed via the TOPEX multiSwitch equipment.
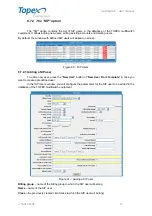
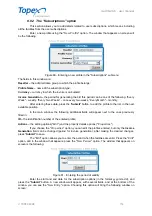
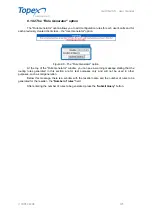
Figure 76 – Options for the "Billing" menu
The "Billing" menu contains the following options:
-
Profiles
– the Billing Profiles associated to the users of the TOPEX multiSwitch equipment
-
Subscriptions
– the subscription types for users
-
Currencies
– unique calculation of the invoices, then calculation in the currency selected by the
user;
-
Groups
– users are placed in groups and invoices are generated based on these groups (not for
each individual user).
8.8.1 The "Profiles" option
This section presents the method for calculating the invoice by an algorithm The cost of a
call is divided in two: the cost for the caller and the cost for the service provider.
To generate the billing, you must create billing profiles. A billing profile can be associated to
a SIP user, prepaid user or to a class. The application will search billing for the configured profile, in
order to enter the price. The billing profiles configured for users (SIP, prepaid etc.) have a higher
priority than the ones configured by classes.
If the price does not correspond to the billing profile of the users, the application will search
the billing profile of the class (only if it is configured)..
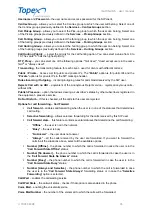
The fields in this menu are the following:
Reseller –
administrative group to which the reseller belongs;
ID –
the identification number of the profile;
Name –
name of the billing profile;
Currency –
currency in which the invoice is calculated;
Actions –
the options in this field are used for editing the invoice specific features ("
Edit
") or for
editing the data specific to this option ("
Properties
");
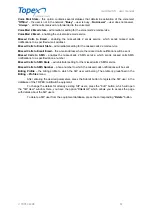
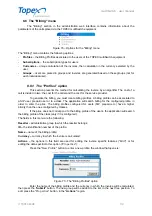
Press the "
New Profile
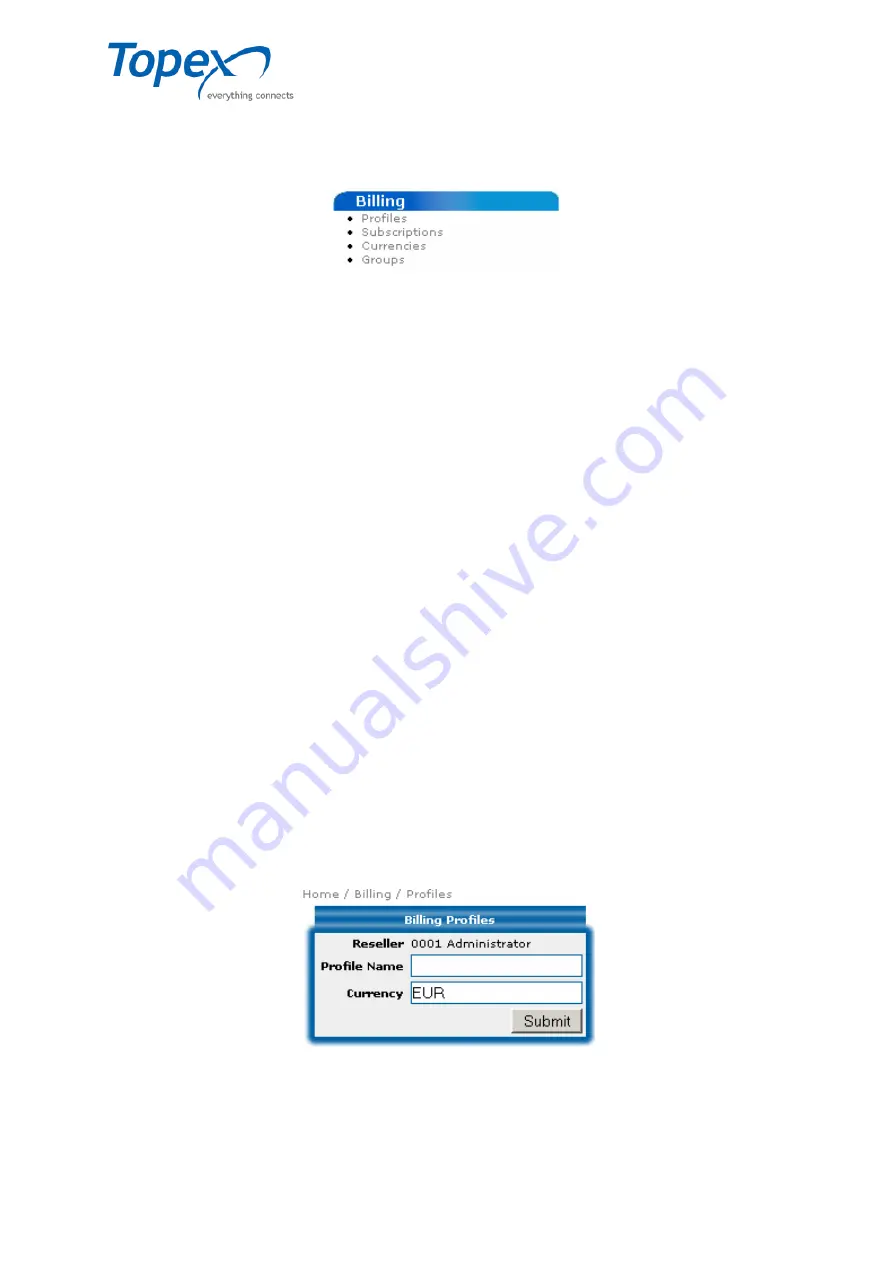
" button to enter a new profile; the window that opens is:
Figure 77– The "Billing Profiles" option
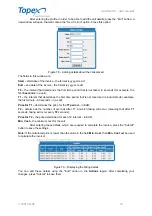
Enter the name of the billing profile and the currency in which the invoice will be calculated,
then press the "
Submit
" button. The new group will be added to the list, in the next free position. To
edit, press the "
Properties
" button, in the "
Actions
" region.

