multiSwitch – user manual
© TOPEX 2008 83
Insert into DNIS –
the DNIS prefix to be added
Press the "
Submit
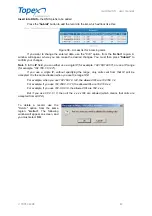
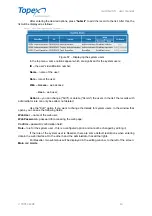
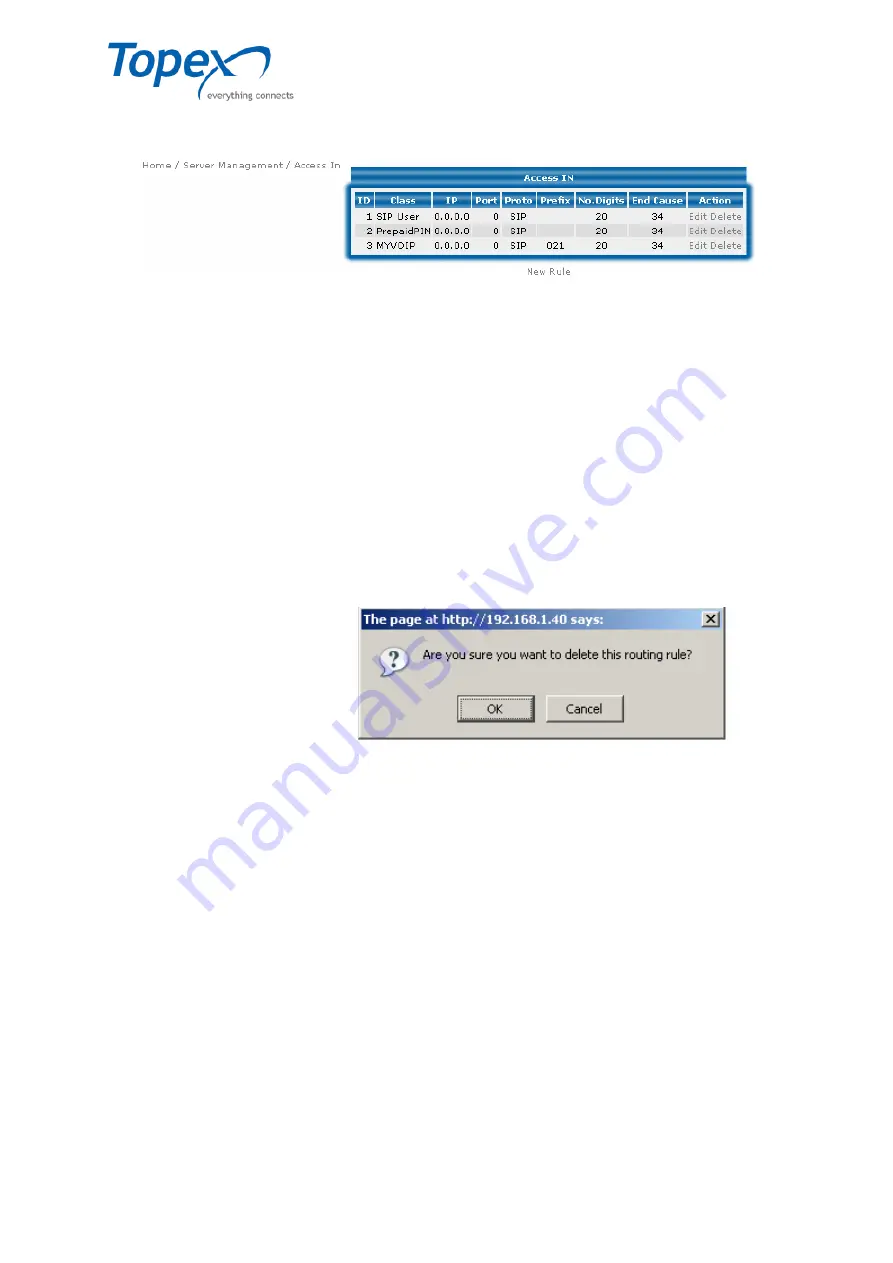
" button to add the record to the list, which will look like this:
Figure 38 – Access list for incoming calls
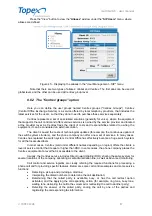
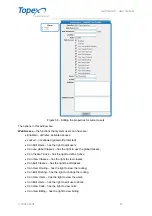
If you want to change the entered data, use the "
Edit
" option, from the "
Action
" region. A
window will appear, where you can make the desired changes. You must then press "
Submit
" to
confirm your changes.
Note 1
:
In the
IP
field, you can either use a single IP (for example, 192.168.144.57), or use a IP range
(for example, "192.168.1.0 / 24").
If you use a single IP, without specifying the range, only calls sent from that IP will be
accepted. It is the same situation when you use the range
/ 32.
For example, when you use 192.168.1.0 / 24, the allowed IPs are 192.168.1.x;
For example, if you use 192.168.0.0 / 16, the allowed IPs are 192.168.x.x;
For example, if you use 192.0.0.0 / 8, the allowed IPs are 192.x.x.x;
But if you use 0.0.0.0 / 0, then all the x.x.x.x IPs are allowed (which means that calls are
accepted from all IPs!).
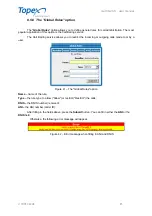
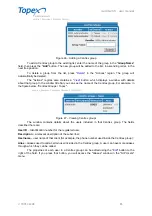
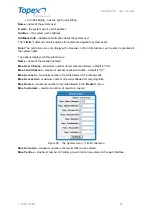
To delete a record, use the
"
Delete
" option, from the same
region, "
Action
". The following
window will appear on screen, and
you must select
OK
:


