multiSwitch – user manual
© TOPEX 2008 88
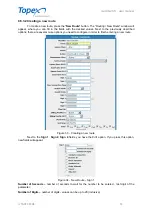
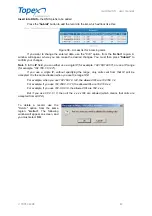
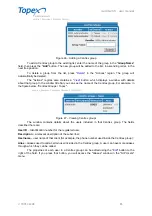
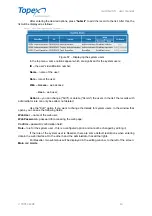
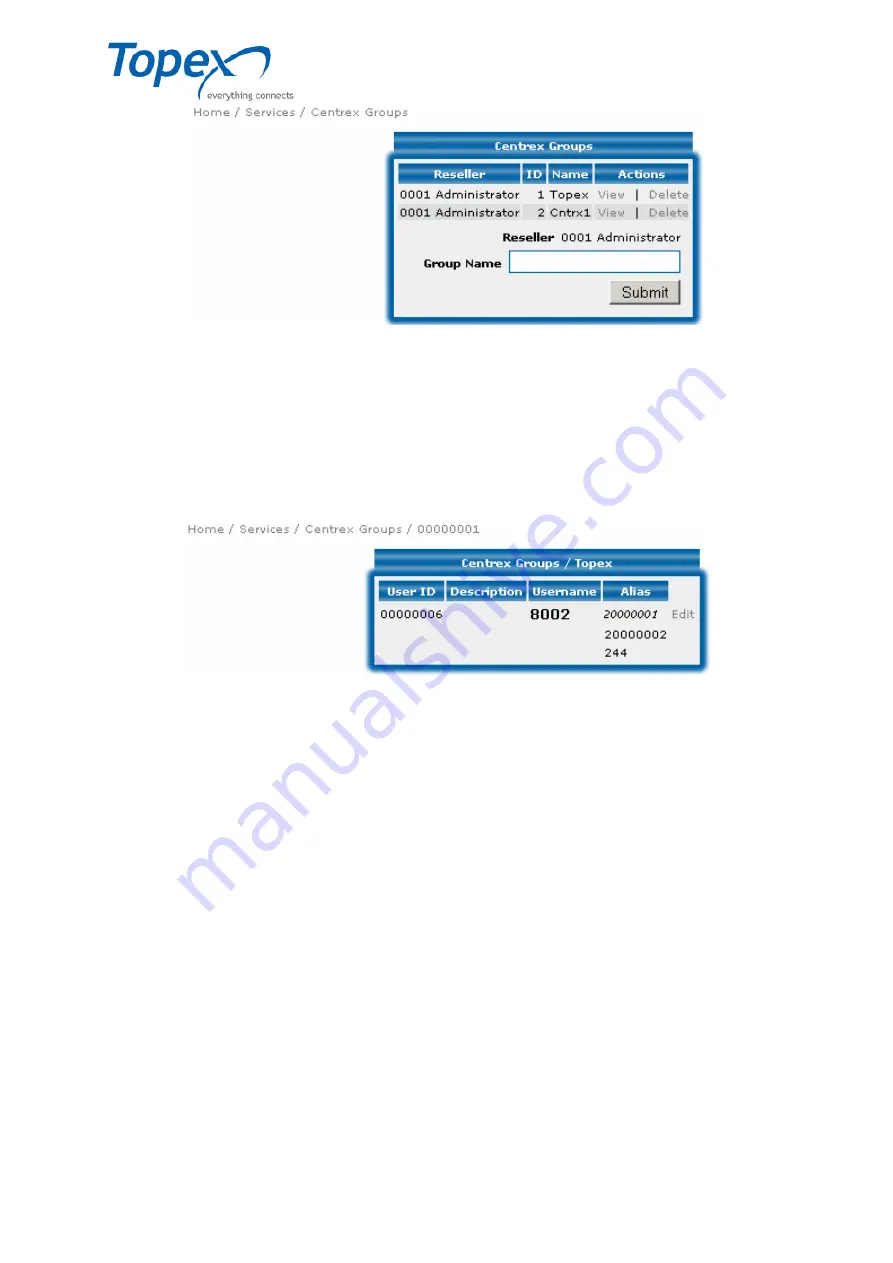
Figure 46 – Adding a Centrex group
To add a Centrex group to the existing list, enter the name of the group in the "
Group Name
"
field, then press the "
Add
" button. The new group will be added to the list, in ascending order, in the
next free position.
To delete a group from the list, press "
Delete
" in the "Actions" region. The group will
automatically be deleted.
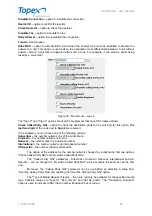
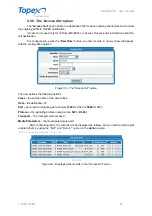
The "Actions" regions also contains a "
View
" button, which displays a window with details
about that group. In the window title bar you can see the name of the Centrex group. For example, in
the figure below, "Centrex Groups / Topex".
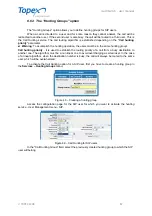
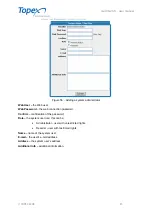
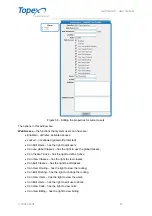
Figure 47 – Viewing Centrex groups
The window contains details about the users included in that Centrex group. The fields
described here are:
User ID
– Identification number for the registered user;
Description
– a relevant description of the subscriber;
Username
– user name of that client (for example, the phone number used inside the Centrex group);
Alias
– aliases used to call a certain user included in the Centrex group. A user can have more aliases
through which they can be called.
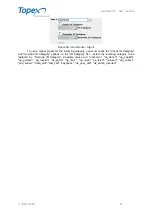
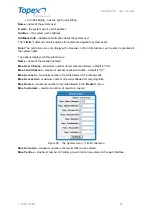
The properties of each user in a Centrex group can be edited using the "
Edit
" button to the
right of the field. If you press that button, you will access the "Aliases" window in the "SIP Users"
menu.


