MENU OPERATIONS
30
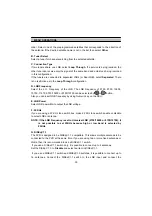
order. Select one of the preprogrammed satellites that corresponds to the direction of
the antenna. If the desired satellite name is not in the list, then select
Other
.
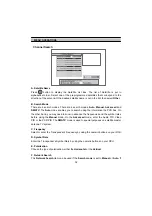
B. Tuner Select
Select a tuner for channel searching from the selected satellite.
C. Connection Type
If two tuners share one LNB, select
Loop Through
. If a service is being recoded, the
other tuner can receive only the signal of the same band and polarity as being recorded
in this configuration.
If the tuners are connected to separated LNBs (or Dual LNB), select
Separated
. There
is no restriction as in the
Loop Through
configuration.
D. LNB Frequency
Select the L.O. Frequency of the LNB. The LNB Frequency of 5150, 9750, 10600,
10750, 11475, 9750/10600 or 9750/10700 can be selected by
V-
or
V+
button.
Also you can insert LNB frequency by using Numeric key on the RCU
.
E. LNB Power
Select LNB power
On
to output the LNB voltage.
F. 22 KHz
If you are using a 22 KHz tone switch box, make 22 KHz tone switch enable or disable
to select LNB or antenna.
NOTE: If the LNB Frequency is set to Universal LNB (9750/10600 or 9750/10700), it
is not possible to set 22KHz because high or low band is selected by
22KHz.
G. DiSEqC 1.1
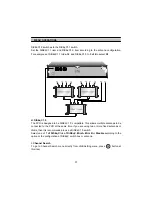
The PVR is designed to be DiSEqC 1.1 compatible. This allows multiple antennas to be
connected to the PVR at the same time. If you are using two or more fixed antennas or
LNBs, then it is recommended to use a DiSEqC 1.1 switch.
If you use a DiSEqC 1.1 switch only, it is possible to connect up to 4 antennas.
Set the DiSEqC 1.0 to
Disable
and select an item in DiSEqC1.1.
If you use a DiSEqC1.1 switch and DiSEqC1.0 switches, it is possible to connect up to
16 antennas. Connect the DiSEqC1.1 switch to the LNB input and connect the


