9
9.2 Network setup
73
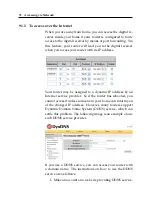
which should be supported by your router.
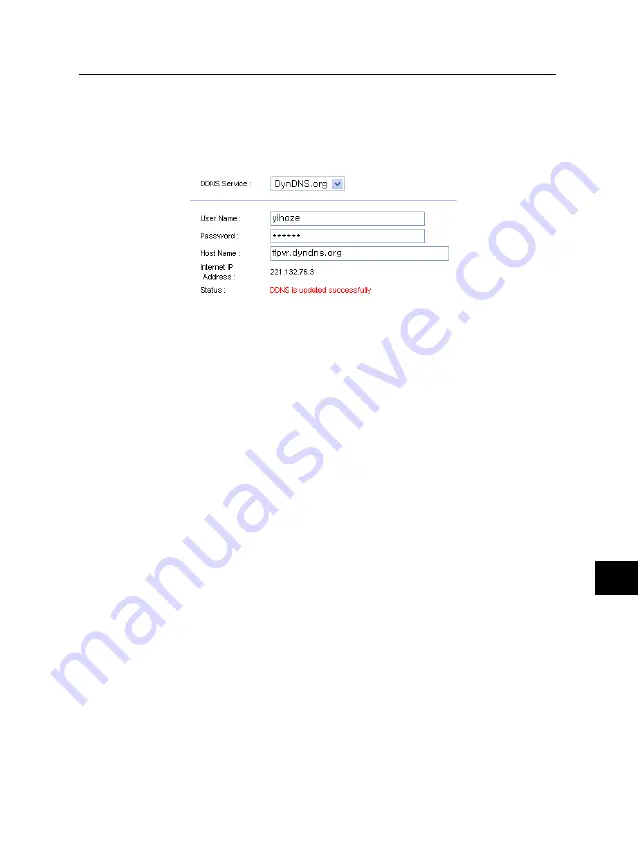
2. Configure your router with the account so that it can
communicate with the web site.
Whenever a new dynamic IP address is assigned to the router,
it will inform the DDNS service provider of the new IP ad-
dress. This makes it possible that you access the router with a
domain name at any time.
9.2 Network setup
9.2.1
For a wired connection
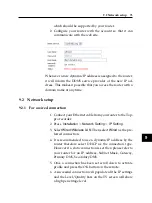
1. Connect your Ethernet cable from your router to the Top-
pro recorder.
2. Press
Installation
>
Network Setting
>
IP Setting
.
3. Select
Wired/Wireless LAN
. Then select
Wired
as the pre-
ferred connection.
4. It is recommended to use a dynamic IP address by the
router therefore select DHCP as the connection type.
However if a static connection is set then please refer to
your router for an IP address, Subnet Mask, Gateway,
Primary DNS, Secondary DNS.
5. Once a connection has been set scroll down to activate
profile and press the OK button on the remote.
6. A successful connection will populate all the IP settings
and the Level/Quality bars on the TV screen will show
a high percentage level.


