GTalarm3 User manual V-2022-05-24
32 |
E N
The system will automatically assigns control function (ARM/DISARM).
1
2
3
4
5
6
7
8
9
esc
0
ENT
-
+
-
+
B
e
ll
B
u
zz
e
r
co
m
12
V
D
1
D
0
I/
O
3
C
O
M
O
U
T4
O
U
T3
I/
O
1
IN
4
IN
3
IN
2
D
3
O
U
T1
+5
V
O
U
T2
D
1
D
2
VD
+
C
O
M
IN
1
I/
O
2
GTalarm3
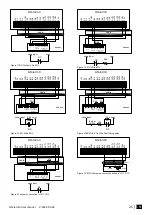
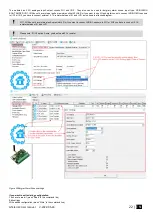
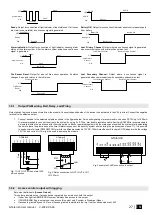
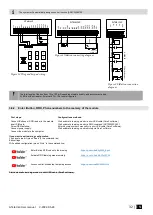
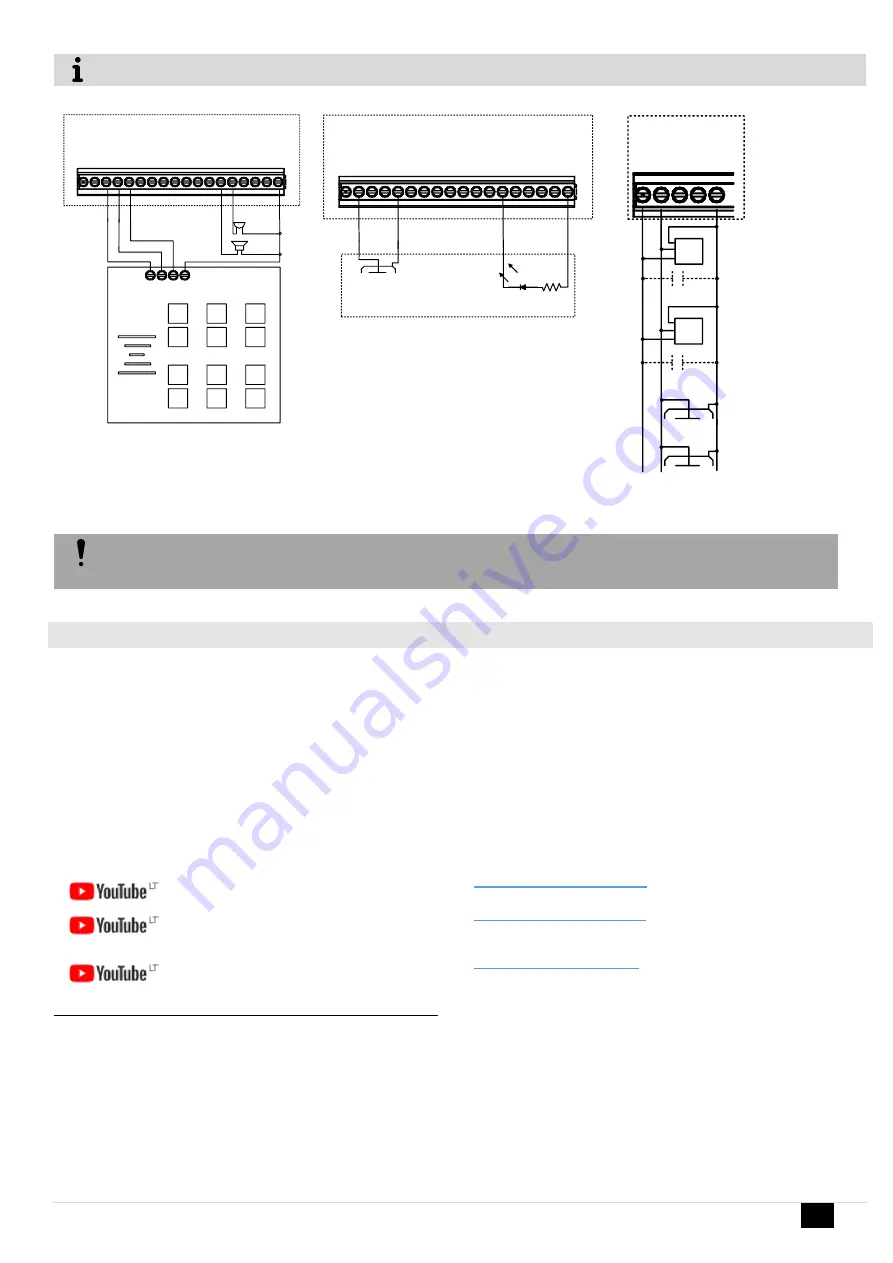
Figure 34 Wiegand keypad wiring
system state
I/
O
3
C
O
M
O
U
T4
O
U
T3
I/
O
1
IN
4
IN
3
IN
2
D
3
O
U
T1
+5
V
O
U
T2
D
1
D
2
VD
+
C
O
M
IN
1
I/
O
2
GTalarm3
R
e
d
B
la
c
k
Y
e
llo
w
O
rr
a
n
g
e
4.7k
– 10k
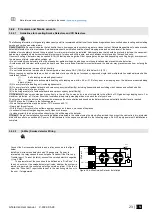
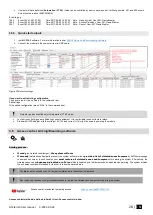
Figure 35iButton connecting diagram
+5
V
D
3
D
1
D
2
C
O
M
D
1
...
D
3
C
Z
D
a
lla
s R
ea
d
er
DS
18
B
20
470
-4700
µF
470
-4700
µ
F
GTalarm3
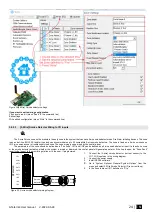
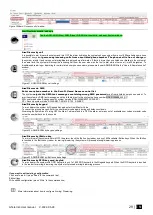
The total length of the bus from 10 to 100 m. Depending of cable quality, and environment noise.
If LED is without resistor. External 4.7k
– 10k resistor required.
3.6.2
Enter iButton, RFID, Phone numbers to the memory of the module
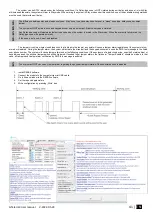
First steps:
Connect iButtons or RFID reader to the module.
Insert SIM card;
Screw GSM antenna;
Connect power supply;
Connect the module to the computer.
Configurations methods:
Start automatic learning mode via mini USB cable (Sera2 software).
Start automatic learning mode via SMS command INST000000 063 1
Enter Keycard numbers manually via mini USB cable (Sera2 software).
Start automatic learning mode remotely via Sera2 software.
If you want to edit existing configuration
,
You have to read it (press “Read” in the command line)
Edit settings
Write edited configuration (press “Write” in the command line)
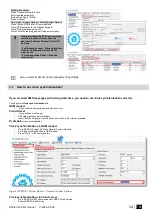
Enter iButton RFID codes to the memory
https://youtu.be/80yWW_j9pJk
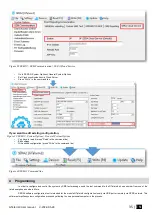
Activate RFID learning mode remotely
https://youtu.be/4MnPfxH7F04
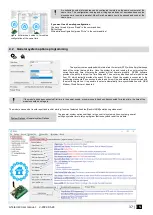
Access control: schedules, temporary access
https://youtu.be/W5FSvN-UitI
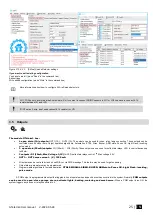
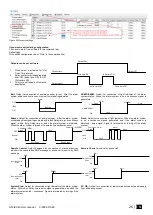
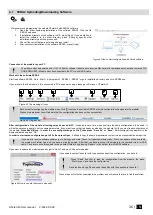
Start automatic learning mode via mini USB cable (Sera2 software).
Figure 36 iButton connection
diagram

