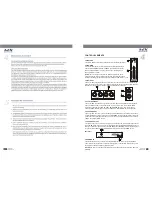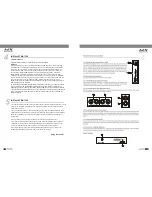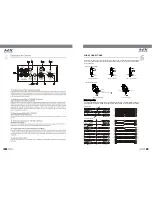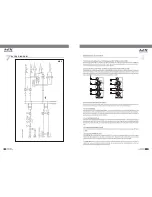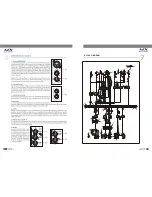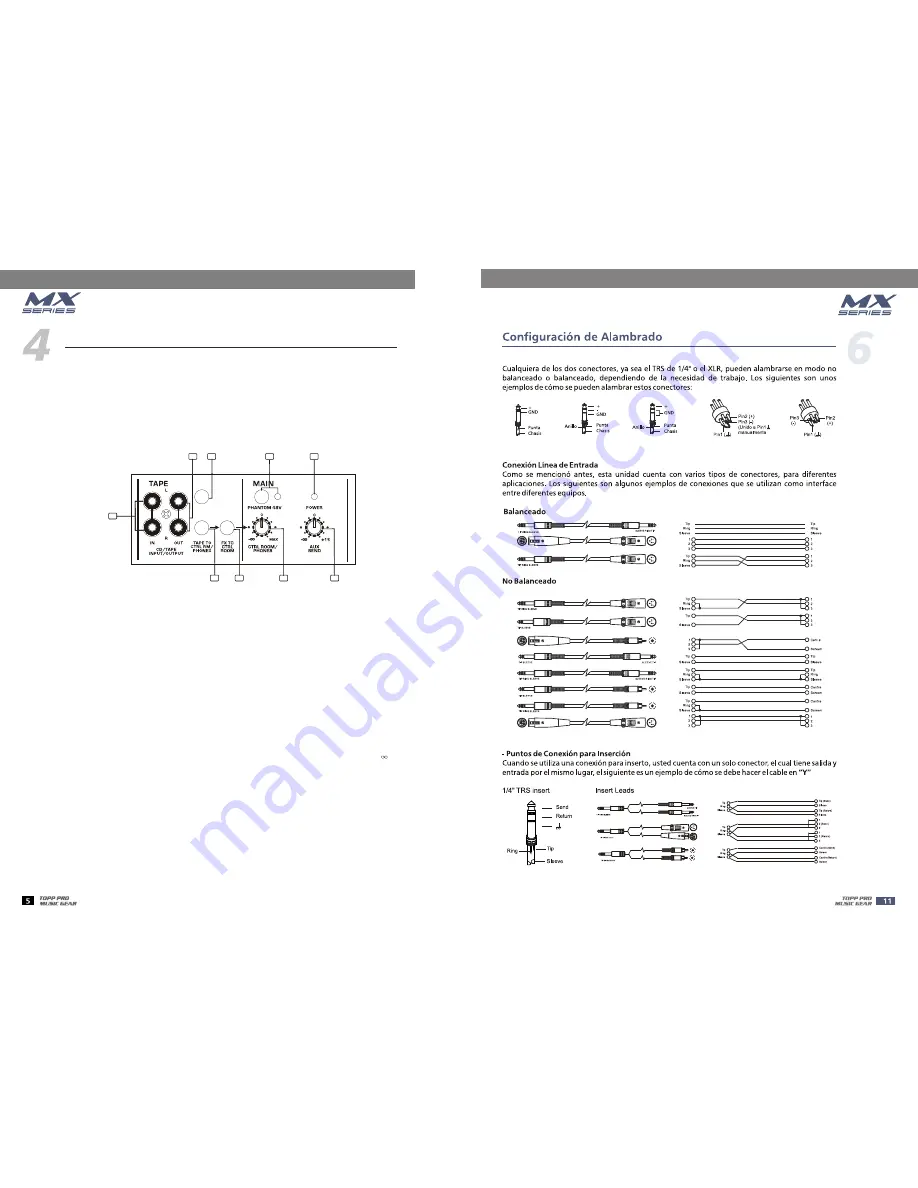
CONTROL ELEMENTS
13
14
15
16
17
18
19
20
21
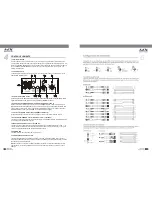
TAPE/USB
TO MIX
These RCA jacks will assign the main out signal to a tape recorder or DAT. The TAPE OUT level is
affected by MAIN MIX control.
14- TAPE OUTPUTS
13- CD/TAPE INPUTS
Use the Tape Input if you wish to listen to your mixer from a Taper Recorder or DAT. When the
TAPE TO MIX switch is pushed in, the signal coming from Taper Recorder will assign to main mix;
when the CD/TAPE switch which on the front panel is engaged in the signal can also be assigned
to the CONTROL ROOM/PHONES outputs. If you connect a mono device, you will need a "Y-
splitter" RCA adapter.
18- CTRL ROOM/PHONES Control (PHONES control on the MX.5)
This control is used to adjust the signal level going to the CONTROL ROOM/PHONES outputs.
And it won't affect the Main Mix output.
19- MASTER AUX SEND Control (except MX.5)
This knob is used to determine the master AUX SEND levels. The adjustable range is from -
to
+15 dB. When the external effect unit connected to mixer has no input gain control, you can get a
f15 dB gain available from these AUX SEND outputs.
16- TAPE TO CTRL RM/PHONES Switch (TAPE TO PHONES on MX.5)
Switch is used to select the signal source for the CONTROL ROOM outputs, PHONES, and
METERS. Release this switch, they all receive the main mix signal tapped after the MAIN MIX
control. Engage this switch, they all receive the CD/TAPE Input signal. Turn down the CTRL
ROOM/PHONES control (just PHONES on the MX.5)before engaging.
15- TAPE / USB TO MIX Switch
Connect a CD or Tape Deck to the CD/TAPE inputs, and push down this switch to add the CD/TAPE
signal to the main mix. The volume level is controlled by MAIN MIX control.
17- FX TO CTRL ROOM Switch (MX.10USB/MX.12 USB only)
Engage this switch to monitor the aux send signal in the Control Room/Phones outputs.
20- POWER LED
This LED lights up when the power switch is turned on.
21- PHANTOM 48V Switch and LED
This +48VDC Phantom Power switch only apply to the XLR microphone inputs. Never connect
microphones when the phantom power is on already. The LED near to this switch will light up when
the phantom power is switched on.
NOTE
: Turn down all output levels before operating this switch to avoid the possibility of "pop" in
your speakers. Do not use phantom power with tube or ribbon microphones, as this may cause
damage.


