background image


Rigging the Gennaker sail 

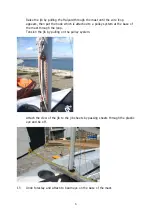
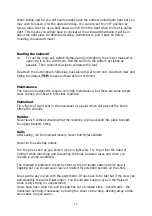
Tape over all protruding fittings and fixings around the bow (including the clevis pin 
and split ring under the roller Furler fitting). The Gennaker is a big sail and if it can 

catch on anything it will! 

 
25 

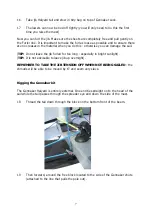
Pass the overhand knot at the end of the tack line (at the outer end of the pole) 

through the eye at the tack of the sail (marked "T") and tie a half-hitch, using 

the overhand knot as a stopper. Ensure that the sail is not twisted 


26 

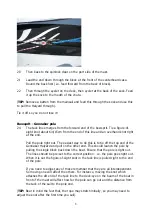
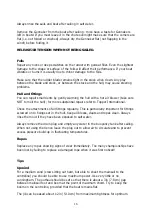
Follow the Luff to the head of the Gennaker (marked "H") and attach it to the 
top end of the Gennaker Halyard using a bowline. Pull the Gennaker up the 

mast slightly to give yourself some slack in the downhaul. 

 
27


Attach the sheets to the clew (marked "C") with stop knot. (

TIP:

 The neatest 

way to do this is to find the centre of the Gennaker sheet and push a small loop 

of it through the clew cringle. Pass both the tails through this loop and pull 
tight. If you tie the ends together with a fisherman's knot the crew will always 

be able to release the Gennaker sheet. This hitch is small and will therefore slip 

around the jib luff easily when gybing. Remember to thread the sheets through 
auto ratchet in the correct direction). 


Or you can tie the sheets to the Clew. 


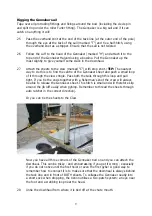
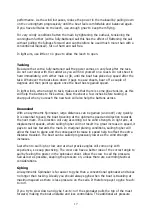
Now you have all three corners of the Gennaker tied on and you can attach the 
downhaul. This can be tricky - and embarrassing if you get it wrong - especially 

if you do not notice until the first hoist or even the first gybe! A good way to 
remember how to connect it is to make sure that the downhaul is always behind 

the tack line and in front of BOTH sheets. To collapse the Gennaker neatly into 

a short sock when dropping, the Xenon utilises a two-patch system: an eye near 
the foot and a webbing loop near the head. 


28 

Untie the downhaul from where it is tied off at the chute mouth. 


Summary of Contents for TOPAZ XENON

Page 1: ...www toppersailboats com Topaz XENON Rigging Instructions...

Page 2: ...ach shroud adjusters to the shroud eye each side approximately the 5th hole down Subsequently you can attach at the captive pin on the base of the plate 2 Fix the base of the mast to the mast step on...

Page 3: ...off on each side of hull Ensure all Halyards from mast are clear and not twisted or snagged Attaching the boom and gnav 7 Attach the boom onto the mast with the pin on the lower of the two fittings Re...

Page 4: ...he gnav strut to the carriage on the top of the boom it may be already attached 9 Having fixed the boom and gnav to the mast you can thread the gnav control line This comes out the underside of the bo...

Page 5: ...ing from the centre cleat round the ratchet remember to check it clicks when the rope is pulled in Through the rear block on the centre hoop Up to the rear block on the boom going from back to the fro...

Page 6: ...the jib to the Furler at the front of the boat ensure the Furler is fully wound up Attach jib head to the swivel on jib Halyard Tape the split rings without impeding the action of the Furler Make sur...

Page 7: ...e hook which is attached to a pulley system at the base of the mast through the loop Tension the jib by pulling on the pulley system Attach the clew of the jib to the jib sheets by passing sheets thro...

Page 8: ...IP Do not leave the jib furled for too long especially in bright sunlight TIP It is not advisable to leave jib up overnight REMEMBER TO TAKE THE JIB TENSION OFF WHEN NOT BEING SAILED the shrouds will...

Page 9: ...right out The easiest way to do this is to tie off the top end of the Gennaker Halyard and pull on the other end This should launch the pole by pulling the single block back down the boat Ensure that...

Page 10: ...and push a small loop of it through the clew cringle Pass both the tails through this loop and pull tight If you tie the ends together with a fisherman s knot the crew will always be able to release...

Page 11: ...both sheets 30 You should now be able to pull the Gennaker down into the chute ensuring that it does not snag around the pole end or under the bow TIP When launching the Gennaker Pull Gennaker Halyar...

Page 12: ...he sail right to the top of the mast the luff bolt rope will stretch a little when you do this TIP or use a ball on the end of the line Make a loop feed through the eye at the top of the sail feed bal...

Page 13: ...u can prevent excessive wear by moving the knot at the head every so often by adding additional overhand knots further and further down the Halyard When you have done this a few times you will have to...

Page 14: ...13 38 39 Having raised the sail insert the slug at the back of the sail into the track on the boom...

Page 15: ...ke the control line from the sheave in the boom end fitting and feed through the eye in the sail and back through the pulley in the boom end Then via the notch in the fitting underside Tie a small kno...

Page 16: ...r boat in first class condition Mainsheet Tie a figure of eight knot in the mainsheet at a point which will prevent the boom hitting the shrouds Rudder Never launch without checking that the retaining...

Page 17: ...more substantial repairs refer to Topper International Check the attachments of all fittings regularly This is particularly important for fittings screwed on to fixings set in the hull Keep all block...

Page 18: ...l also help the battens across Downwind With an asymmetric Spinnaker large distances can be gained and lost very quickly It is essential to keep the boat traveling at the optimum speed and direction t...

Page 19: ...y will lock into the road base at the axle with the front being held on with a lock pin on to the post Ensure the mast and all other equipment is securely fixed to the boat before towing The road trai...

Page 20: ...19 Ensure battens are located correctly in batten pockets...

Page 21: ...d accessories please contact Topper International Ltd Kingsnorth Technology Park Wotton Road Ashford Kent TN23 6LN Telephone 44 0 1233 629186 Fax 44 0 1233 645897 email info toppersailboats com www to...

Reviews: