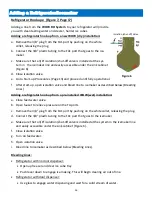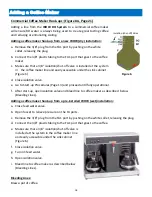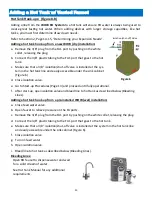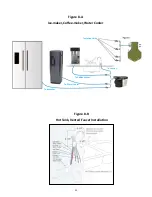
30
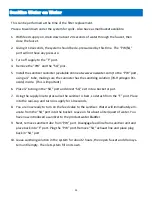
Changing the Filter & RO Membrane Cartridges (PRE, RO, POST)
(Refer to Installation)
Removal
1.
Open RO faucet for a glass of water and close.
2.
Turn system feed off and wait for 20 seconds.
3.
The system has now been depressurized for a safe removal of the cartridges.
4.
Towels should be placed under the system first.
5.
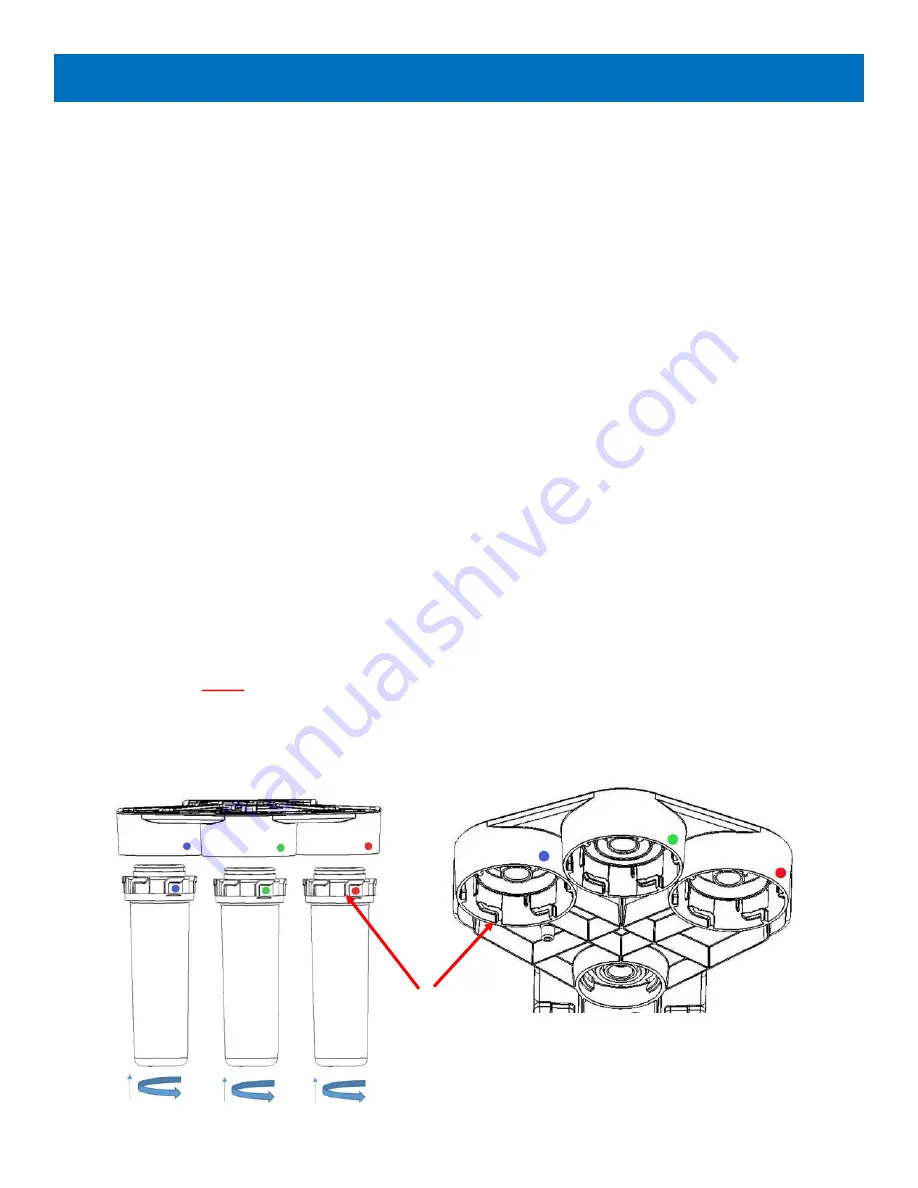
Remove cartridges with a clockwise upward twist.
Replacement
1.
Remove red cap from top of filter cartridges.
2.
With a black permanent marker, write the date on each filter to track replacement time.
Filters last up to a year in most cases.
3.
Pre
-
fill all cartridges with bottled water or tap water.
4.
Attach post
-
filter in the labeled POST position, RO membrane in the labeled RO position
and the pre
-
filter in the labeled PRE position, with a twisting counter clockwise upward
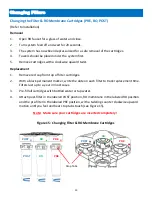
motion until you feel and hear stop tabs touch (see Figure 15).
Note: Make sure your cartridges are inserted completely !
Changing Filters
Figure 15: Changing Filter & RO Membrane Cartridges
Stop Tabs
POST
POST
PRE
PRE
RO
RO
POST
RO
PRE
Summary of Contents for WOW RO System
Page 4: ...4 Figure 1 Installation Diagram...
Page 5: ...5 Section 1 Installation Start up Procedures...
Page 8: ...8 Installation Kit Contents A B C D E F G H I G...
Page 17: ...17 Figure 7 Refrigerator Icemaker...
Page 24: ...24 Modular Expandability Parallel Processing...
Page 25: ...25 Section 4 Plumbing the Sink...
Page 29: ...29 Section 5 Maintenance...
Page 35: ...35 Section 6 Troubleshooting...

