- 18 -
8.1.3.
Check Counting
1.
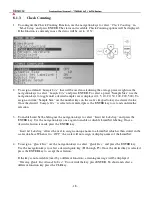
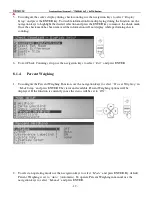
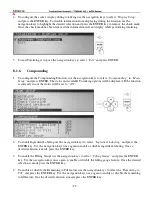
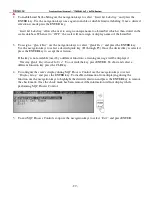
To configure the Check Counting Function, use the navigation keys to select
“Check Counting”
in
“Mode Setup”
and press ENTER. The status and available Check Counting options will be displayed.
If the function is currently in use the status will be set to
“ON”.
2.
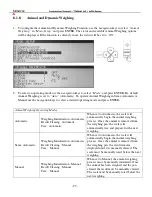
To assign a default
“Sample Size”
that will be used in calculating the average piece weight use the
navigation keys to select
“Sample Size”
and press ENTER. To select a preset “Sample Size” use the
navigation keys to toggle until a desired sample size is displayed (1, 5, 10, 20, 50, 100, 200, 500). To
assign a custom “Sample Size” use the number keys on the scale’s keypad to key in a desired value.
Once the desired
“Sample Size”
is selected or entered press, the ENTER key to set and confirm the
selection.
3.
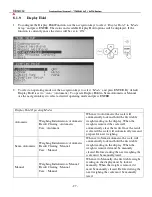
To enable Limit Set Labeling use the navigation keys to select
“Limit Set Labeling”
and press the
ENTER key. Use the navigation keys once again to enable or disable Limit Set labeling. Once a
desired selection is made press the ENTER key.
“Limit Set Labeling”
allows the user to assign a unique name to a Limit Set which is then stored in the
scales database. When set to
“OFF”
the scale will not assign or display names of the Limit Set.
4.
To assign a
“Quick Key”
use the navigation keys to select
“Quick Key”
and press the ENTER key.
Use the navigation keys to select a desired quick key (F1 through F5). Once the desired key is selected
press the ENTER key to accept the selection.
If the key is not available (used by a different function) a warning message will be displayed
“Warning Quick Key Already In Use!”
To override the key press ENTER. To abort and select a
different function key press the CLR key.


