24
Power Unit and Hydraulic System
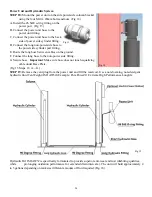
STEP 18:
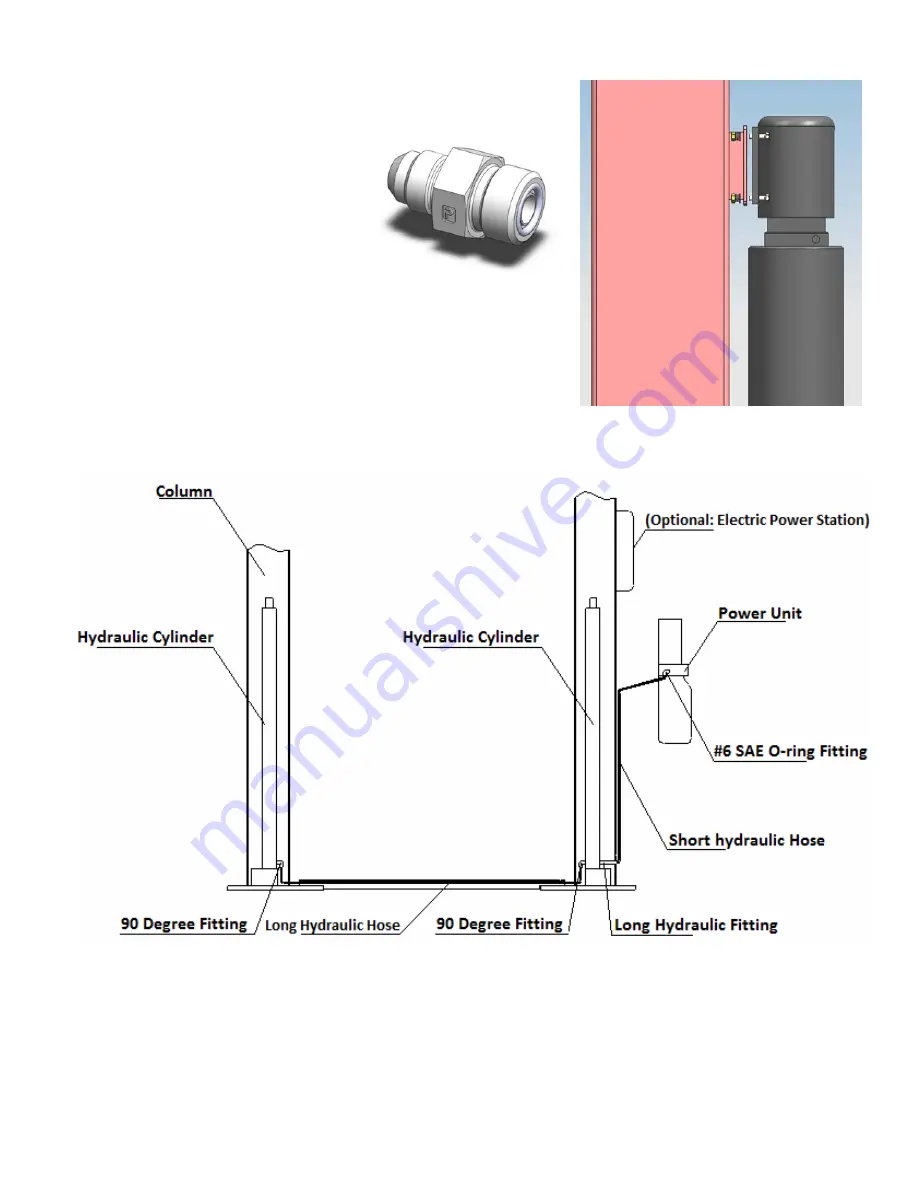
Mount the power unit on the side powerside column bracket
using the four M10 x 20mm bolts and nuts
.
(Fig 14)
A. Install the #6 SAE o-ring fitting on the
power port. (Fig 13)
B. Connect the power unit hose to the
power unit fitting.
C. Connect the power unit hose to the back
side of power side cylinder fitting.
D. Connect the long non-powerside hose to
the powerside cylinder port fitting.
E. Route the long hose between cables on the ground.
F. Connect the long hose to the non-power side fitting.
G. Secure hose .
Important
: Make sure hose does not touch equalizing
cable under Base Plate.
(Fig 15 Steps 18 A—G )
STEP 19:
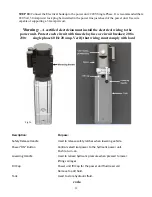
Remove the vent plug from the power unit and fill the reservoir. Use a non-foaming, non-detergent
hydraulic fluid Ten Weight (ISO AW32)(Example: Pure Power!® Extreme High Performance Longlife
Hydraulic Oil ISO AW32is specifically formulated to provide superior anti-wear and rust inhibiting qualities,
while prolonging oxidation performance for extended drain intervals.). The unit will hold approximately 4
to 5 gallons depending on tank size different amounts of fluid required.(Fig. 16)
Fig 13
Fig 14
Fig 15
Summary of Contents for QJY240C
Page 9: ...9...
Page 23: ...23 Fig 12 Fig 12...
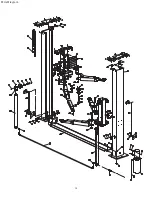
Page 32: ...34 Parts Diagram...
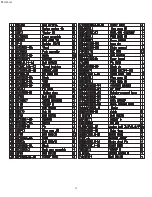
Page 33: ...35 Parts List...
Page 34: ...36 COMPANY INFO BACK PAGE...

