


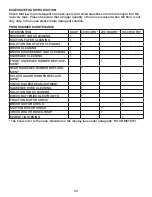
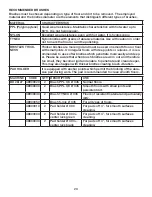
21
4. Check that the solution
valve is open (see under
paragraph “FLOW
ADJUSTMENT OF THE
DETERGENT SOLUTION”).
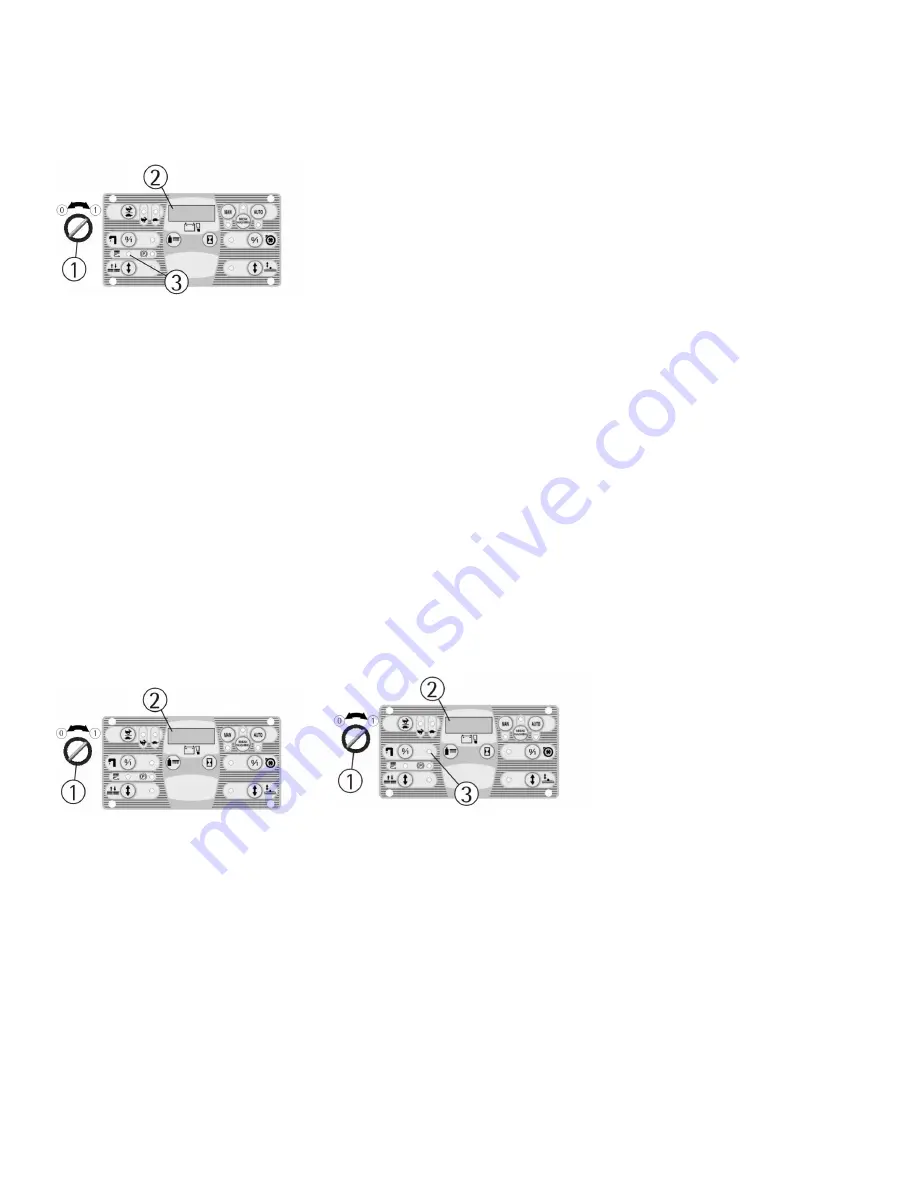
5. If, both in mode (MAN) and
(AUTO), the signal lamp (3) is
on but the detergent solution
does not come down onto the
brushes, it is necessary to:
a. check the level of the
liquid in the tank.
b. check that the
solution filter is clean
(see under paragraph
“CLEANING OF
THE SOLUTION TANK
AND OF THE OUTER
FILTER”).
c. check that the
inner filter of the
solution tank is clean
(see under paragraph
“CLEANING OF THE
INNER FILTER
SOLUTION TANK”).
If the problem persists,
please contact the authorized
technical assistance.
To replace the brushes, see
instructions under paragraph
“BRUSHES DISASSEMBLY”
and “BRUSHES ASSEMBLY”.
3. The detergent solution
is insufficient: further open
the solution valve (see
under paragraph “FLOW
ADJUSTMENT OF THE
DETERGENT SOLUTION”).
4. Check that the liquid
detergent is in the
recommended percentage.
5. Increase the brushes base
pressure (see under paragraph
"ADJUSTMENT OF THE
BRUSHES PRESSURE").
Contact the authorized
technical assistance for
advice.
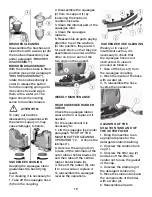
THE SQUEEGEE DOES NOT
DRY PERFECTLY
1. Check that the suction
function is on and that the
recovery tank is not full.
2. Check that the squeegee
rubbers are clean (see under
paragraph “SQUEEGEE
CLEANING”).
3. Check the adjustment of
the height and the inclination
of the squeegee (see under
paragraph “ADJUSTMENT OF
THE SQUEEGEE”).
4. Check that the suction
and the squeegee hoses are
correctly inserted in their
proper seats on the recovery
tank.
5. Clean the suction filter (see
under paragraph “SUCTION
FILTER CLEANING”).
6. Clean the squeegee
hose (see under paragraph
“SQUEEGEE HOSE
CLEANING”).
7. Turn of replace the rubbers
if worn out.
4. If, both in mode (MAN) and
(AUTO), the signal lamp (3) is
on but the brushes do not turn,
please contact the authorized
technical assistance.
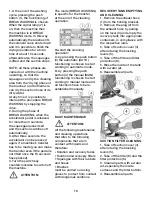
THE TRACTION MOTOR
DOES NOT WORK
1. Sit on the seat.
2. Verify that the key switch
(1) is positioned clockwise
to switch on the machine. If
alarm signals are displayed,
it is necessary to switch off
and on again the machine to
restore the functionality.
3. Check the charge level of
the batteries on the display (2).
4. Press the accelerator pedal
placed on the right side to
start the machine.
If the problem persists,
please contact the authorized
technical assistance.
THE WATER DOES NOT
COME DOWN ONTO
THE BRUSHES OR IS
INSUFFICIENT
1. Verify that the key switch
(1) is positioned clockwise to
switch on the machine.
2. Check the charge level of
the batteries on the display (2).
3. Verify of having correctly
activated the function of
washing with the brushes (see
under paragraph “STARTING
OF THE MACHINE”).
THE MACHINE DOES NOT
CLEAN PROPERLY
1. The brushes do not have
the suitable bristle dimension:
contact the authorized
technical assistance.
2. The brushes have got worn
bristles. Check the brushes
wear condition and eventually
replace them (the brushes
have to be replaced when the
bristles have reached a height
of about 1/2” (15 mm).


