


13
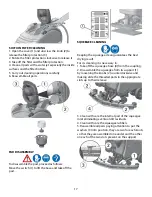
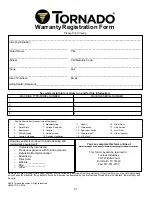
3. Block the squeegee by rotating the two knobs (2)
clockwise.
4. Insert the squeegee hose (4) into its coupling,
respecting its position as indicated in the figure.
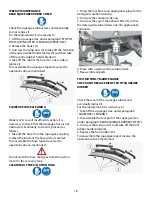
ADJUSTMENT OF THE SQUEEGEE
In order to have a perfect drying result through
the squeegee, the rear rubber must have the lower
bending uniformly adjusted in all its length. For the
adjustment, it is necessary to put oneself in working
condition and therefore the suction motor has to be
switched on and the base has to function together
with the detergent solution.
The bending is not uniform
Adjust the squeegee inclination rotating
counterclockwise the wing nut (1) to increase the
bending in the central part, or clockwise to increase
the bending on the extremities.
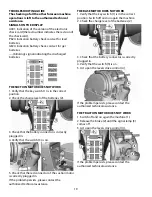
Height adjustment
Once that the squeegee inclination has been
adjusted, it is necessary to fix this optimum
condition making touch slightly the wheels onto the
floor. Release the wheels rotating counterclockwise
the register (2), rotate the register (3) to raise or
to lower the wheels until the desired bending is
reached.
At the end block again the wheels through the
register (2).
PAD ASSEMBLY
To secure the pad proceed as follows:
Use switch (1) to lift the base.
Place the pad under the base, then lower it using
switch (1).
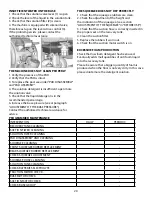
FLOOR CLEANING
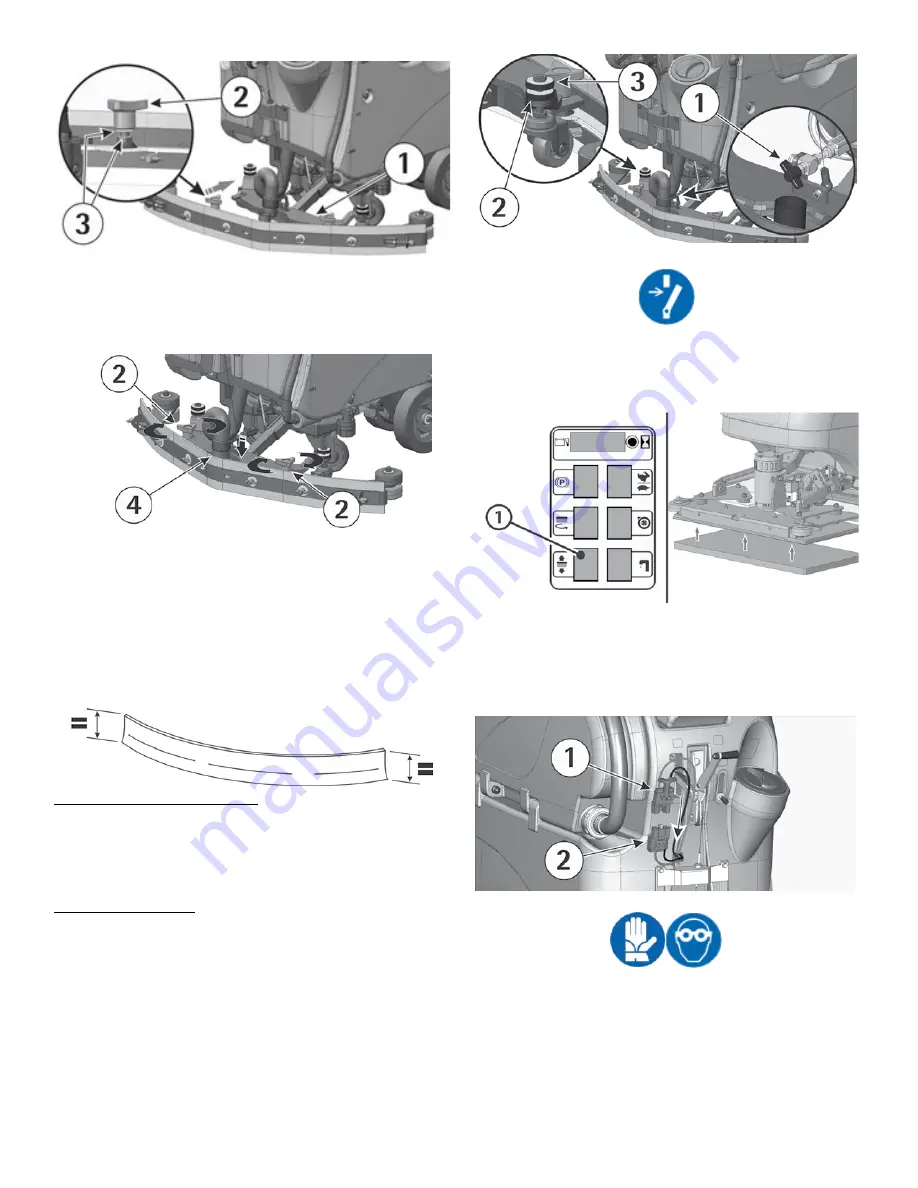
CONNECTION OF THE BATTERIES TO THE
MACHINE
Plug in the batteries connector (1) to the machine
connector (2), placed in the rear part of the machine.
RECOVERY TANK
Verify that the squeegee hose coupling (1) is
correctly inserted into its seat and that the exhaust
hose plug (2) is well closed.
The recovery tank is provided with a cover (3) that
blocks itself thanks to the vacuum created by the
suction motor during its use.
Summary of Contents for OB 28/20
Page 3: ...3 NOTES...


