


15
10. During the first stretches check that the
squeegee adjustment guarantees a perfect drying
action and that the detergent solution flow is
appropriate. It has to be sufficient to wet the floor
uniformly. Always consider that the correct quantity
of solution detergent depends on type of floor,
dirtiness and machine speed.
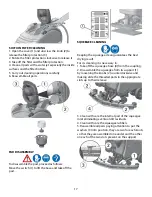
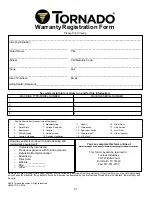
FORWARD MOVEMENT
The traction of the machine is given through an
electronically controlled motor.
To move the machine, switch on the key (1) and
then rotate the levers drive control (2) placed on the
handle bar, in forward you obtain the forward drive,
in reverse the backwards movement is obtained.
The control acts in a progressive way, therefore it
is possible to graduate the speed depending on
each requirement rotating the lever whatever it
is necessary. During reverse motion the speed is
reduced.
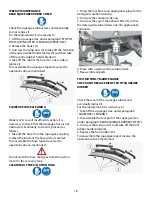
Moving the machine backwards, make sure that the
squeegee is lifted.
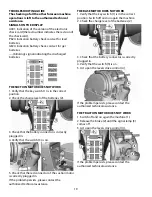
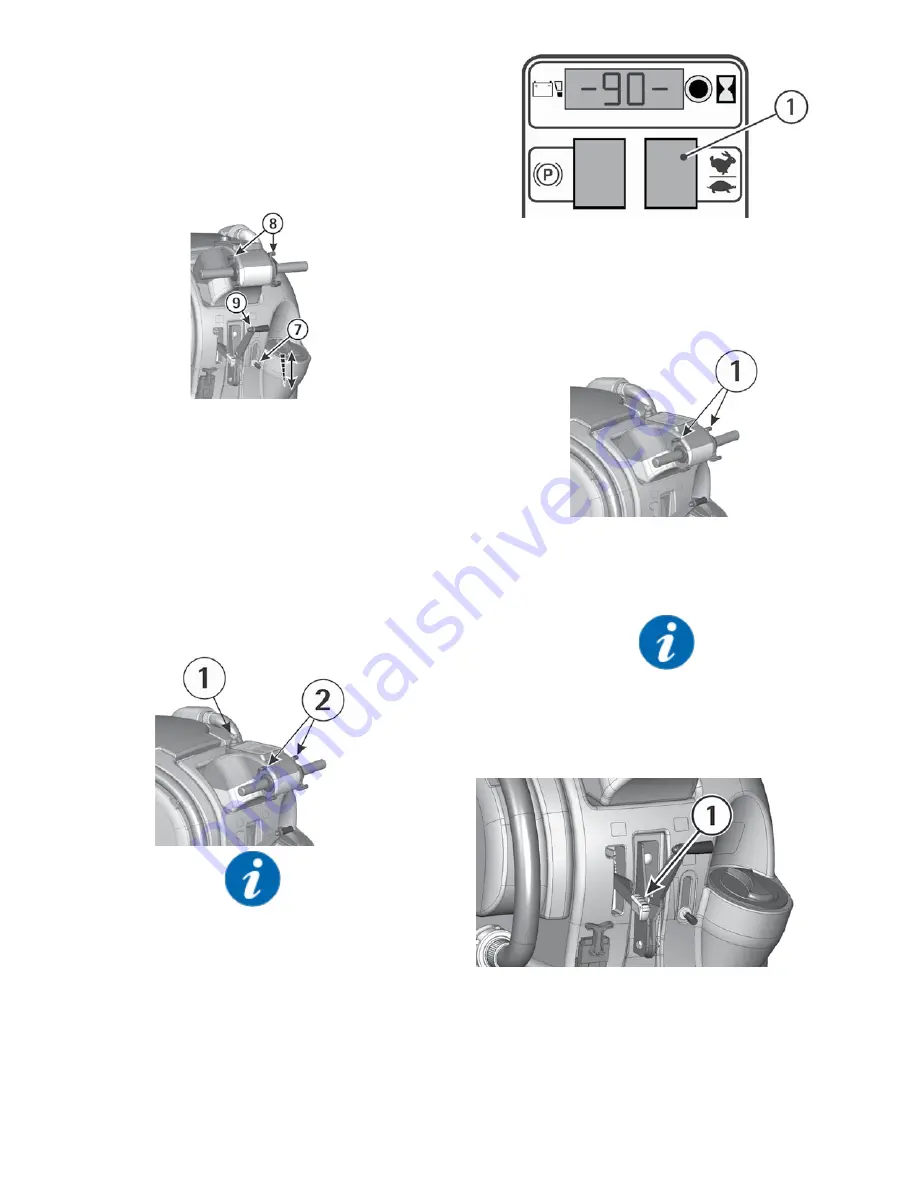
SPEED ADJUSTMENT
Two values of the maximum drive working speed in
forward movement can be chosen.
Set the wanted speed through the speed selection
switch (1).
WORKING BRAKE
To stop the machine during normal working
situation, it is sufficient to release the levers drive
control (1), as the machine is equipped with an
electronic braking system. The base and the
detergent solution flow stop automatically.
EMERGENCY BRAKE
In case of an emergency, an immediate stop can be
obtained acting upon the lever of the emergency
and parking brake (1) by pushing it downwards.
This control blocks the machine immediately.
The emergency brake functions also as a parking
brake. To start again to work, release the lever by
unblocking the parking button on the lever itself
and act again upon the levers drive control.
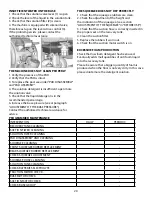
ADJUSTMENT OF THE BASE PRESSURE
Through the register (1) it is possible to adjust the
pad pressure on the cleaned surface.
By turning the knob clockwise, the pressure
increases, rotating it counterclockwise, the pressure
decreases.
This device allows a more efficient cleaning action
also on very difficult and dirty surfaces.
Summary of Contents for OB 28/20
Page 3: ...3 NOTES...


