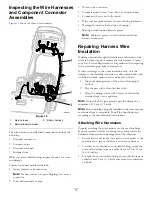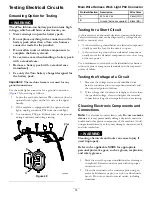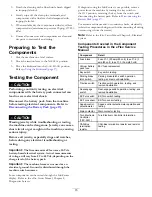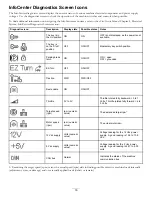
you clear them or the condition that created the fault no
longer exists.
•
To see a list of faults that occurred before the most recent
starting of the machine, use the InfoCenter Faults screen.
The Faults screen lists all the machine faults that have
occurred since the InfoCenter fault log was last cleared.
Clearing Fault Codes while
Using the Machine
If a fault occurs while you are operating the machine, attempt
to clear the fault by performing the following:
1.
Move the traction lever to the N
EUTRAL
position.
2.
Rotate the key switch to the O
FF
position.
3.
Allow all machine functions to stop.
4.
Start the machine and test it to see if operation has
returned to normal.
Clearing the InfoCenter Fault
Log
You can clear the faults from the InfoCenter fault log;
however, the fault history will be retained in the TEC-2401
memory.
Note:
Refer to
for help using this procedure.
1.
Press the Menu Access/Back button.
The Main Menu appears.
2.
Verify that the Faults menu item is selected, and then
press the Right button.
The Faults screen appears.
3.
Press the Down button to scroll down through the
faults until
Clear System Faults
is selected.
4.
Press the Right arrow.
A confirmation screen appears.
5.
Press the Down button to confirm clearing the
InfoCenter fault log.
An “All faults cleared” message appears.
6.
Press the Menu Access/Back button 3 times to return
to the Main Menu screen.
Note:
Some faults clear when you start the machine. After
the fault clears, you can resume normal operation of the
machine.
If a fault repeats each time you start the machine, conduct
diagnostic troubleshooting of the affected system and related
components.
Turning on the Machine
1.
Ensure that the T-handle connector on the battery
adapter wire harness is connected to the battery wire
harness connector.
2.
Ensure that the traction and reel drive levers are in the
N
EUTRAL
position.
3.
Rotate the key switch to the S
TART
position and hold it
there until the InfoCenter LCD display lights up, then
release the key to the O
N
position.
Turning off the Machine
1.
Disengage the traction and reel-drive controls.
2.
Rotate the key switch to the O
FF
position and remove
the key.
Returning the Equipment to
Service
To ensure optimum performance and continued safety,
perform the following steps after completing all diagnostic,
maintenance, and/or repair activities:
1.
Remove any diagnostic equipment or tools attached
to the machine for the purpose of troubleshooting or
repair.
2.
Fully assemble the machine. This includes all covers,
cable ties, and parts that you loosened or removed.
3.
Make sure that all nuts, bolts, screws, and belts are
properly tightened.
4.
Verify that all systems function safely and are as
specified in the
eFlex Operator’s Manual
and the
eFlex
Service Manual
.
5.
Return the machine to service.
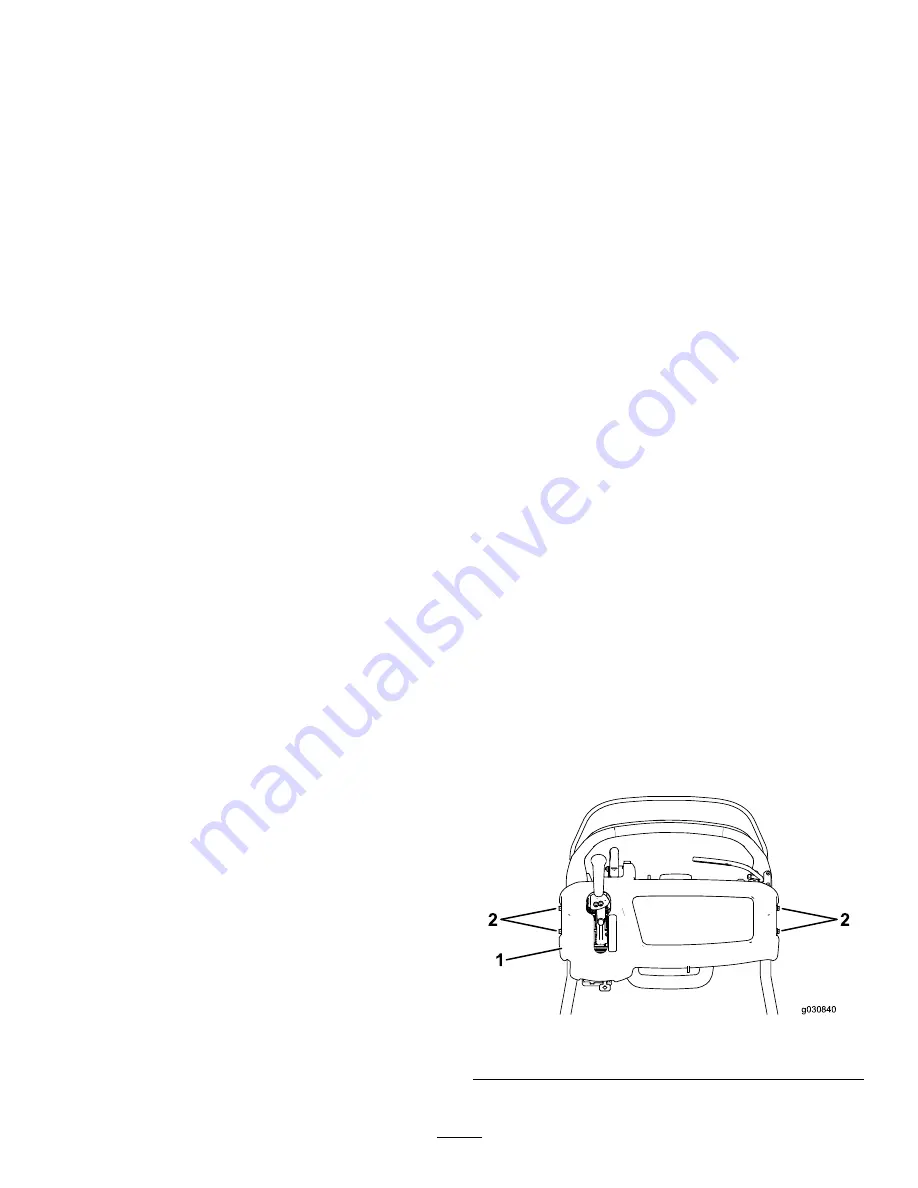
Console Cover
The console cover must be removed to access some of the
connectors on the main wire harness. Refer to
.
The console cover is secured with 4 screws.
1
2
2
g030840
Figure 26
1.
Console cover
2.
1/4 x 20, 1/2-inch screws
19

