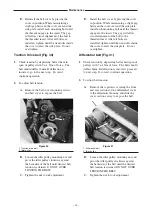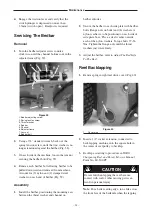
Figure 21
1. Spark plug
Engine Oil
The TORO Company recommends that the oil level
be checked each time mower is used or after every 5
operating hours. Initially, change oil after the first
20, every 50 hours of operation; thereafter, change
oil after 50 hours of operation. More frequent oil
changes are required in dusty or dirty conditions.
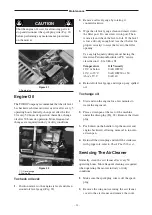
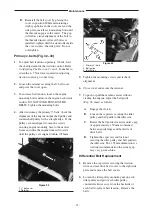
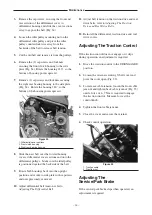
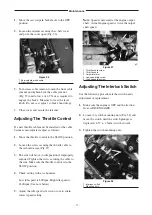
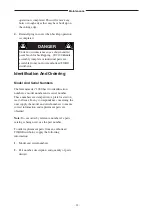
Figure 22
1. Oil level gauge
2. Drain plug
To check oil level:
1.
Position mower so the engine is level and clean
around oil level gauge (Fig. 22).
2.
Remove oil level gauge by rotating it
counterclockwise.
3.
Wipe the oil level gauge clean and insert it into
the filler port. Do not screw it into port. Then
remove it and check the level of oil. If the level
is low, add only enough oil (see chart below for
proper viscosity) to raise the level to the filler
opening.
Use any high-quality detergent oil having the
American Petroleum Institute (API) “service
classification”- SG, SH or SJ.
Temperature
Oil Viscosity
10°C or below
SAE 10W30
10°C to 35°C
SAE 10W30 or 30
Above 35°C
SAE 40
4.
Reinstall oil level gauge and wipe up any spilled
oil.
To change oil:
1.
Start and run the engine for a few minutes to
warm the engine oil.
2.
Place a drain pan at the rear of the machine
under the drain plug (Fig. 22). Remove the drain
plug.
3.
Push down on the handle to tip the mower and
engine backward, allowing more oil to run into
a drain pan.
4.
Reinstall the drain plug and refill the crankcase
with proper oil: refer to
Check The Oil Level
.
Servicing The Air Cleaner
Normally, clean the air cleaner after every 50
operating hours. More frequent cleaning is required
when operating the mower in dusty or dirty
conditions.
1.
Make sure the spark plug wire is off the spark
plug.
2.
Remove the wing nuts securing the air cleaner
cover to the air cleaner and remove the cover.
– 21 –
Maintenance
Shut the engine off, wait for all moving parts to
stop and disconnect the spark plug wire (Fig. 21)
before performing any maintenance procedures
on the mower.
CAUTION
1
2
Summary of Contents for 04052TE
Page 16: ...Fig 16 1 Recoil starter 2 On Off switch 3 Kickstand Controls 16 3 2 1 ...
Page 30: ......
Page 31: ......
Page 32: ......

