29
1
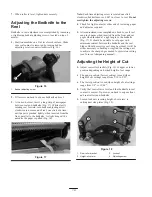
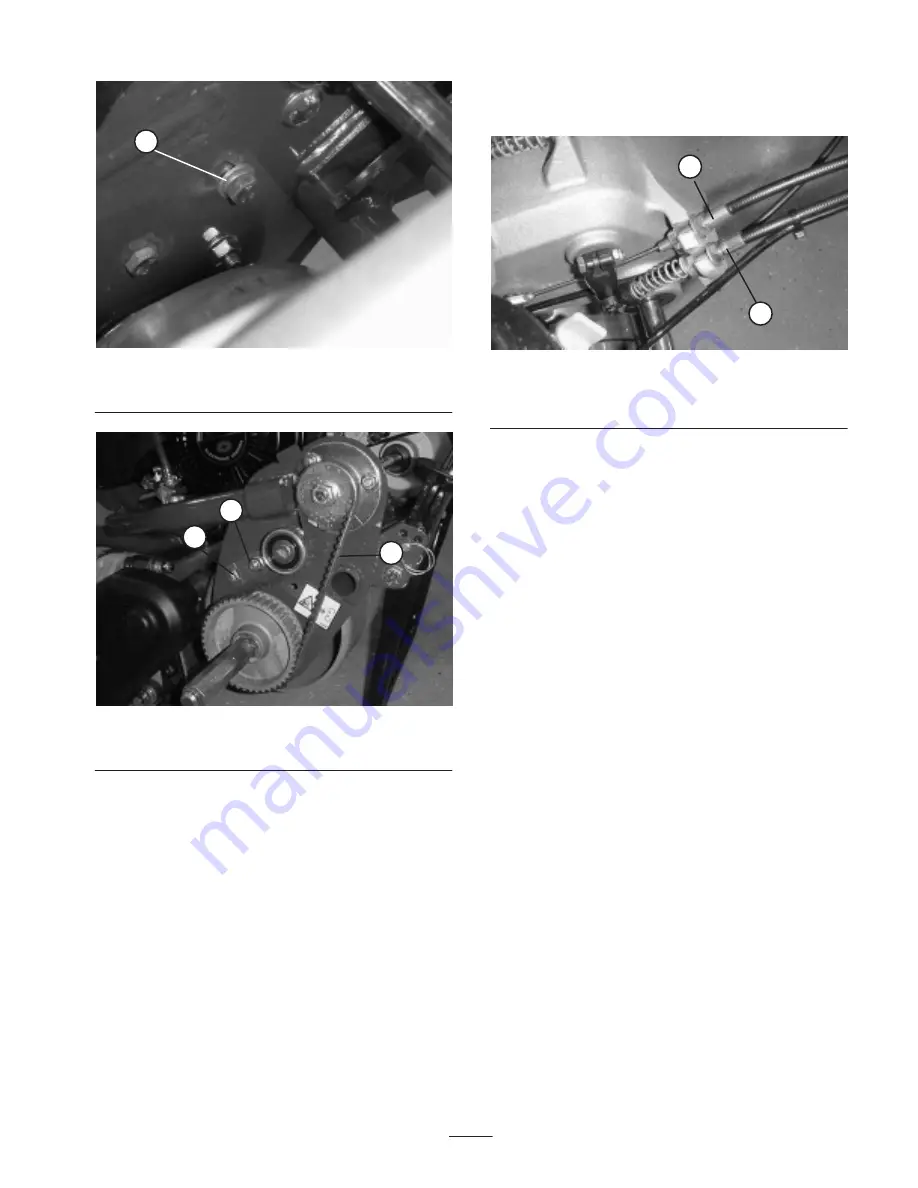
Figure 46
1.
Idler bracket capscrew
2
1
3
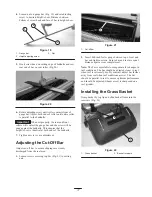
Figure 47
1.
Traction drive belt
2.
Torque here
B. Using a 3/8 in. drive torque wrench, rotate the idler
bracket with 35–40 in.-lb. of torque to set belt
tension (Fig. 47). Tighten the idler bracket
mounting capscrew. Do not over-tension belt.
C. Install belt cover.
Adjusting the Traction Control
If traction control does not engage or it slips during
operation, an adjustment is required.
1. Move traction control to Disengaged position.
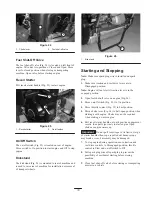
2. To increase cable tension, loosen front cable jam nut
and tighten back cable jam nut (Fig. 48) until a force
of 12–16 lb. is required to engage traction control.
Force to be measured at control knob.
3. Tighten front cable jam nut.
4. Check control operation.
2
1
Figure 48
1.
Traction cable
2.
Service/parking brake
cable
Adjusting the Service/Parking
Brake
If service/park brake slips when operated, an adjustment is
required.
1. Move service/parking brake lever to Off position.
2. To increase cable tension, loosen front cable jam nut
and tighten back cable jam nut (Fig. 48) until a force
of 6–9 lb. is required to engage brake. Force to be
measured at lever knob. Do not over adjust, or brake
band may drag.
Adjusting the Reel Control
If reel control does not engage or it slips during operation,
an adjustment is required.
1. Make sure traction control is properly adjusted; refer
to Adjusting the Traction Control, page 29.
2. To increase cable tension, loosen front cable jam nut
and tighten back cable jam nut (Fig. 49) (located on
top of gear box) until the reel cable force adds 7 to 10
lbs. of additional handle force measured at the control
knob.
Note: If traction control handle force is 12 lbs., the
combined traction and reel force should be 19 to 22 lbs.


